Mastering French Nails: A Step-by-Step Guide
Introduction to French Nails
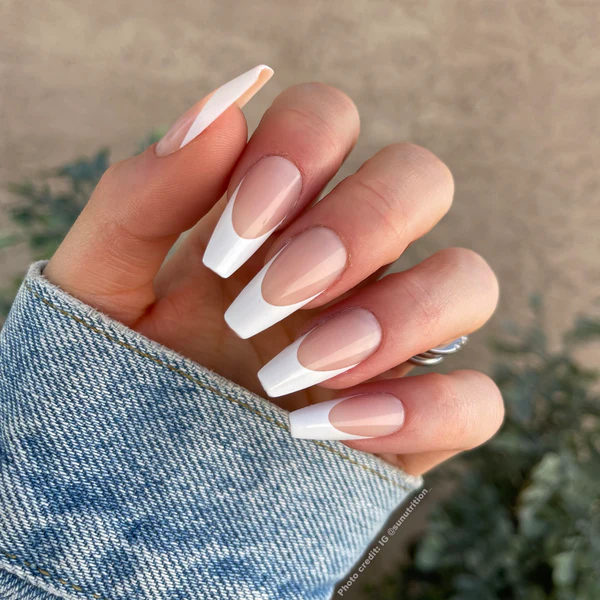
French nails epitomize elegance and simplicity in nail fashion. They feature white tips that mimic the natural nail color, contrasted with a translucent nude or pink base. This style is timeless, popular for its versatility and sophistication. But did you know it’s also achievable at home? Yes, learning how to do french nails yourself can save you time and money while allowing you to fine-tune the look to your preferences.
First, let’s understand the appeal of french nails. They offer a clean, professional appearance suitable for all occasions – from daily wear to glamorous events. Moreover, French manicures can make your fingers look longer and your nails look healthier. Achieving the perfect French nail at home requires patience, practice, and the right approach. Throughout this guide, we will walk you through the necessary steps and techniques, ensuring you understand how to do french nails effectively. With our help, you can master this chic look and enjoy stunning nails anytime.

Tools and Materials Needed for French Nails
Before you begin learning how to do french nails, gathering the right tools and materials is essential. Good preparation sets the stage for a flawless French manicure. Here’s what you’ll need:
- Nail polish remover: To clean your nails and remove any old polish.
- Cotton pads or balls: For applying nail polish remover.
- Nail clippers: To trim your nails to the desired length.
- Nail file: To shape your nails evenly.
- Nail buffer: To smooth out the surface of your nails.
- Cuticle pusher: To gently push back the cuticles.
- Cuticle oil: To moisturize the cuticles and nail bed.
- Base coat: This layer protects your nails from staining.
- White nail polish: For painting the tips of your nails.
- Nude or pink nail polish: For the base color.
- Topcoat: To seal in the polish and add shine.
- French tip guides: Optional, to help create perfect lines.
Ensure that your polishes are of good quality to avoid chipping and to ensure a long-lasting manicure. You might also consider a quick-dry spray or drops to reduce drying time. Investing in these items will help you achieve a professional look at home and make the process smoother and more enjoyable.
Preparing Your Nails for the French Manicure
Preparation is key to a flawless French manicure. Start by removing any nail polish. Use a quality nail polish remover and apply it with cotton pads or balls. Trimming and shaping your nails is next. Cut your nails to the length you desire and then shape them using a nail file. Remember, consistency is crucial for the classic French look.
Once you have the shape, it’s time to focus on the nail surface. Use a nail buffer to smooth any unevenness. After buffing, your nails should have a nice, even texture. This helps the polish adhere better.
Next, attend to your cuticles. Gently push back your cuticles with a cuticle pusher. Be careful not to push too hard to avoid injury. After pushing back the cuticles, apply cuticle oil. This will moisturize the area and prevent hangnails.
Finally, cleanse your nails once more. Ensure there’s no dust or oil left from the buffing and cuticle work. Now, your nails are prepped and ready for polish. With each step, you’re closer to achieving elegant French nails at home. The next stage is all about painting those perfect white tips.

Painting the Perfect White Tips
Mastering white tips is the heart of learning how to do french nails. It requires a steady hand and a bit of practice. Here are the steps to achieve the perfect French tip:
- Apply French tip guides: If you’ve got a shaky hand, stick-on guides are a lifesaver. Place them just below where your nail’s white part begins. This will create a crisp line for your white polish.
- Paint the tips white: Take the white nail polish and carefully apply it to the tip of your nail. Brush from one side to the other in a single stroke. If the first layer is too thin, apply a second coat once the first is dry.
- Keep your strokes even: To avoid lumps and unevenness, keep your brush strokes smooth and consistent. Think ‘less is more’ to prevent the polish from being too thick.
- Remove the guides gently: If you used tip guides, peel them off while the paint is still slightly wet. This helps in maintaining a sharp line. Do so carefully to not damage the white polish.
- Clean up mistakes: It’s normal to make a smudge or two. Dip a small brush or a cotton swab in nail polish remover and clean up the edges. Your goal is crisp and clean white tips.
- Let the tips dry: Patience is vital. Before proceeding to the base coat, make sure the white tips are completely dry. This avoids smearing and keeps the lines sharp.
After these steps, your nails should have perfectly painted tips with a professional touch. Achieving this balance can be tricky but keep at it, and you’ll soon master the technique. Now, get ready to enhance their beauty with a base and topcoat, a key element of how to do french nails.
:max_bytes(150000):strip_icc()/amyle.nails3-e2bb44a5066245729421037bcebe56af.jpg)
Applying the Base and Top Coats
Once the white tips are dry, it’s time to apply the base coat. A base coat is crucial as it protects your nails from staining and helps to create a smooth canvas for your nude or pink polish. Here’s how to do it:
- Apply the base coat: Start with a thin layer of base coat over your entire nail. Make sure to cover the white tip too. This step ensures better adhesion for the colored polish and prevents chipping.
- Paint with nude or pink polish: Once the base coat is dry, apply your chosen nude or pink polish. Begin at the base of your nail and brush upwards. Cover the entire nail in thin, even layers. Aim for two coats, allowing each to dry before applying the next.
- Smooth out with a top coat: The top coat seals in the color, adds a glossy finish, and extends the life of your manicure. Apply a single, smooth coat over the entire nail, including the white tip. Take care not to drag the brush too hard as this can smear your design.
- Let it dry completely: Give your nails ample time to dry. Avoid touching or smudging them. Once dry, your French nails should showcase a smooth and shiny finish with a professional look.
By following these steps, you’ll protect your nails and ensure your French manicure lasts longer. Remember to reapply the top coat every few days to maintain shine and protection. With these coatings applied correctly, you’re ready to celebrate the elegance of your French nails.
Tips for Maintaining Your French Nails
To keep your French nails looking their best, regular maintenance is key. Here are some tips to help you maintain the classic look:
- Moisturize Your Cuticles: Daily, apply cuticle oil. This keeps your cuticles and nails healthy.
- Wear Gloves: When doing household chores or using cleaning agents, wear gloves to protect your manicure.
- Avoid Harsh Chemicals: Limit contact with harsh chemicals. They can wear down your polish.
- Touch-Up Tips Regularly: If you notice chips, touch up the white tips. This keeps them looking sharp.
- Reapply Topcoat: Every few days, add a fresh topcoat. It boosts shine and adds protection.
- Be Mindful of Activities: Tasks that are tough on your hands can shorten your manicure’s life. Be gentle.
- Keep Nails Dry: Prolonged water exposure can weaken polish. Keep your nails as dry as possible.
With these steps, your French manicure will last longer. Consistent care takes a bit of time but pays off in keeping your nails elegant and professional.

Common Mistakes to Avoid with French Nails
When embarking on the journey of mastering how to do french nails, it’s easy to fall into common pitfalls. Here’s how you can sidestep them and ensure your DIY French manicure looks just as good as a professional one:
- Skipping Base Coat: Never skip the base coat. It prevents staining and provides a smooth surface for your polish.
- Applying Thick Polish: Thick layers of polish take longer to dry and often smudge. Use thin, even coats instead.
- Neglecting Nail Prep: Failing to prepare your nails properly can lead to chipping. Trim, file, buff, and clean your nails thoroughly before painting.
- Overlooking Cuticle Care: Not caring for your cuticles can leave your manicure looking rough. Push back and moisturize your cuticles for a clean finish.
- Using Low-Quality Products: Cheap polishes might save money short-term but usually chip faster. Invest in quality nail polish.
- Impatience with Drying: Giving your nails enough time to dry is crucial. Rushing can lead to smudges and nicks in your manicure.
- Poor Tip Application: Be sure to create crisp white tips. Sloppy application can ruin the whole look. Use guides if necessary.
- Not Fixing Mistakes: Clean up any mistakes before they dry. Once polish is dry, fixing mishaps becomes harder.
By avoiding these common mistakes, you’re on your way to flawless French nails that look expertly applied every time.

Advanced French Nail Techniques and Styles
Building upon the basics of a French manicure, there are advanced techniques and styles you can explore to add uniqueness and personality to your nails. Once you have mastered how to do french nails with the traditional white tips and nude or pink base, consider the following to enhance your nail artistry:
- Colorful French Tips: Instead of white, use different colors for the tips. Bright shades or pastels can offer a modern twist.
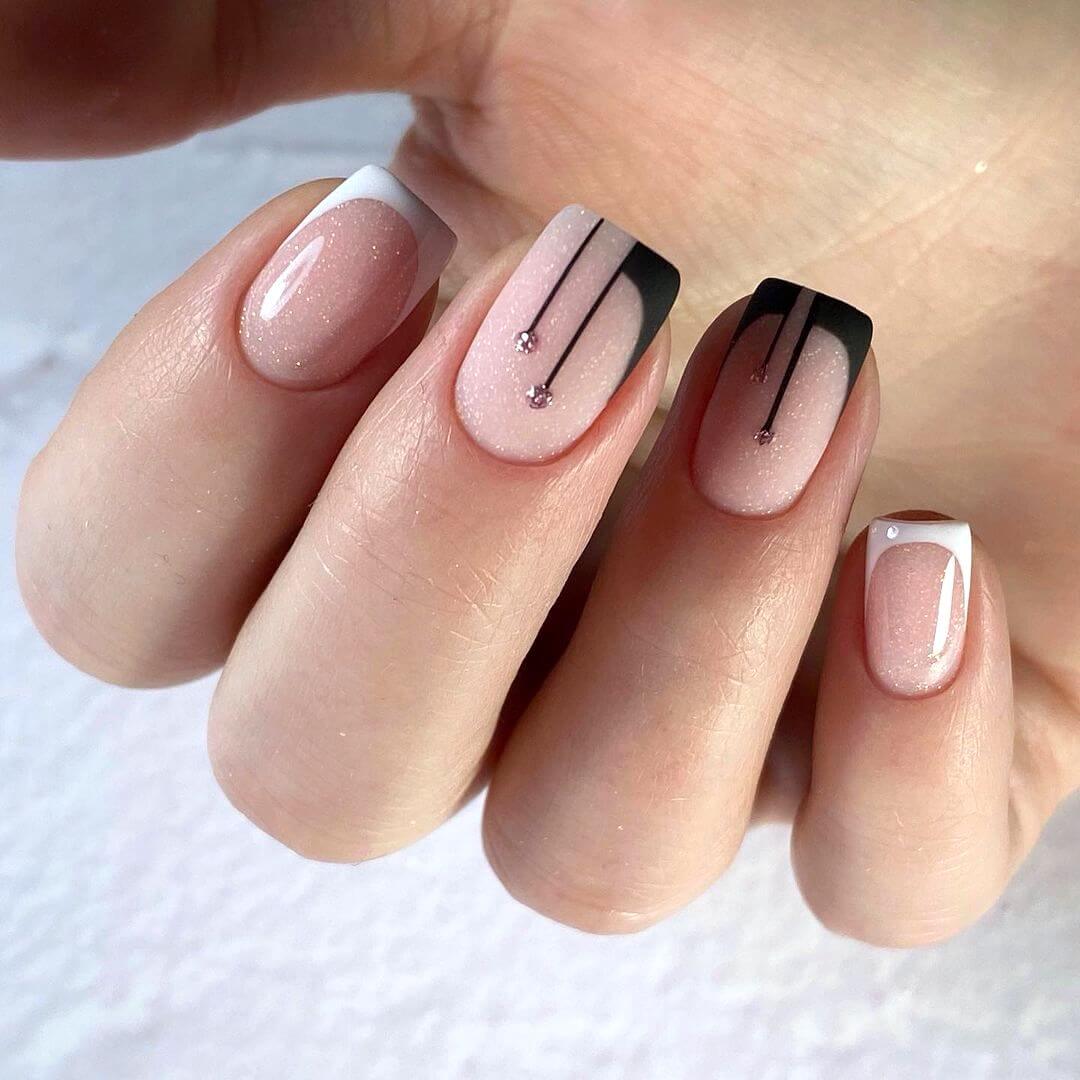
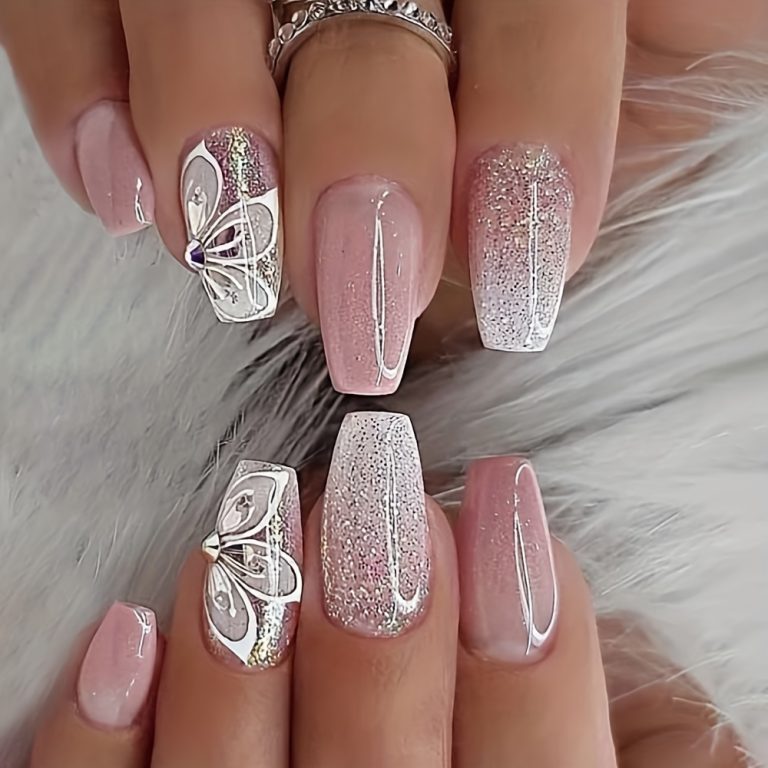
- Embellishments: Add small gems, stickers, or glitter to the tips or along the smile line for a decorative element.
- Angled Tips: Paint your tips at an angle or in a V-shape for a sharp and edgy look. It adds a dynamic touch to the design.
- Ombre Effect: Create a gradient look on the tips by blending two complimentary polish colors.
- Matte Finish: Swap the glossy topcoat for a matte one to give the traditional French manicure a contemporary vibe.
- Negative Space Designs: Use nail strips to block off areas, creating geometric designs or negative space within the French tip.
- Dual-Toned Tips: Paint half of the tip one color and the other half a different color, or line the inside border of your tips with another color for a two-toned effect.
- Lace or Patterned Tips: Use a stamping kit or freehand delicate patterns like lace or florals on your tips for an intricate style.
By experimenting with these advanced techniques and styles, you can keep your French nail game fresh and exciting. With creativity and practice, your French nails can become a canvas for your personal style and the perfect accessory to any look. Remember to practice each new technique and have fun experimenting with different styles to find what best suits your taste.

