Gel Polish Ombre Nails: Step-by-Step Guide
Introduction to Gel Polish Ombre Nails
Ombre nails have taken the beauty world by storm, offering a chic gradient effect that transitions from one color to another. Often seen on celebrity red carpets and social media trends, gel polish ombre nails are a favorite for their versatility and stylish appeal. Whether for summery brights or cozy winter tones, ombre gel nails are both adaptable and sophisticated.
In this guide, you’ll learn the art of creating ombre nails with gel polish. This technique can add depth and personality to your manicure, making it a stand-out accessory in any look. But before we dive into the detailed steps, let’s ensure we understand what gel polish ombre nails are.
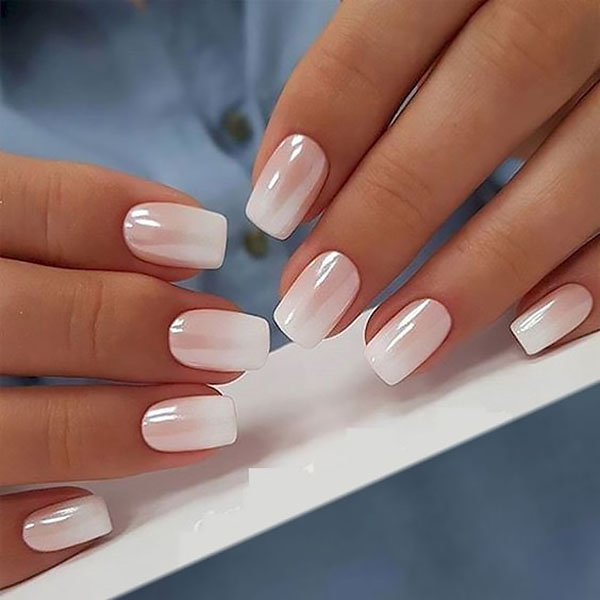
Gel polish ombre nails feature a smooth transition between colors, achieved by blending gel polishes on the nail itself. This can be done with similar tones for a subtle look or contrasting hues for a bold statement. The result is a professional, salon-quality finish that looks as though colors melt into one another.
Stay with us as we go through everything you need to know – from the tools and materials you’ll need, to post-application maintenance. With the right techniques, achieving flawless ombre nails at home is easier than you might think. Let’s get your nails ready to wow everyone with their gradient glory!
Necessary Tools and Materials
Before you start creating your ombre nails with gel polish, gather all the necessary tools and materials. Having everything on hand will make the process smoother and more efficient. Here’s what you’ll need:
- Gel polish colors: Choose at least two colors for your ombre effect. Three colors can give you a more dynamic gradient.
- Base coat: A good quality base coat will help your ombre nails last longer.
- Top coat: This can be glossy or matte, depending on your desired finish.
- UV or LED lamp: Essential for curing gel polish between layers.
- Nail file and buffer: To shape and prep your nails before applying polish.
- Cuticle pusher and nippers: To clean up your nail bed for a neat ombre effect.
- Gel polish remover: For cleaning up any mistakes and for aftercare.
- Lint-free wipes: To clean the nail surface without leaving any fibers behind.
- Ombre brush or makeup sponge: To create the smooth gradient effect.
- Isopropyl alcohol: For cleaning your tools and wiping off the sticky layer from cured gel polish.
Once your toolkit is complete, you’ll be ready to move on to preparing your nails for the gel polish application.
Preparing Your Nails for Gel Polish Ombre
Before you start, make sure your nails are ready. Proper preparation leads to a smooth ombre finish. Here’s how to prepare your nails for the gel polish ombre effect:
- Clean Your Nails: Start with clean, dry nails. Remove old polish with gel polish remover.
- Shape Your Nails: Use a nail file to shape them. Choose a shape that suits your hands.
- Buff the Nail Surface: Gently buff your nails. This helps the gel polish adhere better.
- Push Back Cuticles: Use a cuticle pusher to gently push back cuticles. Neat cuticles mean neat ombre.
- Trim any excess: If needed, trim hangnails or extra cuticle with nippers. Be careful not to cut too much.
- Clean Nails Again: Wipe nails with a lint-free wipe and isopropyl alcohol. This removes oils and dust.
- Apply Dehydrator: A nail dehydrator can remove moisture. This ensures a long-lasting ombre finish.
Once prepped, you’re set for applying a base coat. This is the first step to a gorgeous ombre look.
Step-by-Step Application of Gel Polish Base
Once your nails are prepped, it’s time to apply the gel polish base. This foundational step is crucial for a long-lasting and professional-looking ombre effect. Here’s how you can apply your gel polish base:
- Apply Base Coat: Start by applying a thin layer of the base coat to your nails. This helps protect your natural nails and ensures better adhesion of the gel polish.
- Cure Under Lamp: After the base coat is on, cure it under a UV or LED lamp. Check your product’s instructions for the correct time.
- Apply Base Color: Next, select a base color for your ombre—this will be the lightest shade. Apply it evenly across the entire nail. Be sure to seal the free edge of your nail with the brush.
- Cure Once More: Place your nails back under the lamp. Make sure each nail is properly cured according to the lamp’s specifications.
- Check and Touch Up: After curing, check for any uneven areas. If necessary, apply a second coat of the base color for a smooth and opaque look.
- Final Cure: Cure the second coat if you applied one. Now your nails are ready for creating the ombre gradient.
Remember to keep each layer light and thin to avoid any bulkiness. This will also aid in a smoother blending process when you transition to creating the ombre effect.
Blending Gel Colors for the Ombre Effect
Once the base is set, it’s time to blend your gel colors. Creating a smooth ombre effect requires patience and a steady hand. Follow these steps for flawless blending:
- Choose Colors: Pick two or three gel polish shades that work together well. They should complement each other for the best ombre effect.
- Apply Colors: Start with your lightest color. Apply it to the bottom half of your nails. Then, add your second color above it. If using three colors, place the third in the middle.
- Blend Gently: Using an ombre brush or a cut makeup sponge, softly blend where the colors meet. Gently dab and swipe to mix the edges of the colors. This avoids harsh lines.
- Clean Edges: Use a clean brush and a bit of gel polish remover to tidy up any polish on your skin.
- Cure Again: Once you’re happy with your blend, cure your nails under the lamp again. This sets the gradient in place.
- Inspect and Repeat: Look for any patches or streaks. If needed, add more polish and blend again. Cure after each layer until you achieve the desired effect.
Remember, blending is key to ombre nails. Don’t rush. Take your time to smoothly transition the colors. This step makes your manicure stand out as professional and polished.
Tips for Perfecting the Gel Polish Ombre Technique
Achieving the smooth, seamless transition that defines ombre nails can be tricky. But with some expert tips, you’ll master this stylish look. Here’s what to keep in mind:
- Start with Similar Shades: When learning how to do ombre nails with gel polish, begin with colors that are close in tone. It’s easier to blend similar shades.
- Work Quickly but Carefully: Gel polish starts to set quickly under a lamp. Blend your colors fast but with a gentle touch.
- Use Thin Layers: Thick gel polish can make blending tough and lead to lumpiness. Apply thin layers for a more professional finish.
- Clean Tools Between Uses: Always clean your brush or sponge before switching colors. This prevents color contamination.
- Practice the Sponge Technique: A makeup sponge can be your best tool for ombre nails. Try different sponges to find one that works well for you.
- Precision is Key: Keep your edges neat with careful application. Use a small brush for any touch-ups.
- Patience Pays Off: Don’t rush the process. Take your time to blend each layer for a smooth gradient.
- Quality Over Quantity: Use high-quality gel polishes that provide good coverage and blend well.
- Control Is Crucial: Hold your brush or sponge firmly for better control when blending.
- Cure Wisely: Don’t over-cure between layers. Follow the recommended times for the best results.
Keep these tips in mind, and you will create beautiful ombre nails that transition flawlessly from one color to the next.
Curing and Sealing Your Ombre Nails
After you’ve blended your gel colors to perfection, it’s time to cure and seal them. This step solidifies your ombre design and protects it against chips and peeling. Follow these steps to ensure your ombre nails are durable and long-lasting:
- Cure the Blend: Place your nails under the UV or LED lamp. Use the time specified by your gel polish’s brand.
- Apply Top Coat: Once the ombre layer is cured, apply a top coat. This seals in the color and adds gloss.
- Cure Top Coat: Cure the top coat under the lamp. This gives your ombre nails a strong, protective layer.
- Clean Up: If there’s a sticky layer left after curing, wipe it with isopropyl alcohol.
- Inspect Your Nails: Look for any bumps or uneven areas. If all looks good, your ombre nails are complete.
- Oil Your Cuticles: Nourish your skin by applying cuticle oil around your nails.
Do these steps one hand at a time for best results. Curing secures the smooth gradient you’ve created, while the top coat delivers shine and protection. Good quality ombre nails not only look stunning but also stand up to daily wear and tear.
Ombre Nail Design Variations and Inspirations
The world of ombre nail designs is vast and full of creativity. Whether you seek a subtle fade or a striking contrast, the variations you can create are endless. Here are some inspiring ideas to ignite your imagination for your next manicure adventure:
Subtle Elegance
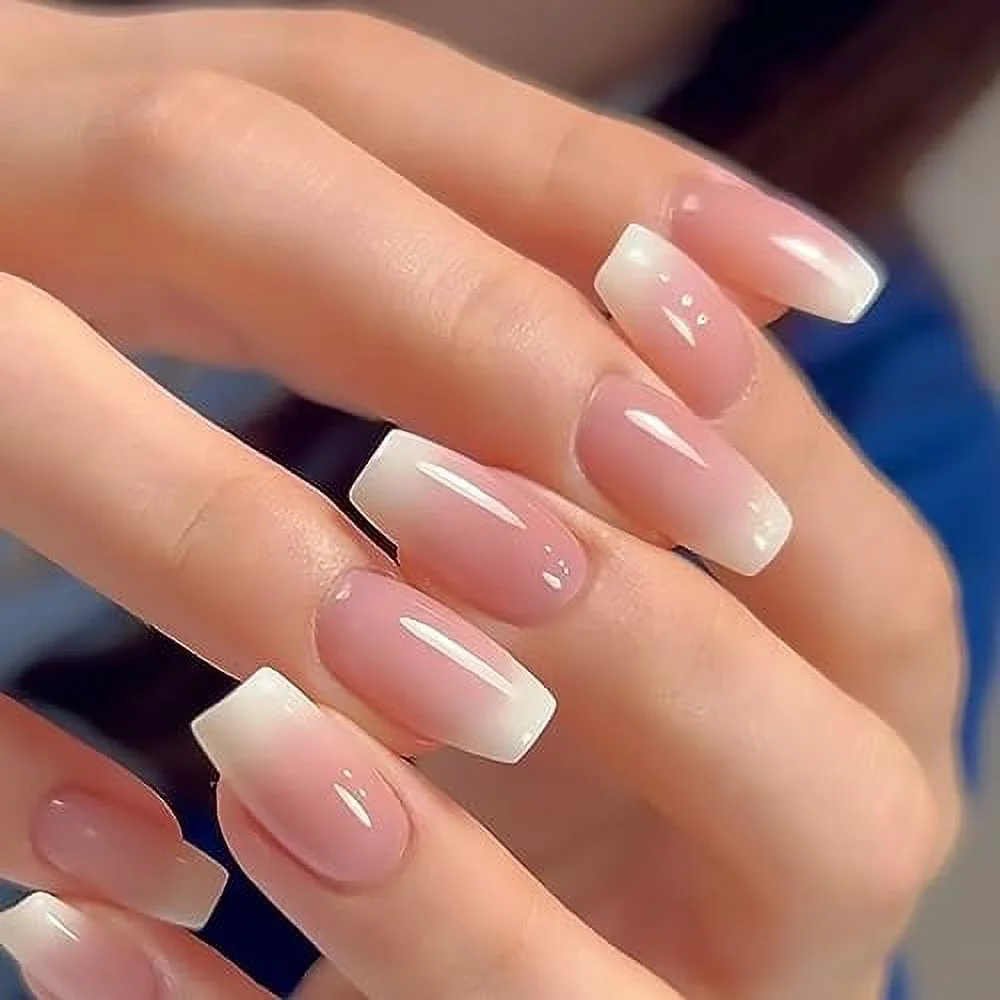
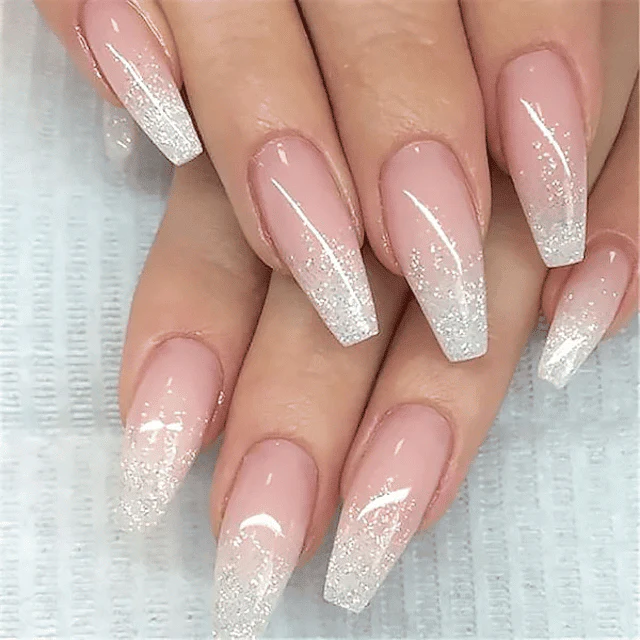
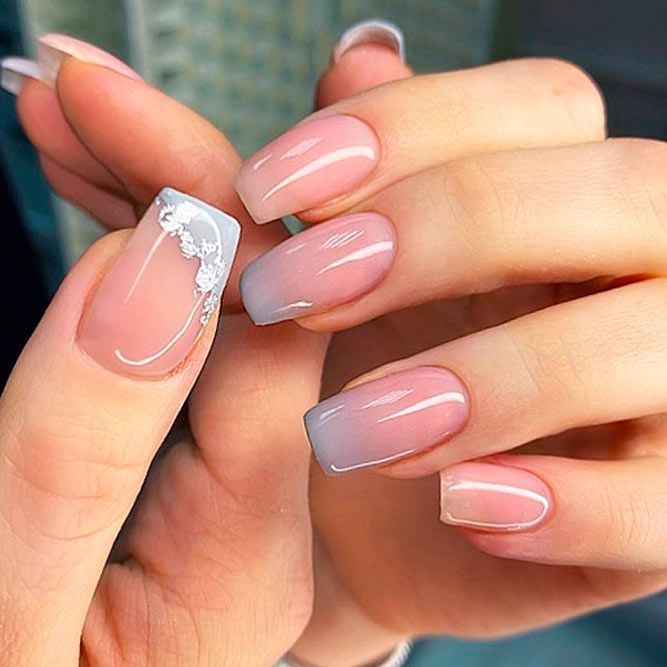
Aim for gentle transitions using shades within the same color family. Think of soft pinks flowing into delicate peaches or continuous tones in a single hue. These selections symbolize sophistication and are fitting for any occasion.
Bold and Beautiful
Mix deep blues with bright turquoises, or daring reds with sunny oranges. Such bold combinations capture attention and express confidence. They suit those who love to stand out from the crowd.
Glitter and Glamour
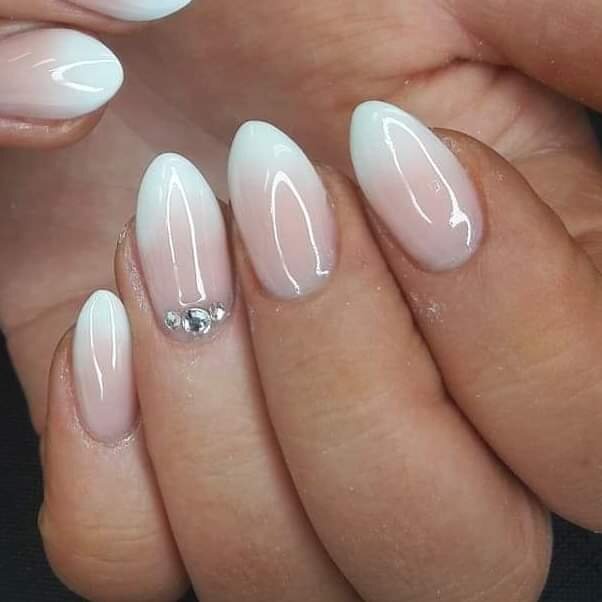
Infuse sparkle into your ombre with a glitter overlay. Start with a solid color at the base and blend up to a tip filled with glitter. This is perfect for festive events or when you just want extra pizzazz.
Seasonal Sensations
Adapt your ombre to the seasons. Use pastels or neons for summer nails and transition to glitters and dark shades for cosy winter vibes. You can even play with matte finishes to add warmth in colder months.
Personalized Patterns
Why stop at colors? Integrate patterns or textures like a marble or floral design as part of your ombre effect. This adds a personalized touch that reveals your unique style.
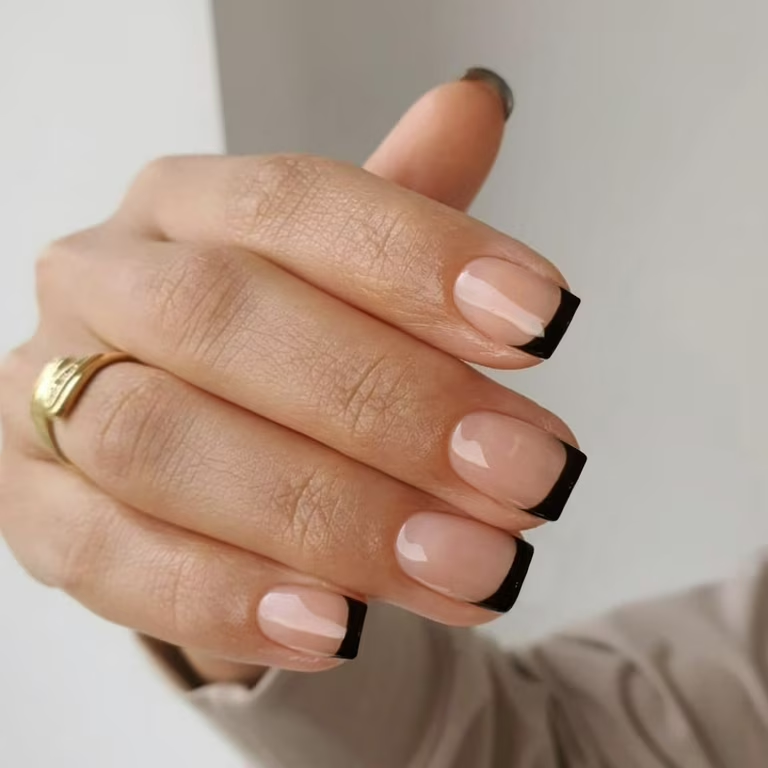
Be sure to play and experiment. Mix and match different styles, such as ombre with a French tip or ombre with geometric patterns. The only limit is your own creativity.
Go ahead and try these inspirations out. Remember, practice is key to perfecting the ombre technique. Soon, your nails will not just be ‘done’, they will be works of art.

Maintenance and Aftercare for Gel Ombre Nails
To keep your gel ombre nails looking their best, proper maintenance and aftercare are essential. Here are some tips to help maintain the beauty and longevity of your nail design:
- Avoid Harsh Chemicals: Protect your nails by wearing gloves when cleaning or using strong chemicals.
- Moisturize Your Cuticles: Regularly apply cuticle oil to keep the skin around your nails healthy and hydrated.
- Be Gentle: Treat your nails gently. Avoid using them as tools to prevent chipping or lifting.
- Wear Gloves For Chores: When doing dishes or gardening, wearing gloves can help protect your manicure from damage.
- Touch-up As Needed: If you notice any worn edges or chips, a quick touch-up with a top coat can extend the life of your nails.
- Stay Hydrated: Drinking plenty of water benefits your overall health, including your nails – keep them strong from the inside out.
- Weekly Maintenance: Check your nails each week for any lifting or peeling. Address these issues promptly to avoid further damage.
- Gel Polish Removal: When it’s time to remove your gel polish ombre, do it carefully. Use the proper removal techniques to avoid nail damage.
- Regular Breaks: Give your nails a break from gel polish occasionally. This helps them stay healthy.
- Professional Check-Ups: Visiting a professional for regular maintenance ensures your nails are in top condition.
By following these simple aftercare steps, you can enjoy your stunning ombre nails for longer and keep your natural nails healthy.
