DIY Gel X Nails: Benefits of Choosing Gel X Nails
Introduction to Gel X Nails
Gel X nails are a popular choice for those seeking a durable yet easy-to-manage manicure. Offering a perfect balance between traditional gel manicures and acrylics, Gel X nails provide the strength and longevity you crave from artificial nails with a simpler and less damaging application process.
What Are Gel X Nails?
Gel X nails are soft gel nail extensions. They combine the durability of gel nails with the ease of application found in press-on nails. Unlike hard gel extensions or acrylics, Gel X nails are more flexible and lightweight. They’re applied by adhering a pre-shaped nail tip to the natural nail using a special gel polish, which is then cured under a UV or LED lamp to harden.
Benefits of Choosing Gel X Nails
Choosing Gel X nails comes with several advantages. They are quicker to apply compared to traditional acrylics, causing less damage to natural nails. The removal process is simpler and less harsh, involving soaking in acetone like typical gel polish. Additionally, they offer a broad range of customization options in shape, length, and color, allowing for creative nail art designs. This flexibility makes Gel X nails a preferred choice for those who regularly change their nail style.
Necessary Tools and Kits
When undertaking a DIY Gel X nail project, having the right tools and kits is essential for a seamless application and long-lasting results.
What’s Included in the Apres Gel X Nail Extension Kit
The Après Gel X Nail Extension Kit serves as your complete package for at-home nail extensions. The kit includes:
- A pH bonder, essential for prepping the nail surface.
- A nail primer, to ensure the gel adheres well.
- Extend Gel, the main adhesive agent.
- A gel topcoat, for a glossy finish.
- A nail file to shape and smooth your nails.
- An LED curing light for setting the gel.
- A variety of nail extensions, letting you choose the perfect size and shape.
The kit provides everything needed for a professional-looking manicure at home.
Additional Tools You Might Need
While the Après Gel X Nail Extension Kit includes most necessities, a few additional tools can enhance your nail art experience:
- Cuticle pusher to tidy up the nail beds before application.
- Extra nail buffers for achieving perfect nail surface smoothness.
- Gel nail polish if you desire colored nails aside from the natural shade of the extensions.
- Acetone for easy removal of the gel nails when you’re ready for a change.
Equipping these tools will prepare you completely for an excellent DIY Gel X nail application.
Preparing Your Natural Nails
Prepping your natural nails correctly is key to a flawless Gel X manicure. Ensure your nails are clean, dry, and free from oils for the best adhesion.
Nail Sizing and Selection Process
Choosing the right nail size is critical for a natural look and long-lasting hold. Align Gel X nails with your natural nail edges; they should cover the nail bed without overlapping onto the skin. If you’re in between sizes, opt for the larger size and gently file down the edges for a perfect fit.
Nail Prep: Buffing and Cleaning
Buffing creates an ideal surface for the Gel X nails to adhere to. Use a gentle buffer to lightly roughen the surface of your natural nails. This helps eliminate any shine and smooths out any ridges. Next, clean the nails to remove any dust or debris resulting from buffing. Use a lint-free wipe and an alcohol-based cleaner to achieve a clean and dry nail bed. Proper nail prep is vital to avoid lifting and extend the life of your Gel X nails.
Application Process for Gel X Nails
Applying Gel X nail extensions at home is straightforward but needs precision. Here’s a simple guide on how to do it correctly and avoid common mistakes.
Step-by-Step Guide to Applying Gel X Extensions
- Preparation: Start with clean, dry nails. Use the pH bonder and primer included in the kit to prepare the nails.
- Size selection: Choose the correct size of Gel X nail extension for each nail. They should fit perfectly to avoid lifting.
- Application of Extend Gel: Apply a thin layer of Extend Gel to your natural nail. Cure it under the LED light for 30 seconds.
- Attaching the nail: Apply Extend Gel on the underside of the Gel X nail. Place it carefully over your natural nail, starting from the cuticle and pressing downwards. Cure under the LED light as directed.
- Finishing touches: After all nails are applied and cured, use the gel topcoat for a shiny finish. Cure one last time under the LED light.
These steps will help you achieve a flawless at-home application of Gel X nails, resembling a professional manicure.
Tips for a Smooth Application from Experts
- Right amount of gel: Use just enough Extend Gel to cover the natural nail and the extension without excess. Too much gel can cause overflow, and too little may not hold well.
- Prevent air bubbles: While pressing the nail extension onto the natural nail, avoid trapping air. Ensure the gel covers evenly without pockets.
- Curing properly: Don’t rush the curing process. Ensure each nail gets enough time under the LED light to fully set.
- Regular maintenance: Check your nails regularly for any lifting. Early detection can prevent further damage and keep your nails looking great.
Following these expert tips will streamline your Gel X application process, ensuring durable and beautiful nail enhancements. Using the tools and guidelines provided can mimic the quality of professional salon services at home.
Nail Shaping and Design Ideas
Once your Gel X nails are securely applied, shaping and designing them according to your preference is the next exciting step. This section explores how you can tailor the shape and add creative touches to your nails, making them distinctly yours.
Shaping Your Gel X Nails to Preference
Selecting the right shape for your Gel X nails can dramatically alter your hands’ appearance. You have several options:
- Round: Soft and natural, ideal for shorter nails.
- Square: Offers a bold and striking look, suitable for wider nail beds.
- Oval: Elegant and elongates the fingers, perfect for medium to long nails.
- Coffin or Stiletto: Trendy and daring, best for those who enjoy a standout manicure.
When shaping your nails, start by clipping them to your desired length using nail clippers. Then, use the file from your kit to smooth and shape the edges. Be gentle to avoid splitting the extension.
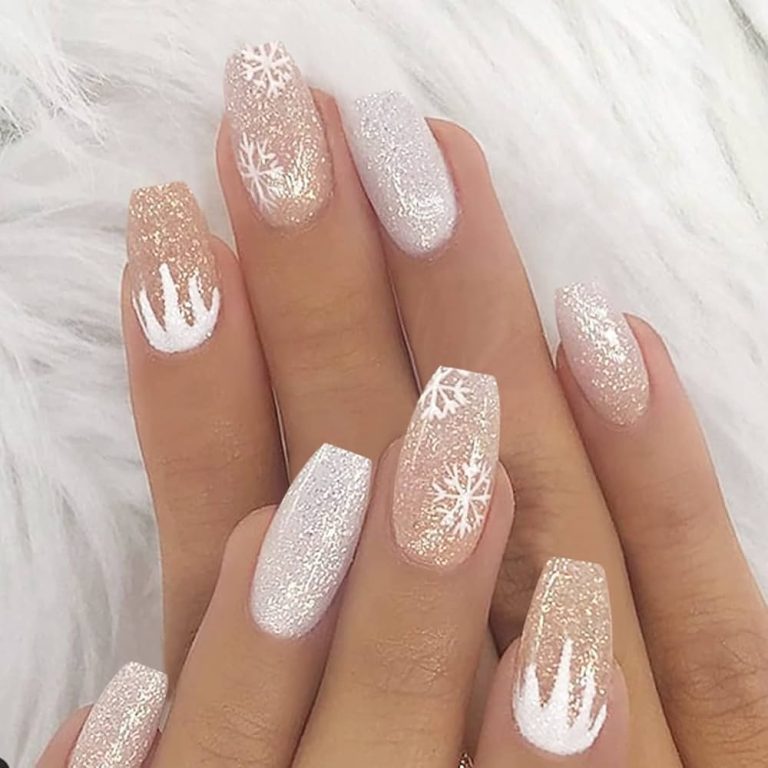
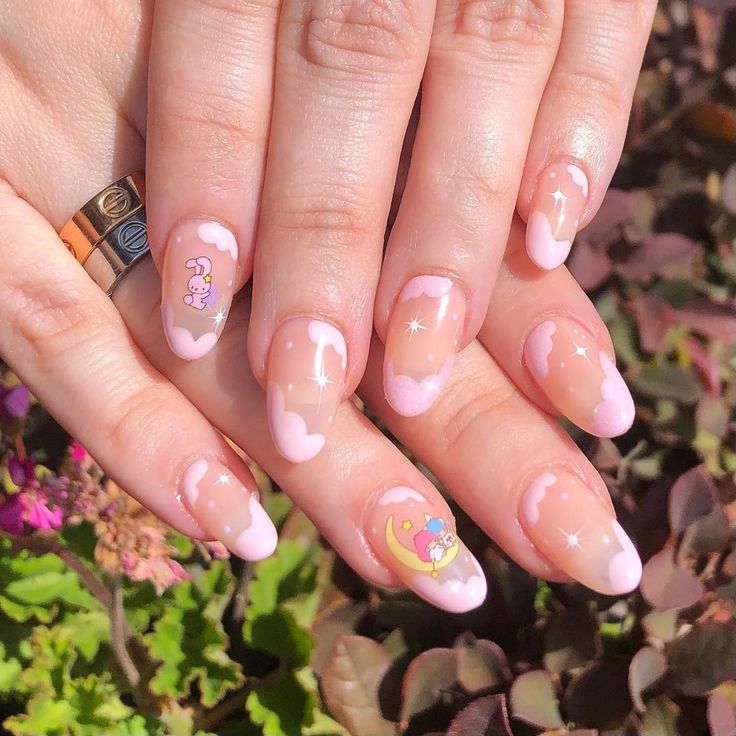
Creative Design Inspirations for Your Gel X Nails
After shaping, it’s time to express yourself with color and design. Here are a few ideas to inspire your next manicure:
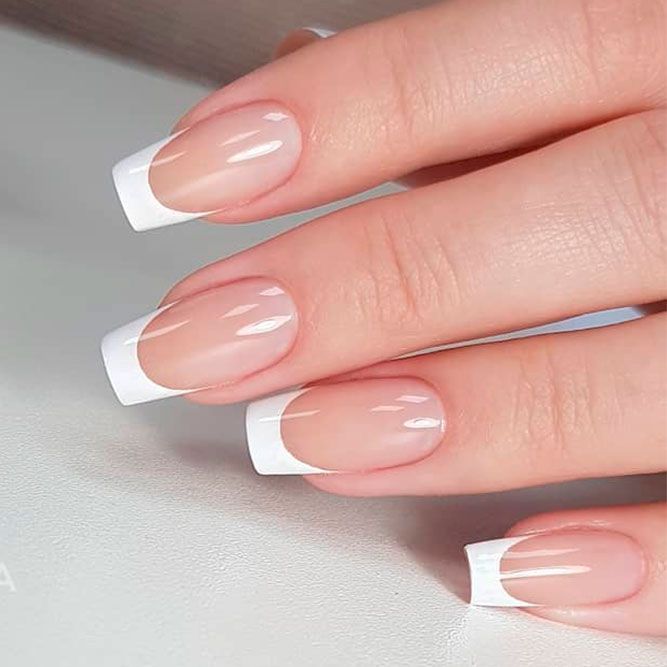
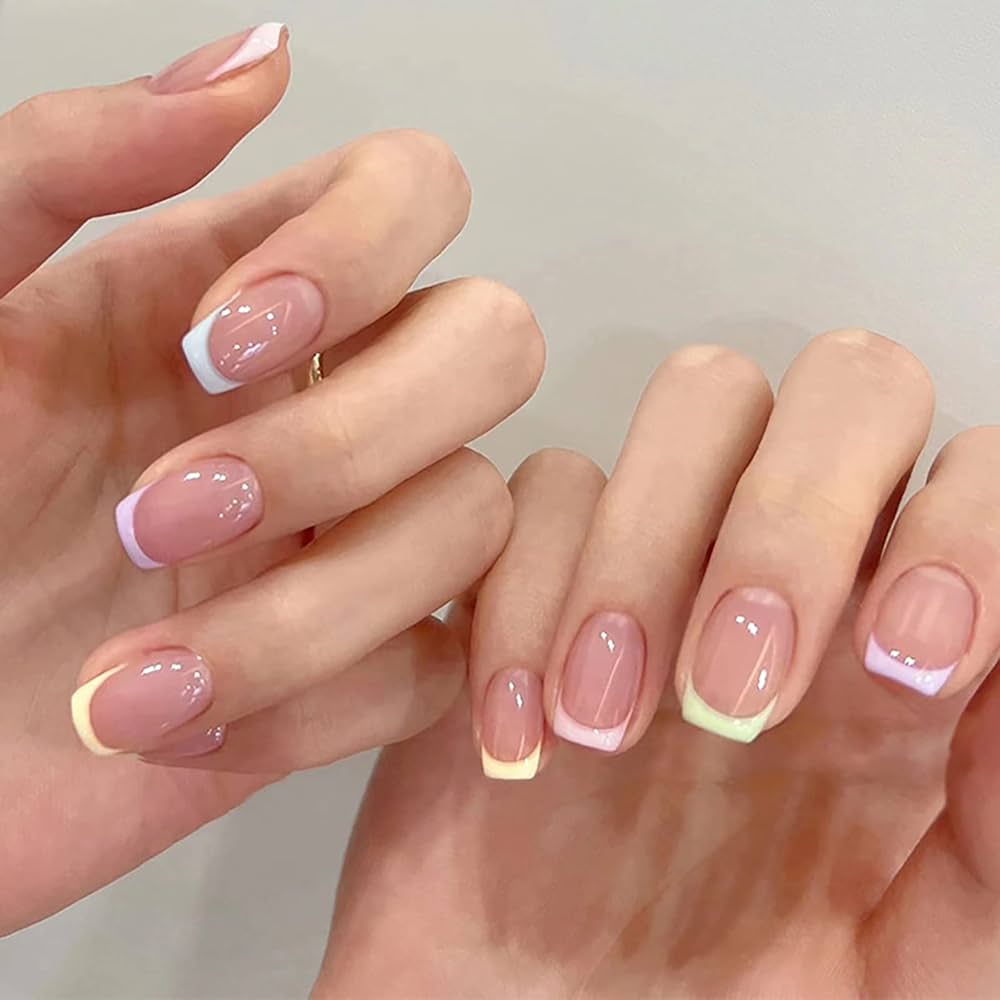
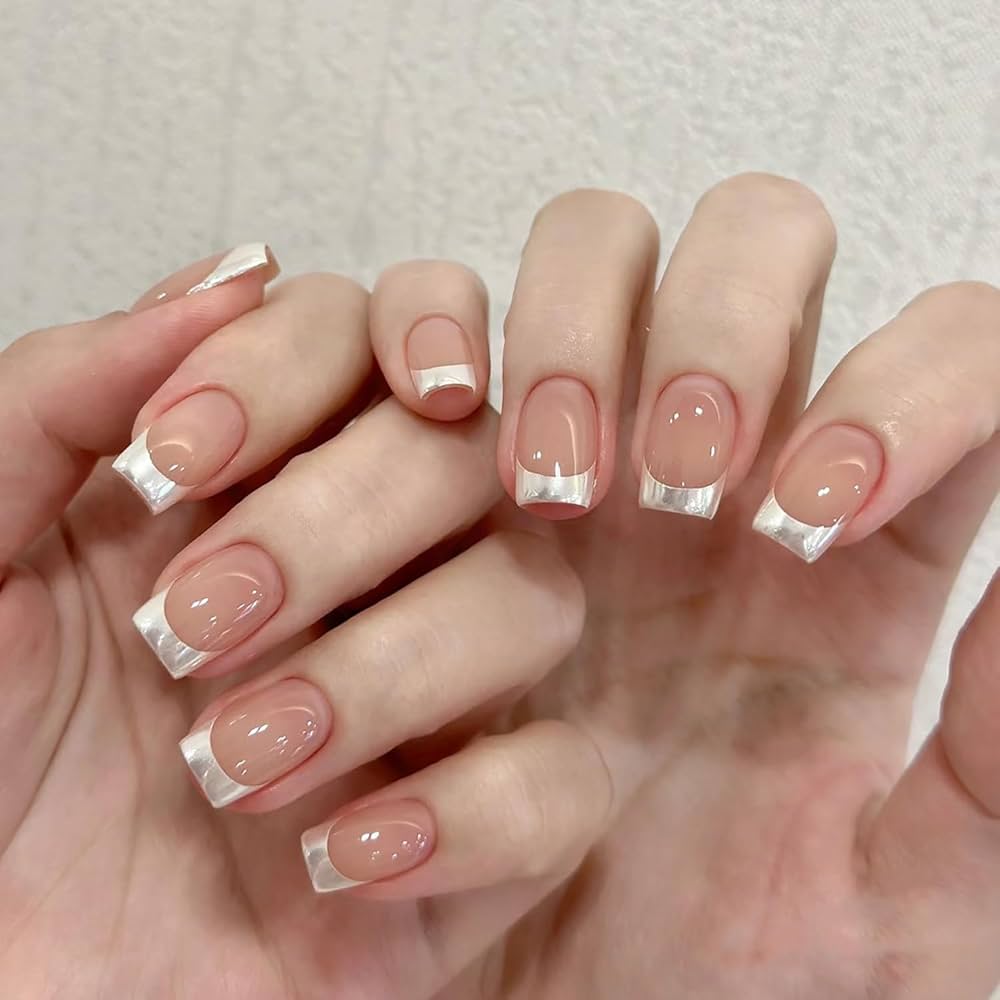
- Classic French Tip: A timeless design that portrays elegance.
- Ombre Effect: Use two polish colors to create a seamless gradient.
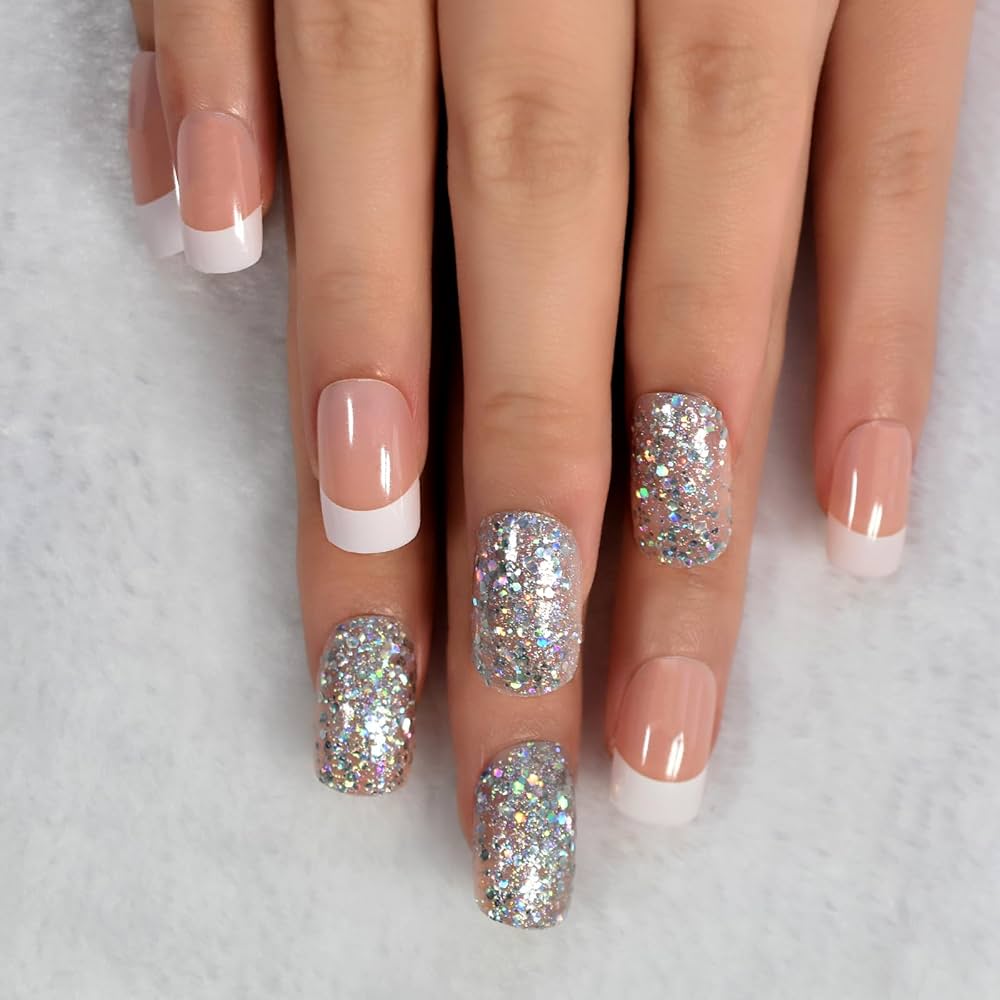
- Glitter Accents: Perfect for adding a touch of sparkle.
- Minimalist Art: Thin lines or small dots for a subtle and refined look.
Remember, you can use regular nail polish or gel polish on your Gel X extensions. If you choose gel polish, ensure it’s cured under the LED lamp.
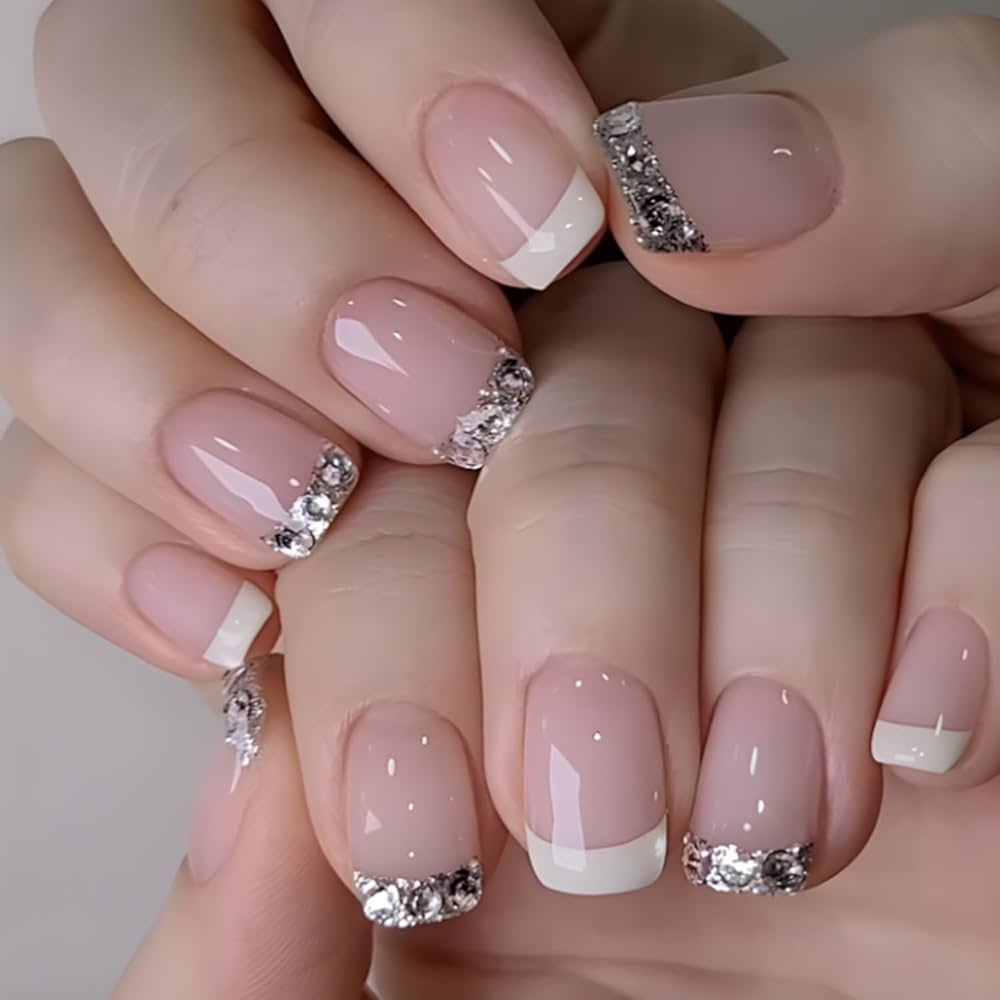
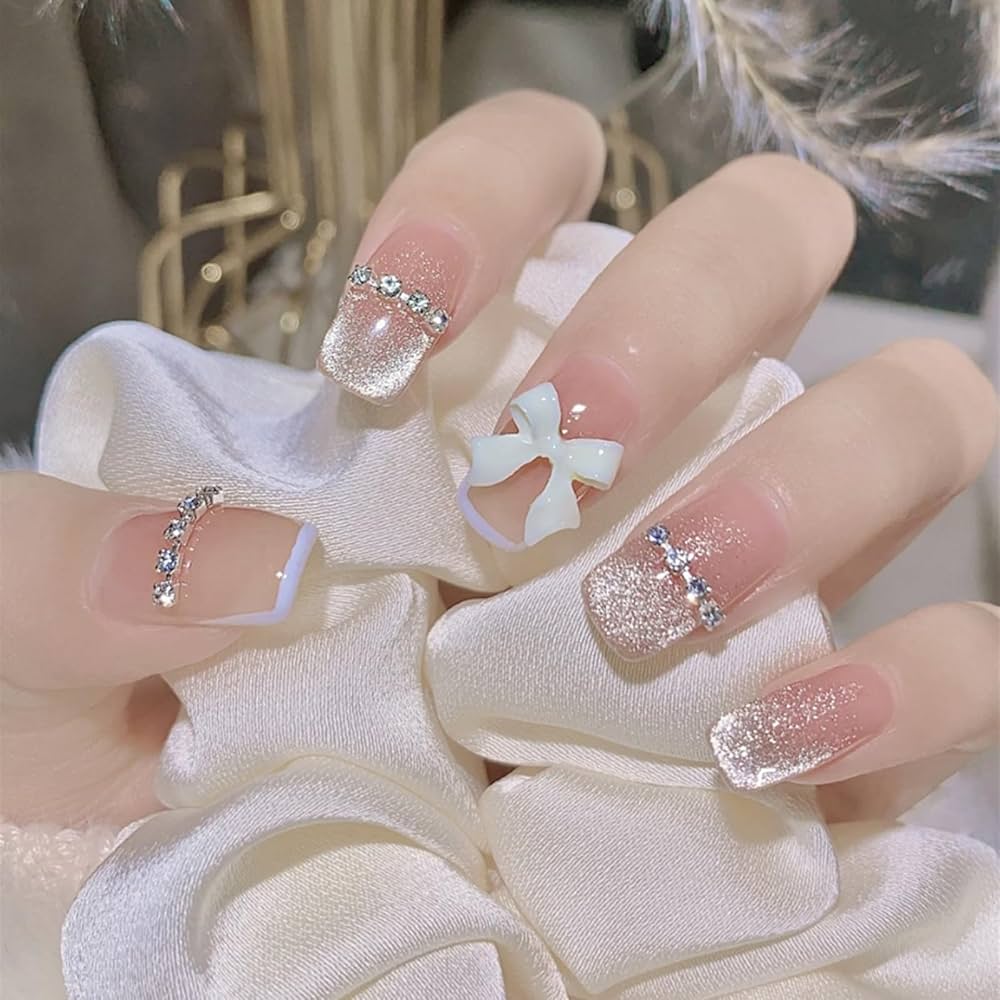
Embellishments like rhinestones or stickers can be added on top for more intricate designs. Adhering these extras with a tiny dot of Extend Gel will secure them until your next polish change.
With the flexibility of Gel X nails, you can easily alter your manicure to match your mood or outfit, making each nail art design a fun and unique project!
Maintenance and Upkeep
Maintaining your Gel X nails properly extends their lifespan and keeps them looking great.
How to Ensure Longevity of Your Gel X Nails
To extend the life of your Gel X nails, follow these simple tips:
- Avoid Water: Prolonged exposure to water can loosen the gel adhesive. Wear gloves while cleaning or washing.
- Use Cuticle Oil: Daily application of cuticle oil will keep your natural nails and cuticles moisturized, preventing lifting.
- Touch-Up: Apply a thin layer of gel topcoat once a week to prevent chips and scrapes.
- Gentle Use: Treat your nails gently. Avoid using your nails as tools to prevent accidental chipping or breaking.
When to Replace or Refill Your Gel X Extensions
Gel X nails typically need replacement or refilling every three to four weeks:
- Growth: Once your natural nails grow, causing a gap between the cuticle and the Gel X nail, consider a refill.
- Damage: If you notice significant chipping or lifting, replace the damaged nails immediately.
- Style Change: If you desire a new look or have an event, you might want to replace them sooner.
Regular maintenance and timely replacement will ensure your Gel X nails always look fresh and beautiful.
Safely Removing Your Gel X Nails
Proper removal of Gel X nail is crucial to maintain healthy natural nails.
Step-by-Step Guide to Removal
To remove your Gel X nail without damage, follow these simple steps:
- Clip Nails: Start by trimming the extensions short, taking care not to snip your natural nails.
- File Surface: Gently file the topcoat off to break the seal, using a nail file.
- Acetone Soak: Soak your nails in acetone. Wrap them with foil and cotton for 15-20 minutes.
- Remove Extensions: After soaking, the extensions should slide off easily. If not, gently nudge with a cuticle pusher.
- Clean Residue: Lightly buff any leftover gel from your nails, being careful not to harm the nail bed.
This method preserves the integrity of your natural nails while ensuring all materials are removed.
Aftercare for Natural Nails Post-Removal
Once you’ve successfully removed your Gel X extensions, it’s vital to care for your natural nails:
- Hydrate: Apply cuticle oil to rehydrate the nails and avoid brittleness.
- Moisturize: Use a nourishing hand cream to restore moisture to your cuticles and skin.
- Rest: Allow your nails to rest and recover before applying a new set of Gel X nails.
- Nourish: Consider taking biotin supplements or eating foods rich in biotin to support nail health.
Following these aftercare steps will help keep your natural nails healthy after the removal of Gel X nails.
Why Choose the DIY Approach with Gel X Nail
The DIY route for nail beauty can be both rewarding and practical. Applying Gel X nail at home saves money and lets you personalize your manicure. Here’s why it’s worth considering.
Cost-Effectiveness of At-Home Nail Application
Doing your nails at home can significantly cut costs. Salons often charge much for nail enhancements, especially custom designs. The Après Gel X Nail Extension Kit, for instance, is a one-time purchase. It allows multiple applications, saving you repeated salon visits. Each at-home manicure reduces the cost per use, stretching your beauty budget further.
The Convenience and Customization of DIY
Besides savings, the DIY Gel X nails offer convenience. You can apply them whenever it suits you, without salon appointment hassles. The comfort of doing your nails at home, on your schedule, can’t be overstated. Plus, customization is in your hands. You select shapes, sizes, and designs to match any outfit or occasion. The DIY approach turns nail art into a personal, creative outlet.