How to Apply Cream Blush
Contents
hide
Understanding the Allure of Cream Blush
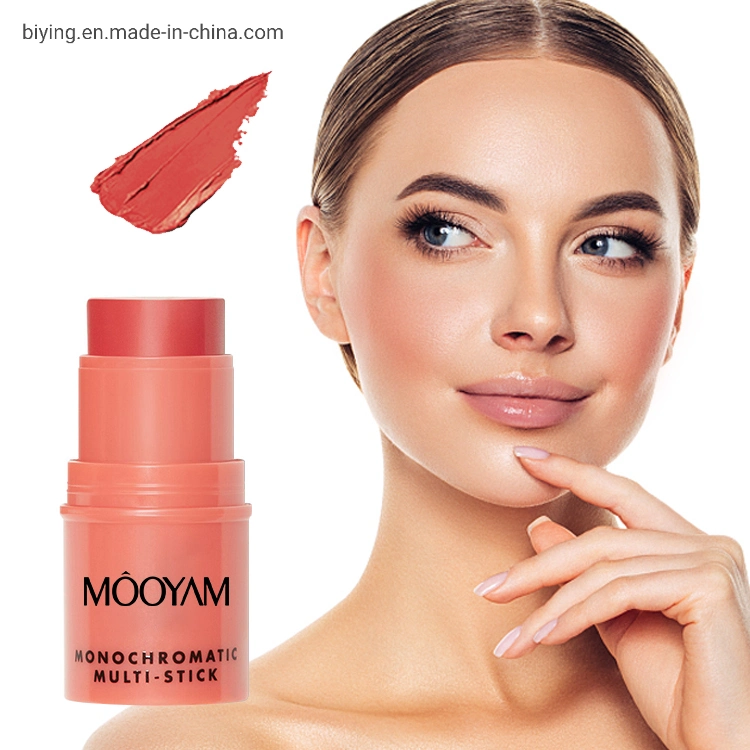
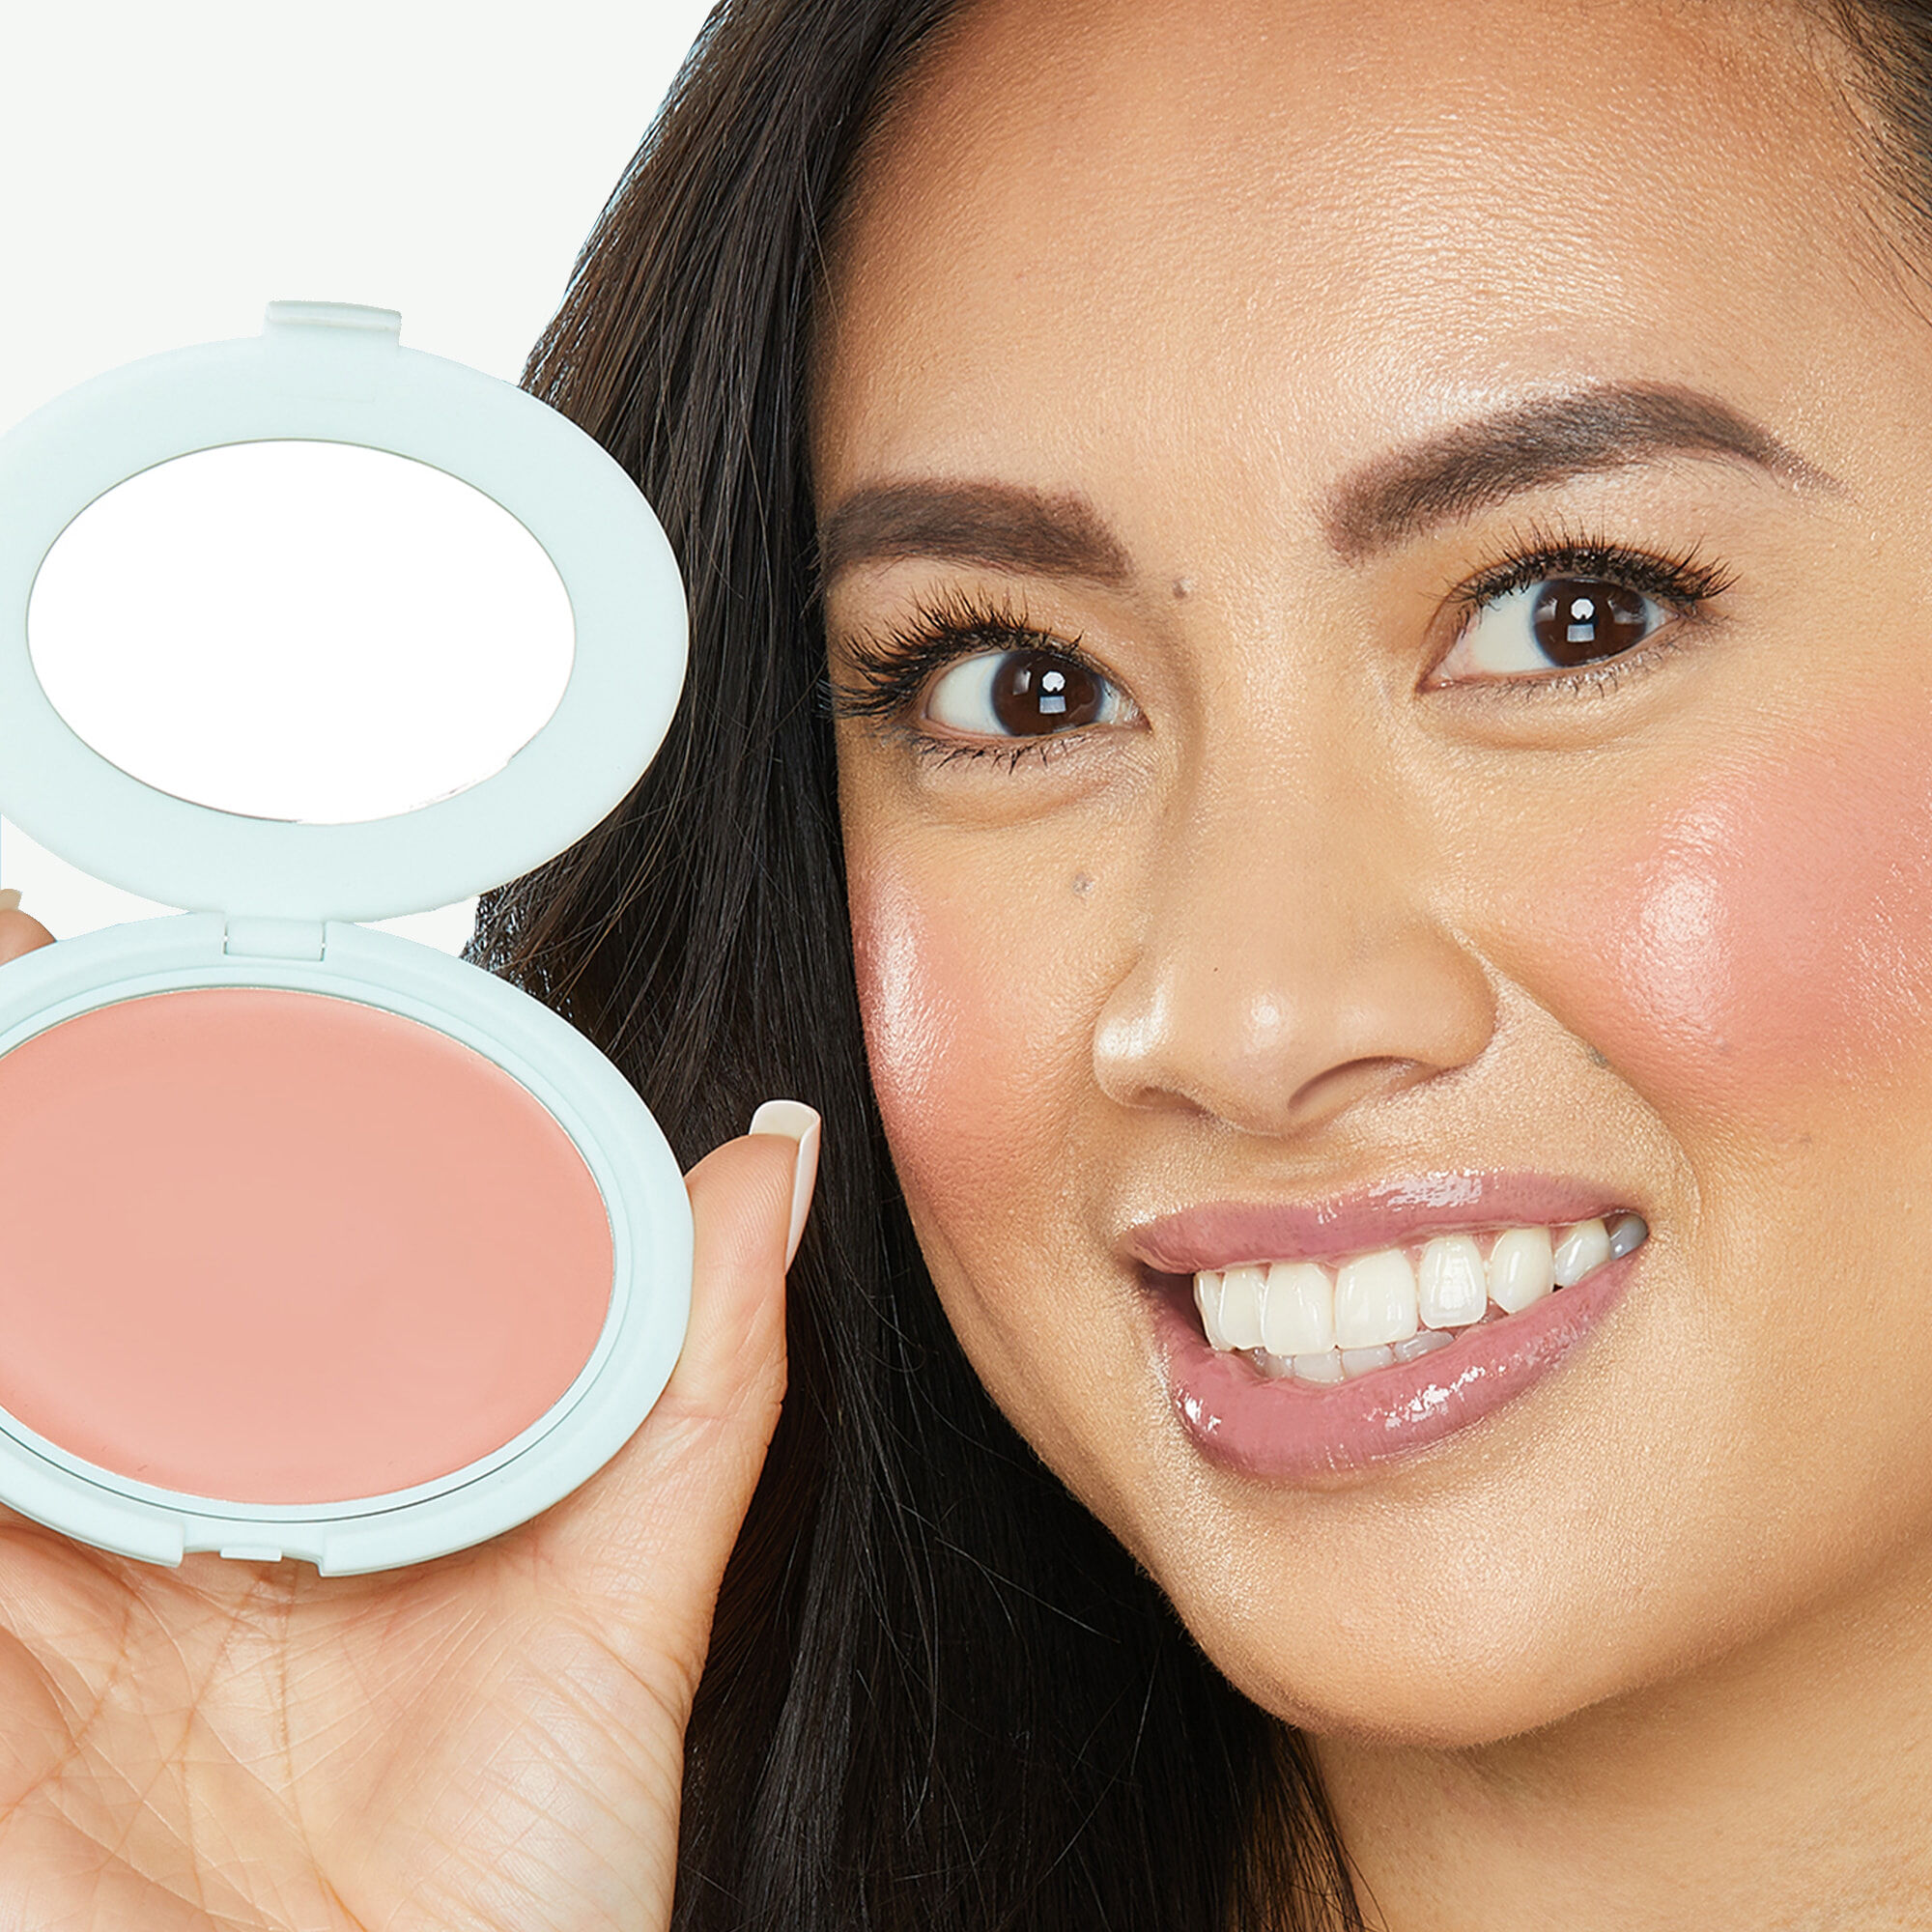
Cream blush has gained immense popularity in recent years, and for good reason. This versatile makeup product offers a natural, dewy finish that enhances the skin’s youthful glow. Unlike powder blushes, cream formulations blend seamlessly into the skin, creating a more natural-looking flush. They work particularly well for dry or mature skin types, providing hydration and a luminous effect. Cream blushes come in various forms, including stick, pot, and tube formats, each offering unique application benefits. The buildable nature of cream blush allows for both subtle and dramatic looks. How to apply cream blush?Many cream blushes also double as lip tints, making them perfect for on-the-go makeup routines.
The longevity of cream blush often surpasses that of powder formulations, especially on drier skin types. Additionally, cream blushes tend to be more pigmented, meaning a little product goes a long way. They photograph beautifully, giving a natural-looking flush in pictures. Cream blushes also blend well with other cream products like foundations and highlighters. The trend towards more natural, “no-makeup” makeup looks has further boosted the popularity of cream blushes. Many formulations now include skincare ingredients, providing beauty and skincare benefits in one product. Understanding these advantages helps in appreciating why mastering cream blush application is a valuable skill for any makeup enthusiast.
Choosing the Right Cream Blush for Your Skin Type
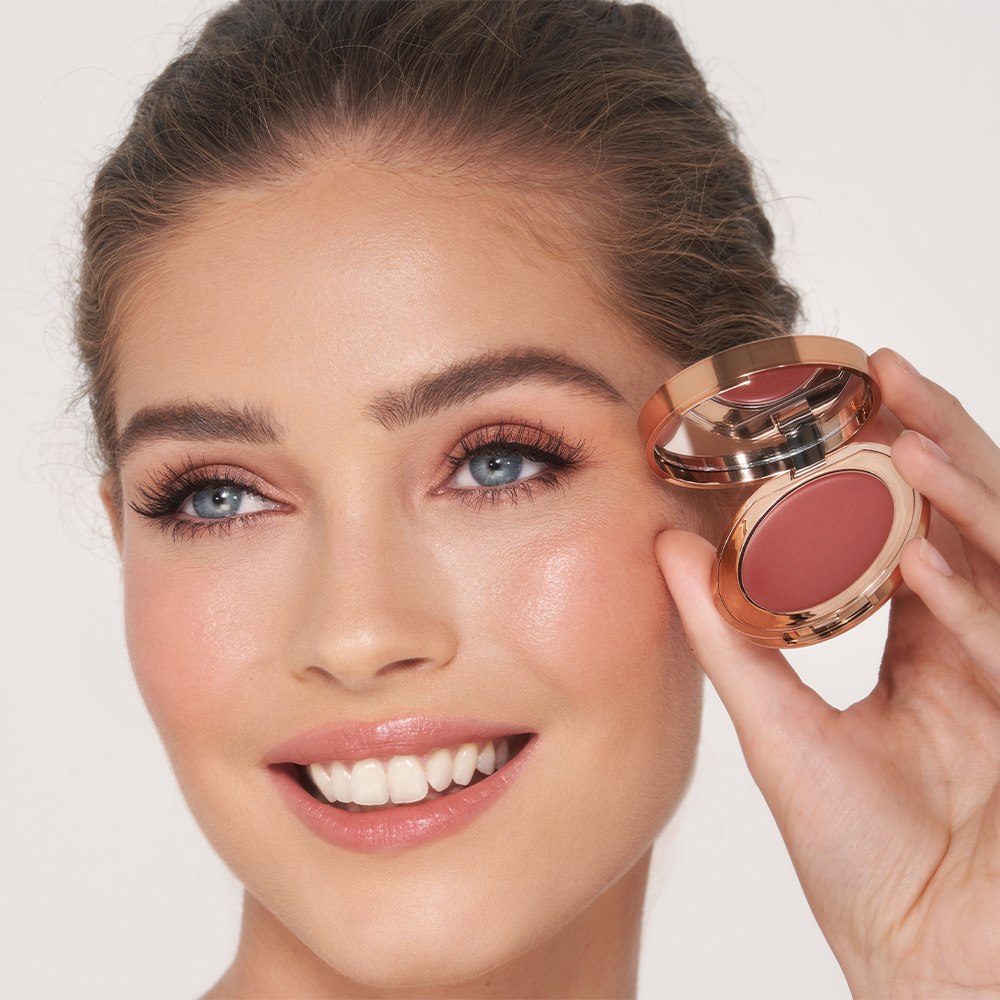
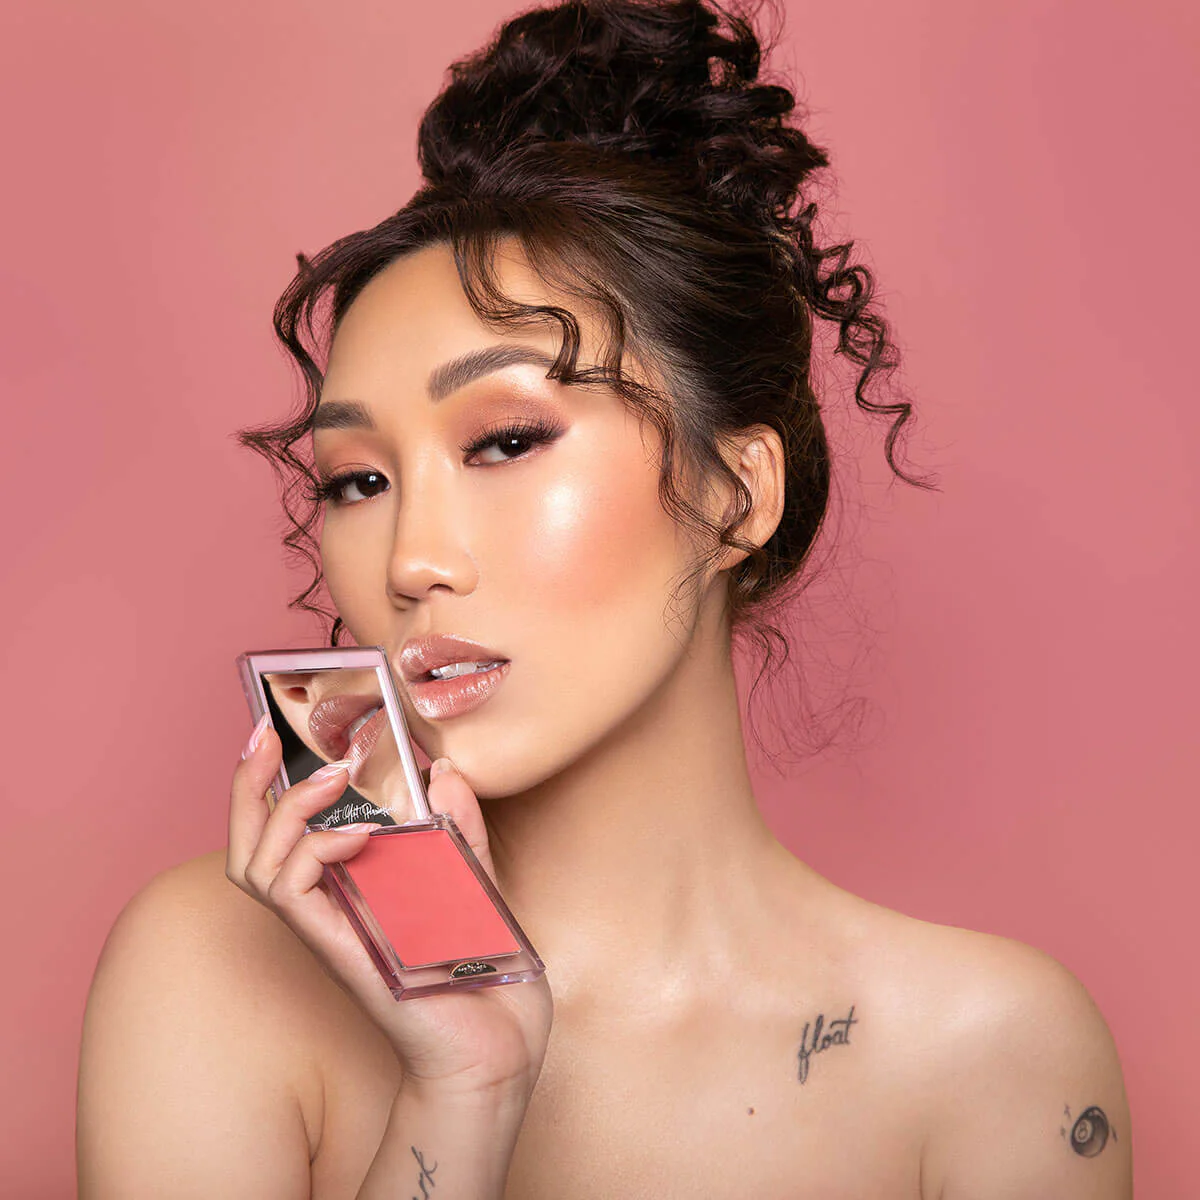
How to apply cream blush?Selecting the appropriate cream blush for your skin type is crucial for achieving the best results. For oily skin, opt for long-wearing, water-based formulas that won’t slide off throughout the day. Dry skin benefits from creamy, hydrating formulations that contain nourishing ingredients like hyaluronic acid or vitamin E. Those with combination skin should look for buildable formulas that can be easily layered. Sensitive skin types should choose hypoallergenic, fragrance-free options to minimize irritation. When it comes to color selection, consider your skin’s undertone. Warm undertones pair well with peach and coral shades, while cool undertones complement pink and berry hues.
For mature skin, choose formulas with light-reflecting particles to create a youthful glow. Fair skin looks beautiful with soft, pastel shades, while deeper skin tones can pull off vibrant, rich hues. Consider the finish as well – some cream blushes offer a matte look, while others provide a dewy effect. Testing the product on your skin before purchasing is always advisable, as colors can appear different once applied. Many brands now offer sample sizes or in-store testers for this purpose. Remember that your perfect shade might change with the seasons as your skin tone varies. Lastly, consider any skin concerns you may have, such as acne or rosacea, and choose formulas that won’t exacerbate these issues.
Essential Tools for Cream Blush Application
While cream blush can be applied with fingers, having the right tools can elevate the application process. A dense, synthetic brush works well for precise application and blending. Duo-fiber brushes offer a light, airbrushed effect perfect for buildable coverage. Beauty sponges, when slightly damp, can create a seamless, natural finish. For stick formulations, a stippling brush helps in blending out harsh lines. Small, angled brushes work well for applying cream blush as a contour or for precise placement. Finger application remains popular for its warmth, which helps melt the product into the skin. Some makeup artists swear by silicone applicators for their non-absorbent nature, allowing for maximum product use. Fan brushes can create a subtle wash of color when used with cream blush.
For touch-ups throughout the day, consider keeping a small, retractable brush in your makeup bag. Cream blush can also be applied with a damp beauty sponge for a super natural, “just-pinched” look. When using brushes, opt for synthetic bristles as they don’t absorb cream products like natural bristles do. Cleaning tools regularly is crucial to prevent bacteria buildup and ensure smooth application. Some brands offer specialized tools designed specifically for their cream blush formulas. Experimenting with different application tools can help you find the method that works best for your preferred finish and skin type.
Prepping Your Skin for Cream Blush
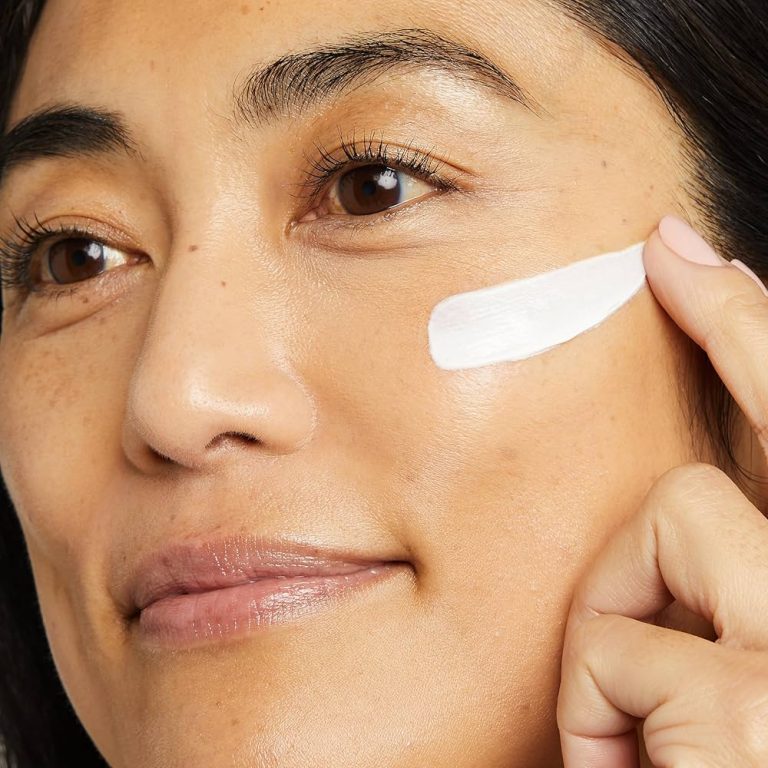
Proper skin preparation is key to achieving a flawless cream blush application. Start with a clean face, using a gentle cleanser suitable for your skin type. Follow up with a toner to balance the skin’s pH and remove any remaining impurities. Apply a lightweight moisturizer to hydrate the skin and create a smooth canvas. For oily skin types, use an oil-free primer to control shine and extend the wear of your makeup. Those with dry skin might benefit from a hydrating primer or facial oil to add extra moisture. Allow each skincare step to fully absorb before moving on to the next. If using sunscreen, apply it after moisturizer but before makeup.
For mature skin, a blurring primer can help minimize the appearance of fine lines and pores. Color-correcting primers can be useful for addressing specific skin concerns like redness or sallowness. If you have particularly dry or flaky skin, gentle exfoliation before makeup application can create a smoother surface. However, avoid over-exfoliating, as this can lead to irritation. For those with oily skin, a mattifying powder applied to the T-zone can help control shine without affecting the dewy finish of cream blush. Remember that well-hydrated skin will always provide the best canvas for cream products. Lastly, ensure your hands are clean before application to avoid transferring bacteria to your face.
Step-by-Step Guide to Applying Cream Blush
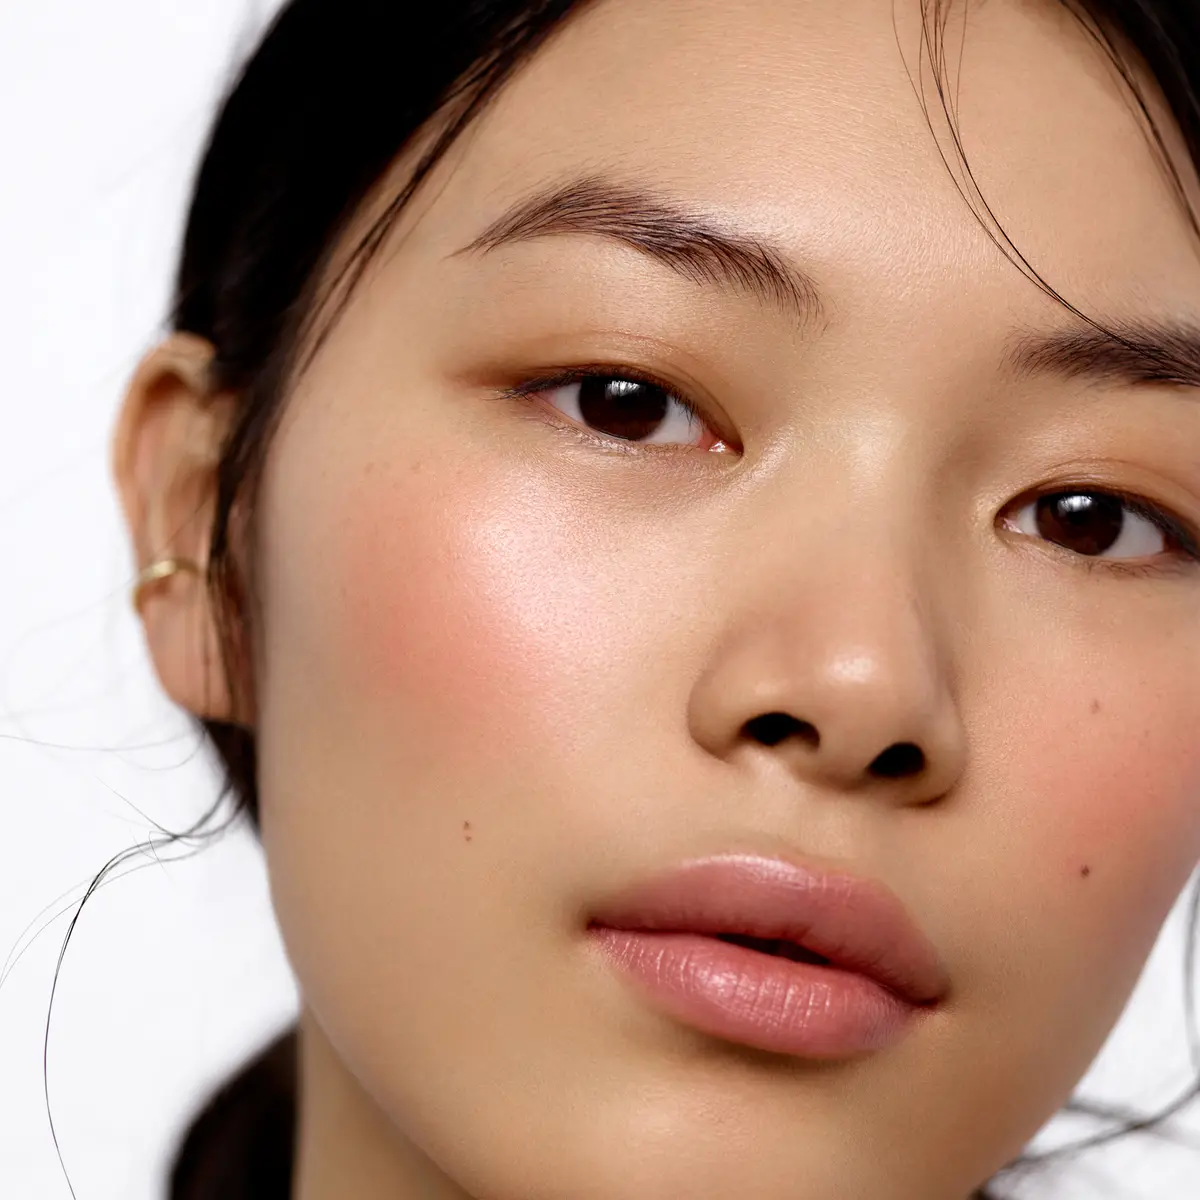
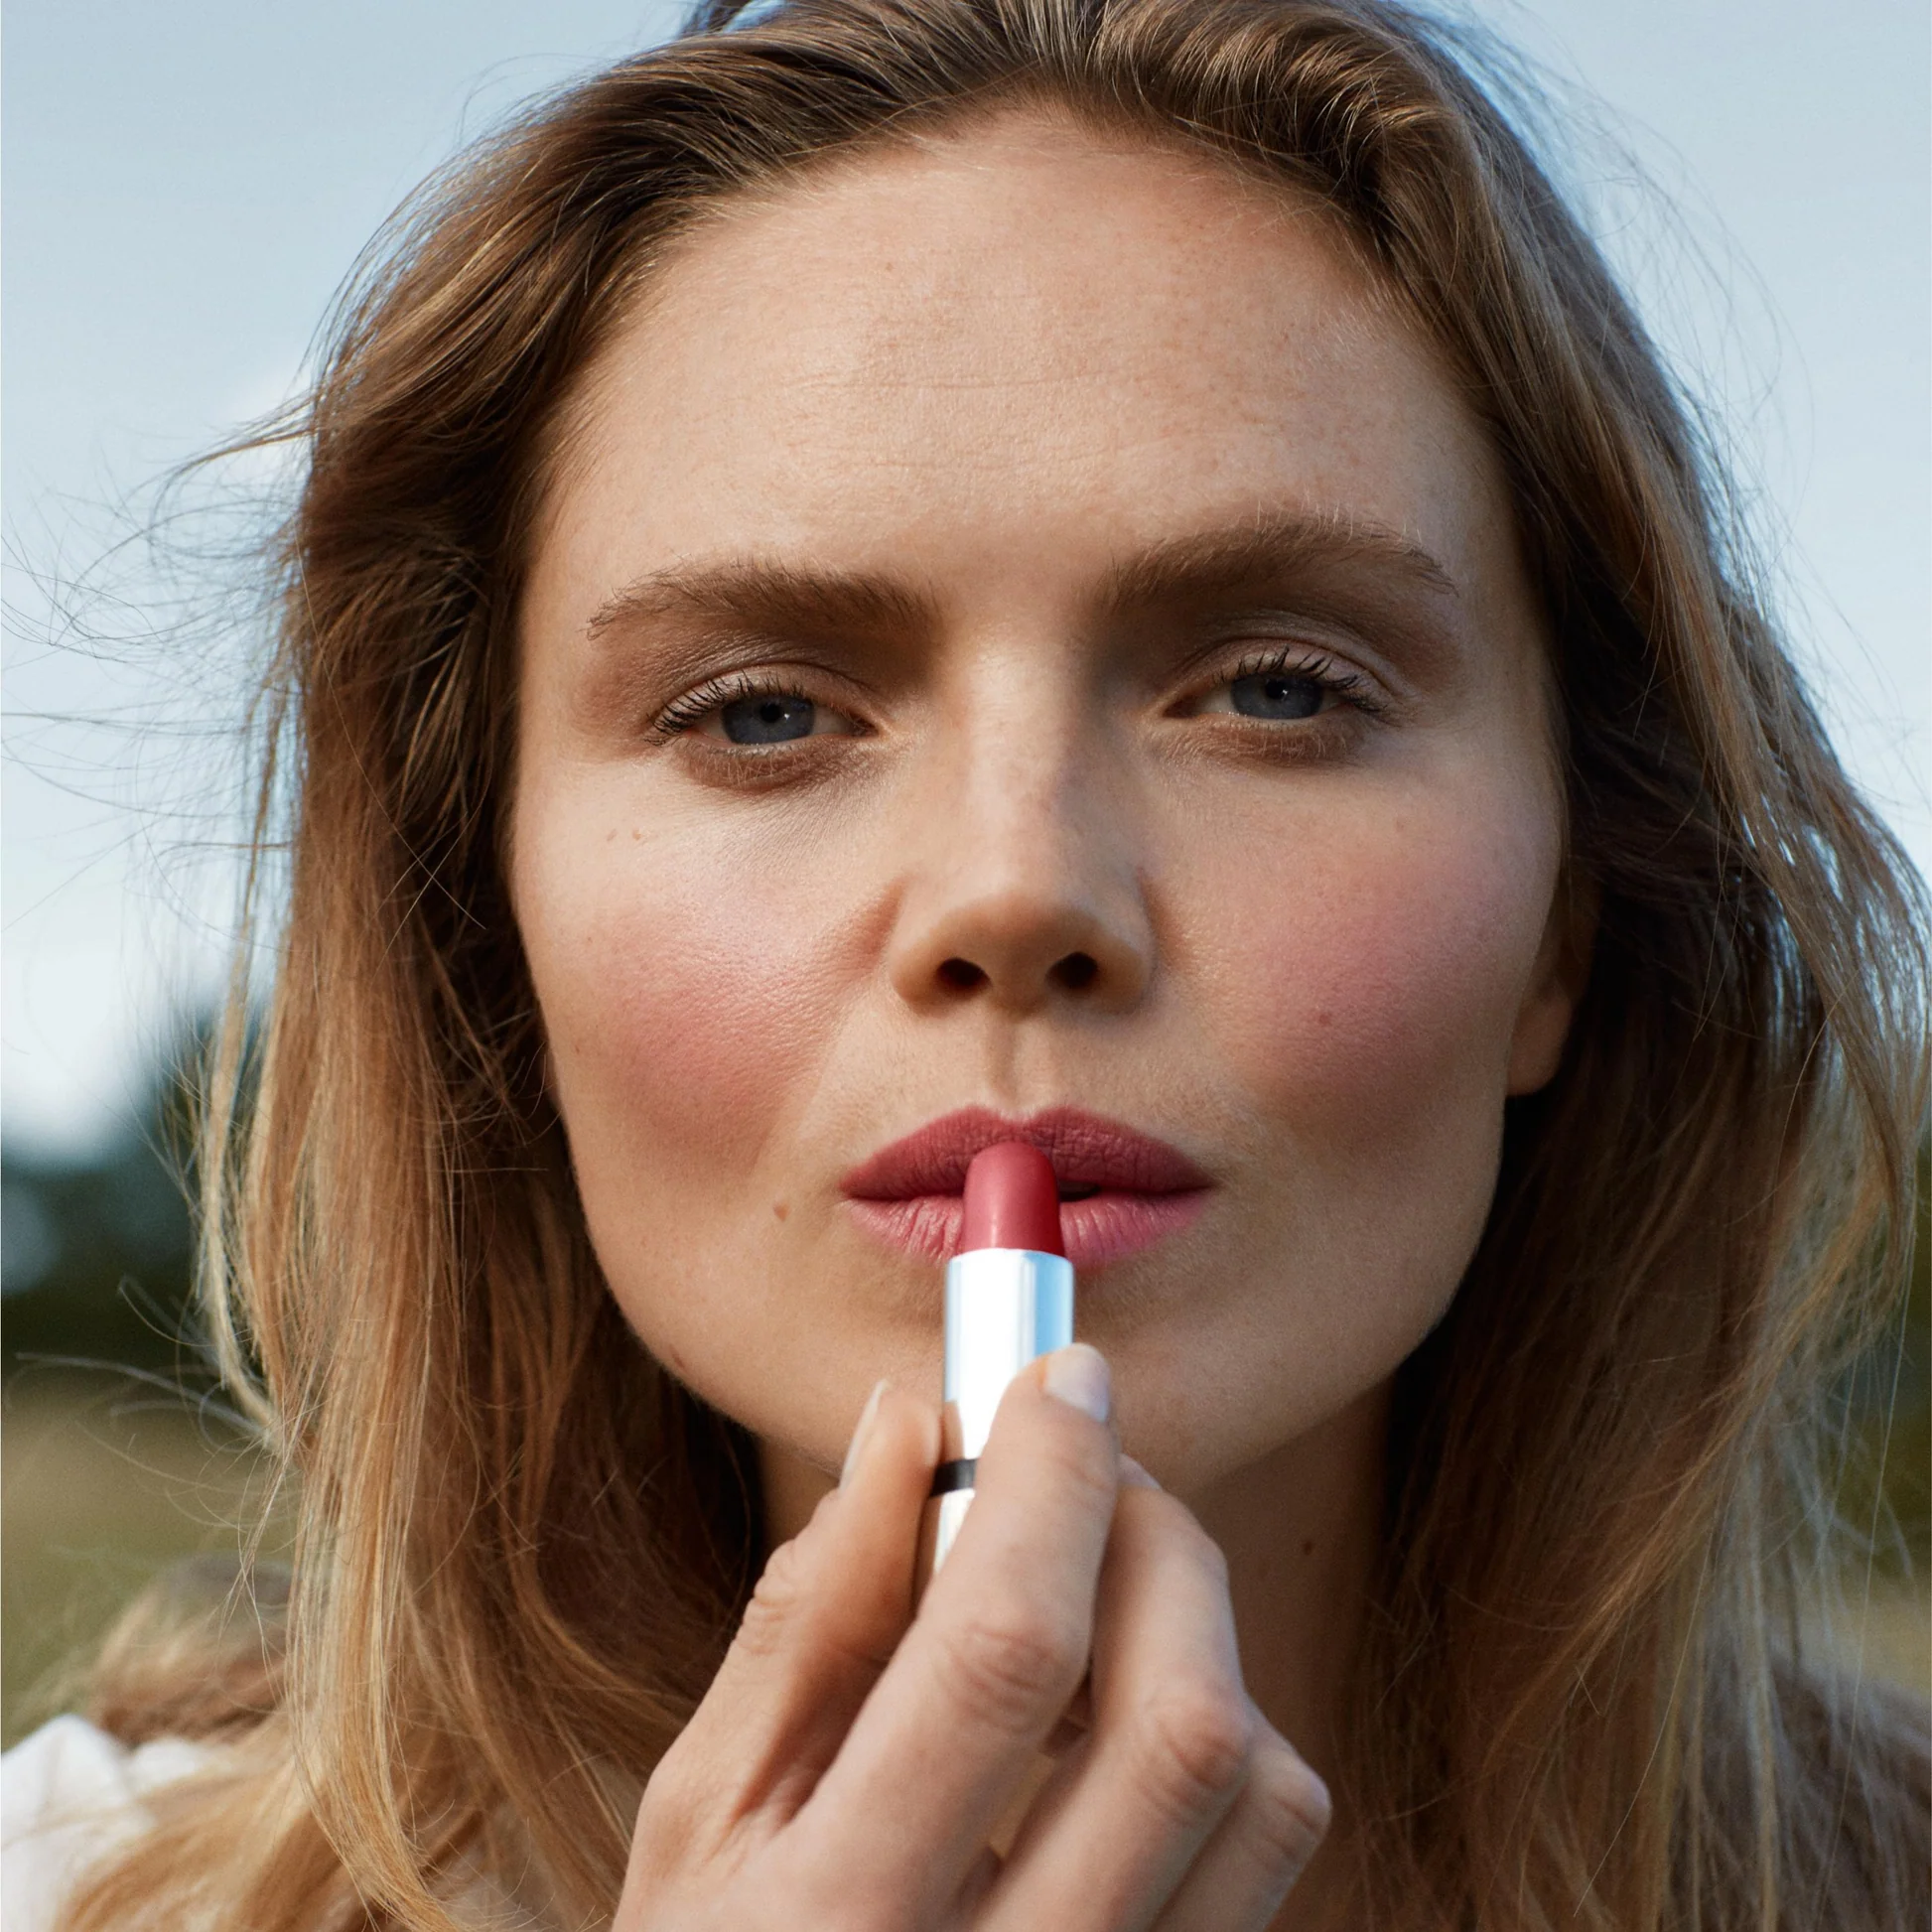
Applying cream blush effectively involves a series of simple steps. Begin by warming the product on the back of your hand or on a clean makeup palette. This step helps the blush blend more easily into the skin. Next, smile to identify the apples of your cheeks, which is where you’ll focus the color. Using your chosen tool or fingertips, gently dab a small amount of product onto the apples of your cheeks. Start with less product than you think you need, as it’s easier to build up color than to remove excess. Blend the blush outward and upward towards your temples using gentle, circular motions.
This technique creates a natural-looking flush and lifts the face. For a more sculpted look, apply the blush slightly higher on the cheekbones. If using fingers, use your ring finger for the gentlest application. Blend the edges of the blush thoroughly to avoid any harsh lines. For a sun-kissed look, apply a small amount across the bridge of your nose. Layer the product gradually until you achieve your desired intensity. If you’ve applied too much, use a clean brush or sponge to diffuse the color. For a monochromatic look, apply a small amount of the cream blush to your eyelids and lips. Set the blush with a light dusting of translucent powder if you have oily skin or want extended wear.
Advanced Techniques for Cream Blush Application
Once you’ve mastered the basics, explore advanced techniques to elevate your cream blush game. Try the “draping” technique, where blush is applied from the cheeks up to the temples and even around the eyes for a cohesive, flushed look. Experiment with color layering by applying a deeper shade of cream blush as a base and a lighter shade on top for dimension. For a natural contour, apply a darker cream blush shade just below the cheekbones and blend upwards. Create an ombré effect by applying two complementary shades of cream blush, with the darker shade closer to the ears and the lighter shade on the apples of the cheeks. Use cream blush as an eyeshadow base for a monochromatic makeup look.
Try the “igari” or “hangover” blush trend by concentrating the color under the eyes and across the nose bridge for a youthful, flushed appearance. For a summer glow, mix a small amount of liquid highlighter with your cream blush before application. Experiment with different placements – applying blush higher on the cheekbones can create a lifted appearance, while lower placement can add fullness to the face. Use cream blush to color correct – a peach tone can brighten under-eye areas on deeper skin tones. For a soft-focus effect, apply cream blush before foundation and let it peek through for a natural-looking flush.
Blending Techniques for a Flawless Finish
Mastering blending techniques is crucial for achieving a seamless cream blush application. Start by using light, tapping motions to deposit the color, then switch to gentle, circular motions to blend. The key is to use minimal pressure to avoid disturbing the base makeup underneath. For a diffused look, use a clean, fluffy brush to soften the edges of the blush. When using fingers, the warmth of your skin helps melt the product, allowing for easier blending. However, be mindful of applying too much pressure, which can remove base makeup.
A damp beauty sponge can help sheer out the product for a more natural finish. Blend in natural light whenever possible to ensure even application. If you notice any harsh lines, use a clean brush or sponge to buff them out. For a airbrushed effect, try stippling the product with a duo-fiber brush. When blending multiple colors, start with the deepest shade and gradually work towards the lightest. Always blend beyond the initial application area to create a natural gradient effect. If the blush looks too intense, use your foundation brush (with leftover product) to tone it down. Remember that blending should be an ongoing process throughout application, not just a final step.
Troubleshooting Common Cream Blush Issues
Even with proper technique, issues can arise when applying cream blush. One common problem is patchiness, often caused by dry skin or uneven application. To fix this, gently press a damp beauty sponge over the area to redistribute the product. If cream blush fades quickly on oily skin, try applying a mattifying primer beforehand or setting with a translucent powder. For those experiencing cakiness, try using less product or mixing the cream blush with a drop of facial oil for smoother application. If the color appears too intense, blend it out with a clean sponge or add a layer of sheer foundation over it.
When cream blush emphasizes texture or pores, try applying it before your foundation for a softer look. If the product balls up or pills, it may be incompatible with your base products. In this case, wait longer between skincare and makeup application. For those struggling with even application, try using a cream blush palette to custom mix your perfect shade. If cream blush transfers too easily, set it with a matching powder blush. When the color oxidizes or changes throughout the day, try a color-correcting primer underneath. If you’re experiencing breakouts from cream blush, ensure you’re thoroughly cleaning your tools and consider switching to a non-comedogenic formula.
Maintaining and Removing Cream Blush
Proper maintenance of cream blush ensures longevity and hygiene. Store cream blushes in a cool, dry place away from direct sunlight to prevent melting or texture changes. Clean the surface of your cream blush regularly with a tissue to remove any built-up oils or bacteria. For pot formulations, always use clean tools or fingers to prevent contamination. Check the expiration date and be aware of any changes in smell, color, or texture, which could indicate it’s time to replace the product. When traveling, store cream blushes in a sealed plastic bag to prevent leakage. To extend the wear of your cream blush throughout the day, carry a small amount in a contact lens case for touch-ups.
Removing cream blush effectively is just as important as application. Start with an oil-based makeup remover or cleansing balm to break down the product. Gently massage the remover into the skin, focusing on areas where blush was applied. Follow up with a water-based cleanser to remove any remaining residue. For stubborn cream blush, a microfiber cloth can help gently exfoliate and remove the product. Always follow up with your regular skincare routine to nourish the skin after makeup removal. If you have sensitive skin, look for fragrance-free makeup removers to minimize irritation.
Incorporating Cream Blush into Different Makeup Looks
How to apply cream blush?Cream blush versatility allows for incorporation into various makeup looks. For a natural, no-makeup makeup look, apply a sheer layer of cream blush to bare skin or over tinted moisturizer. Pair it with curled lashes and tinted lip balm for a fresh-faced appearance. In a glamorous evening look, layer cream blush under a powder blush for intense color and longevity. Complement this with smoky eyes and a bold lip. For a monochromatic makeup look, use the same cream blush on cheeks, eyelids, and lips. This creates a cohesive, trendy appearance. In summer, create a sun-kissed look by applying cream blush across the cheeks and bridge of the nose.
Pair with bronzer for a beach-ready glow. For winter, opt for deeper berry tones and apply them slightly lower on the cheeks for a wind-chilled effect. In professional settings, choose a subtle shade and apply it sparingly for a polished yet natural look. For editorial or avant-garde makeup, experiment with unconventional placements or color combinations. Bridal makeup benefits from the longevity and natural finish of cream blush, especially in photographs. For mature skin, cream blush can add a youthful glow when applied to the upper cheekbones. Lastly, for a quick on-the-go look, dab cream blush on cheeks, eyelids, and lips for an effortless, coordinated appearance.