From Damp to Dry: A Complete Guide on How to Waterproof a Tent
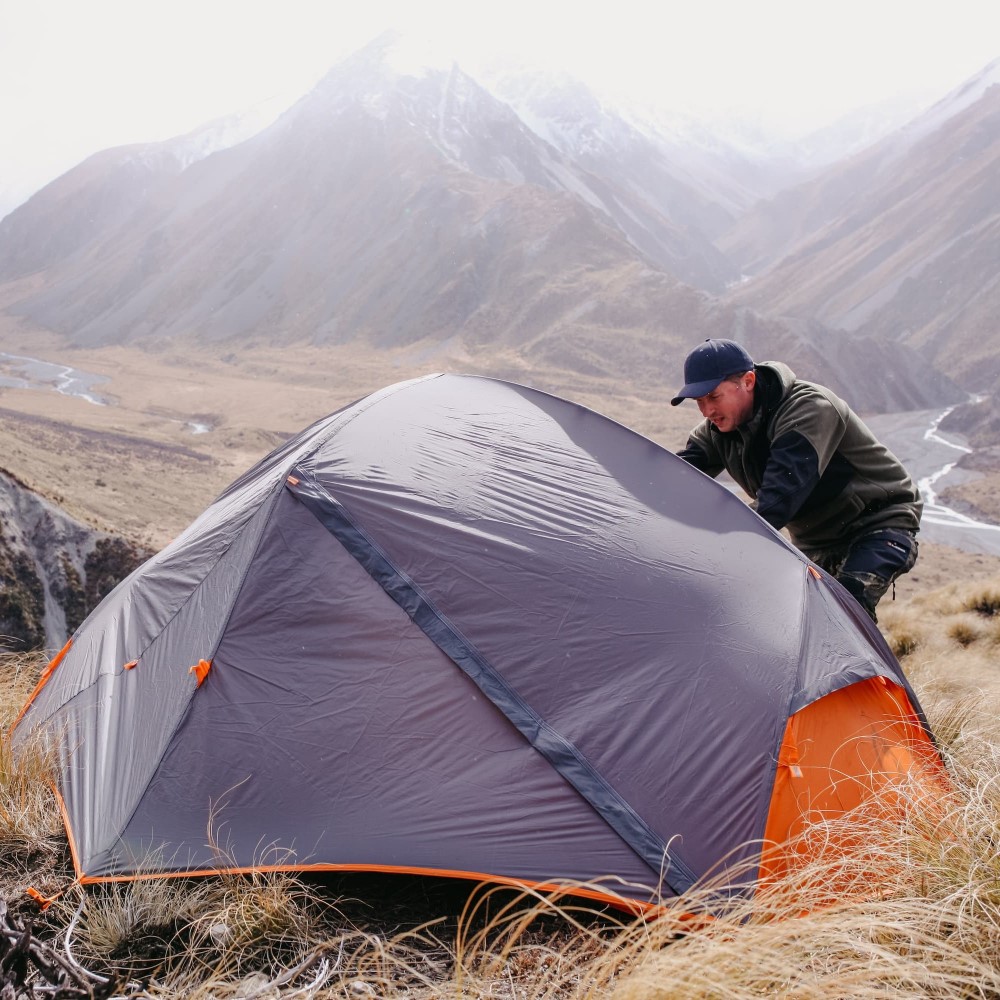
Spending time in nature is rewarding. Yet one of the biggest threats to comfort and safety while camping is a leaking tent. That’s why learning how to waterproof a tent is essential for every outdoor enthusiast. Whether you’re preparing for a weekend hike or a multi-day backpacking trip, a dry shelter makes all the difference. Moisture weakens fabric, encourages mold, and ruins gear. By taking preventive steps, you ensure your tent remains reliable through rain, dew, and high humidity.
Moreover, most tents come with some level of water resistance. However, factory coatings wear down over time. Zippers, seams, and stitching are common entry points for water. Therefore, knowing how to waterproof a tent goes beyond just buying a quality model. It includes routine care, proper setup, and proactive treatment. With the right techniques, you can extend your tent’s life and stay dry no matter the forecast.
 Why Water Resistance Fades Over Time
Understand the Impact of UV Rays, Dirt, and Use
Even high-quality tents lose their ability to repel water after repeated use. One major factor is exposure to sunlight. UV rays break down the chemical bonds in waterproof coatings. This degradation happens slowly. You may not notice it until the first big storm hits.
Dirt and grime also play a role. Mud, tree sap, and dust build up on the outer fabric. These substances clog the pores of breathable membranes. As a result, moisture gets trapped inside. The tent feels damp even when it’s not raining.
Folding and packing create friction. Constant creasing wears thin spots in the material. Seams stretch and loosen over time. Each fold weakens the structure slightly.
Condensation adds stress too. Warm air from breathing rises and meets cold fabric. This forms droplets that soak into the inner layer. Poor ventilation speeds this process.
Wet storage causes long-term harm. Storing a damp tent leads to mildew and rot. Mold eats away at fibers. Once damaged, recovery is hard.
Therefore, regular maintenance prevents these issues. Knowing how to waterproof a tent helps you act before problems grow.
Step-by-Step: How to Waterproof a Tent Properly
Prepare, Clean, and Apply Treatments Safely
To begin how to waterproof a tent, start by setting it up in a clean, dry area. Use a backyard or garage floor. Make sure there’s enough space to fully extend all poles and flaps. This allows full access to every panel.
Next, remove dirt and debris. Use a soft brush and lukewarm water. Gently scrub both the outside and inside. Avoid harsh soaps or bleach. These strip natural finishes. Rinse thoroughly and let the tent air dry completely. Never apply treatments to a wet surface.
Once dry, inspect for damage. Look for tiny holes, frayed threads, or worn zippers. Repair any tears with a patch kit before continuing. Fixing flaws early ensures better protection.
Then, focus on seam sealing. Use a liquid seam sealer like Gear Aid Seam Grip. Apply it along all stitched lines. Pay close attention to corners and stress points. Let it cure for 12–24 hours. Avoid touching during this time.
After sealing, spray the exterior with a durable water repellent (DWR). Products like Nikwax Tent & Gear Proof work well. Hold the can 6–8 inches away. Spray evenly without soaking. Allow another 24 hours to dry. Hence, following each step carefully leads to lasting results.
 Focus on Critical Areas: Seams, Zippers, and Floor
Protect the Weakest Points First
When you learn how to waterproof a tent, you must prioritize the most vulnerable parts. Seams are the number one source of leaks. Thread passes through tiny holes in the fabric. Even if taped, they can fail under pressure. Applying a flexible sealant fills these micro-openings.
Zippers need special care. Most tents have weather flaps. But the zipper teeth themselves aren’t waterproof. Use a silicone-based lubricant. It conditions the slider and improves water resistance. Also, always zip from bottom to top. This keeps tension even.
The floor is constantly under threat. Rocks, sticks, and moisture wear it down. Always use a footprint or groundsheet. This barrier stops abrasion. Secure it so it doesn’t extend past the edges. Otherwise, it will channel rainwater underneath.
Rainflys protect the main body. Check buckles, clips, and tie-outs. Replace broken ones immediately. Tighten guylines to prevent sagging. Pooled water increases strain.
Mesh panels should remain breathable. Do not coat them with DWR. They rely on airflow to reduce condensation. Blocking them traps humidity inside.
By targeting weak zones, you improve overall performance. Prevention beats repair every time.
Choosing the Right Waterproofing Products
Match Solutions to Fabric Type and Climate
Not all waterproofing products work the same way. Choosing the right one depends on your tent’s materials. Polyester and nylon respond well to DWR sprays. Silicone-coated fabrics need specific sealers. Always read labels before applying.
For seam sealing, liquid sealants come in tubes or pens. Clear formulas dry transparent. Colored ones help track coverage. Some are flexible. Others harden. Pick based on expected movement.
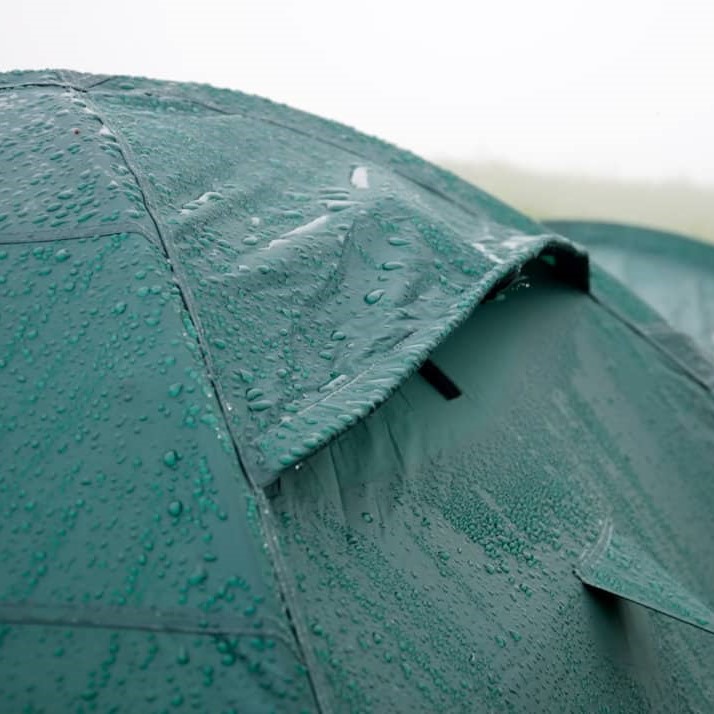
Spray-on treatments renew the outer coating. They restore beading action. Water should roll off instead of soaking in. Reapply every few seasons. Heavy-use campers do this annually.
Avoid wax-based products. They clog breathable membranes. Breathable tents allow vapor to escape. Blocking this causes internal fogging.
Footprints require different care. Polyethylene sheets don’t need treatment. But coated canvas versions benefit from waterproofing sprays.
Buy trusted brands like Nikwax, Grangers, or Gear Aid. Cheap alternatives often fail. Test new products on small areas first. Hence, using the correct solution ensures safety and durability.
Maintaining Your Tent After Waterproofing
Extend Results with Smart Habits and Storage
After completing how to waterproof a tent, maintenance keeps the work effective. Always shake off excess water before packing. Don’t roll or stuff a wet tent. This spreads moisture across treated areas.
Set up in dry spots when possible. Avoid low grounds where puddles form. Use a tarp under the tent, but never wider than the base. Keep edges tucked in.
Clean gently after each trip. Wipe down surfaces with a damp cloth. Remove pine needles, sand, or bird droppings. These scratch and degrade coatings.
Air out the tent at home. Set it up in a shaded yard. Leave it for several hours. This removes trapped humidity. Store only when fully dry.
Use a large mesh bag for storage. Never compress it tightly. Squeezing creates permanent creases. These become weak points later.
Recheck waterproofing once a year. Perform touch-ups as needed. Reseal seams and reapply DWR before peak season. Thus, ongoing care protects your investment.
 Common Mistakes to Avoid When Waterproofing
Prevent Damage from Over-Treatment and Wrong Methods
Many people make errors when trying how to waterproof a tent. One common mistake is over-spraying. Too much DWR builds residue. This clogs pores and reduces breathability. Apply lightly and evenly. Less is more.
Another issue is treating the wrong side. DWR goes on the outside. Seam sealer applies to the interior seams. Mixing them up leads to poor results.
Never machine wash or dry a tent. Agitation destroys coatings. Heat melts adhesives. Hand cleaning is safer.
Some users skip seam sealing. They rely only on spray treatments. This leaves gaps. Seams must be sealed separately.
Using household waterproofing sprays like Scotchgard is risky. These are designed for clothing. They may damage tent materials. Stick to outdoor-specific formulas.
Setting up on sharp rocks without a footprint causes instant damage. No amount of treatment fixes punctures. Prevention matters most.
Hence, avoiding these mistakes saves time and money.
 Frequently Asked Questions
Can I Waterproof a Tent in Cold Weather?
It’s best to treat your tent in mild temperatures. Ideal range is 50–75°F (10–24°C). Cold slows drying. Sealer may crack if applied too soon. Wait for warmer days.
Should I Retreat the Rainfly Separately?
Yes. Remove it if possible. Treat it on its own. This ensures full coverage. Check for worn stitching or loose hems.
How Often Should I Re-Waterproof My Tent?
Most campers re-treat every 1–3 years. Frequent users should do it annually. Watch for signs like soaked fabric or water streaks.
Does Washing My Tent Remove Waterproofing?
Yes. Regular washing strips DWR and seam sealers. Only clean when necessary. Use mild soap and rinse well. Reapply treatments afterward.
Can I Sleep in the Tent While Treating It?
No. Let it dry fully outdoors. Chemical fumes may linger. Sleeping inside too soon risks irritation.
Final Thoughts
Stay Dry, Safe, and Ready for Any Weather
Learning how to waterproof a tent is a vital skill for every camper. It transforms an ordinary shelter into a reliable retreat. With proper care, your tent withstands storms, dew, and heavy use. You gain peace of mind knowing your gear won’t fail.
These steps are simple but powerful. Cleaning, sealing, spraying, and storing correctly add years to your tent’s life. Plus, they keep you warm and dry in tough conditions. Whether you’re a beginner or seasoned explorer, mastering this process pays off. Ultimately, how to waterproof a tent isn’t just about maintenance—it’s about confidence in the wild.