French Tip Nails: Essential Tools and Materials for DIY French Tips
Contents
hide
Introduction to French Tip Nails
The beauty of French tip nails lies in their classic and timeless appeal. Originating from France, this style has become a staple in manicure fashion. It features a natural or pale pink base with a white tip, mimicking a natural nail but with a more polished, refined finish. Learning how to do French tip nails can elevate your nail game, adding elegance to your everyday look.
French tips are versatile for any occasion, whether it’s a casual day out or a formal event. Mastering the DIY approach gives you control over the design details and saves you a trip to the salon. Not only will you acquire a new skill, but also the freedom to experiment with variations on the traditional look.
Embrace the DIY spirit as we guide you through the process of achieving perfect French tip nails from the comfort of your home. By the end of this blog, you’ll be equipped with the knowledge to create this chic manicure whenever your heart desires.
Essential Tools and Materials for DIY French Tips
Before diving into the DIY French tip manicure process, make sure you have the right tools and materials on hand. A successful French manicure starts with a good preparation. Here is a list of the essentials you’ll need for an at-home French tip manicure:
- Nail polish remover: To clean your nails and remove any old polish.
- Cotton balls or pads: For applying nail polish remover and cleaning the nail surface.
- Nail clippers: To trim your nails to the desired length.
- Nail file: To shape your nails and smooth any rough edges.
- Buffing block: To create a smooth surface on your nails, which helps the polish adhere better.
- Cuticle pusher: To gently push back your cuticles for a clean nailbed.
- Base coat: To protect your natural nails from staining and help your polish last longer.
- Pale pink or nude polish: The classic base color for French tips.
- White polish: For creating the iconic white tip.
- Top coat: To seal in your manicure and add a glossy shine.
- French tip guides: These adhesive strips help you achieve a precise white line.
- Clean-up brush: To fix any mistakes and ensure a crisp edge around your French tips.
These items are essential for creating a professional-looking French tip manicure at home. With these tools in place, you’re ready to begin the process of how to do French tip nails and bring a touch of sophistication to your nail routine.
Preparing Your Nails for French Tips
Before you start painting, proper nail preparation is key to a flawless French tip manicure. Clean, well-prepped nails ensure your polish adheres correctly and looks its best. Follow these simple steps to prepare your nails for French tips:
- Start by removing any existing nail polish. Use a cotton ball soaked in nail polish remover to wipe each nail gently but thoroughly.
- Next, wash your hands with soap and water. This step removes any residue from the nail polish remover and oils from your nails.
- Dry your hands and then use nail clippers to trim your nails to your desired length. Make sure all nails are even and similar in shape.
- Shape your nails with a file. Move in one direction to avoid splitting your nails. Aim for a shape that compliments your fingers.
- Gently buff the surface of your nails with a buffing block. This will create a smooth canvas for your polish and help the polish stay on longer.
- Push back your cuticles with a cuticle pusher. Be gentle to avoid hurting your nail beds. Do not cut your cuticles, as this can lead to infections.
- Finally, clean your nails one more time with a little bit of nail polish remover on a cotton ball. This will remove any dust from filing and buffing.
With these steps, you’re now ready to move on to the art of applying perfect French tips. Taking time to prep your nails will make a noticeable difference in the finished look and longevity of your manicure.
Step-by-Step Guide to Applying French Tips
Ready to transform your prepped nails into chic French tips? Follow this step-by-step guide to apply French tips like a pro:
- Apply a base coat. Start with a thin, even layer of your base coat. This protects your nails and helps the polish stick better.
- Paint your base color. Choose a pale pink or nude polish and apply two thin coats. Allow it to dry fully between coats.
- Place the French tip guides. Once your base coat is dry, gently apply the adhesive guides just below the white part of your nail. Ensure they are straight and secure.
- Brush on the white polish. Use white polish to paint the tips of your nails. Apply the polish over the guides and slightly onto the natural white of the nail for best results. Keep the layers thin to avoid smudging.
- Remove the guides. Slowly peel off the guides while the white polish is still slightly wet. This helps create a crisp line.
- Clean up edges if needed. Use a clean-up brush dipped in nail polish remover to fix any imperfections along the white tip line.
- Apply a top coat. Finish with a glossy top coat to seal in your French tips. This also adds shine and extends the life of your manicure.
Take your time with each step to ensure precision. Perfecting how to do French tip nails might take a few tries, but practice makes perfect. Enjoy your elegant, salon-quality nails!
Tips for Achieving the Perfect French Manicure
Learning how to do French tip nails involves more than just following steps. It requires finesse and attention to minute details to achieve the signature look that distinguishes a top-notch French manicure from an average one. Here are some expert tips to bear in mind to ensure you get that salon-quality finish:
- Ensure your base is flawless. Before applying color, make sure your base coat is smooth and even. Any bumps or imperfections can show through the light-colored polish.
- Use thin coats of polish. Thick layers can lead to smudging and take longer to dry. Thinner layers dry quickly and look more refined.
- Keep a steady hand. Precision is key when painting your tips. Rest your hands on a flat surface to keep them stable.
- Wait for each layer to dry. Be patient between coats. Rushing can cause smears and ruin the manicure’s clean lines.
- Use a top coat regularly. Reapply your top coat every few days to maintain shine and prevent chipping.
With these pro tips and the step-by-step guide previously outlined, nailing the French tip manicure at home is within your reach. Practice and patience will lead to perfection, so don’t get discouraged if your first few attempts don’t turn out as expected. Keep at it, and soon you’ll be crafting flawless French tips with ease.
French Tip Variations and Creative Ideas
The classic French tip manicure is iconic, but don’t be afraid to put your twist on it. Use these ideas to add a little extra flair to your nails:
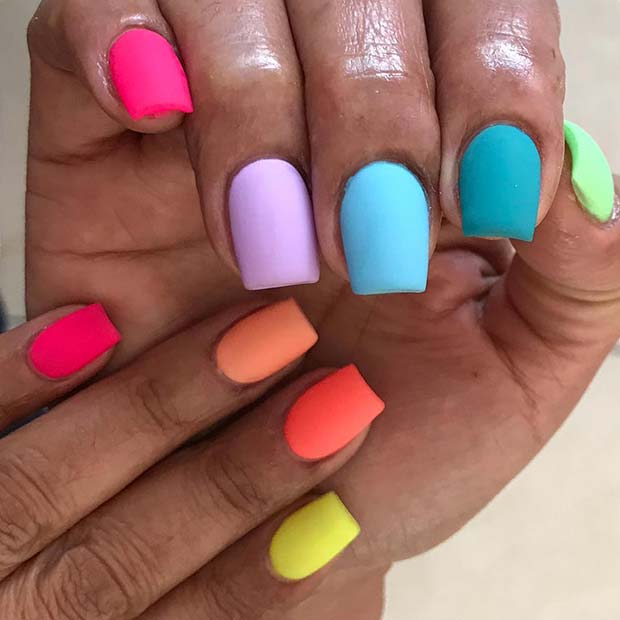
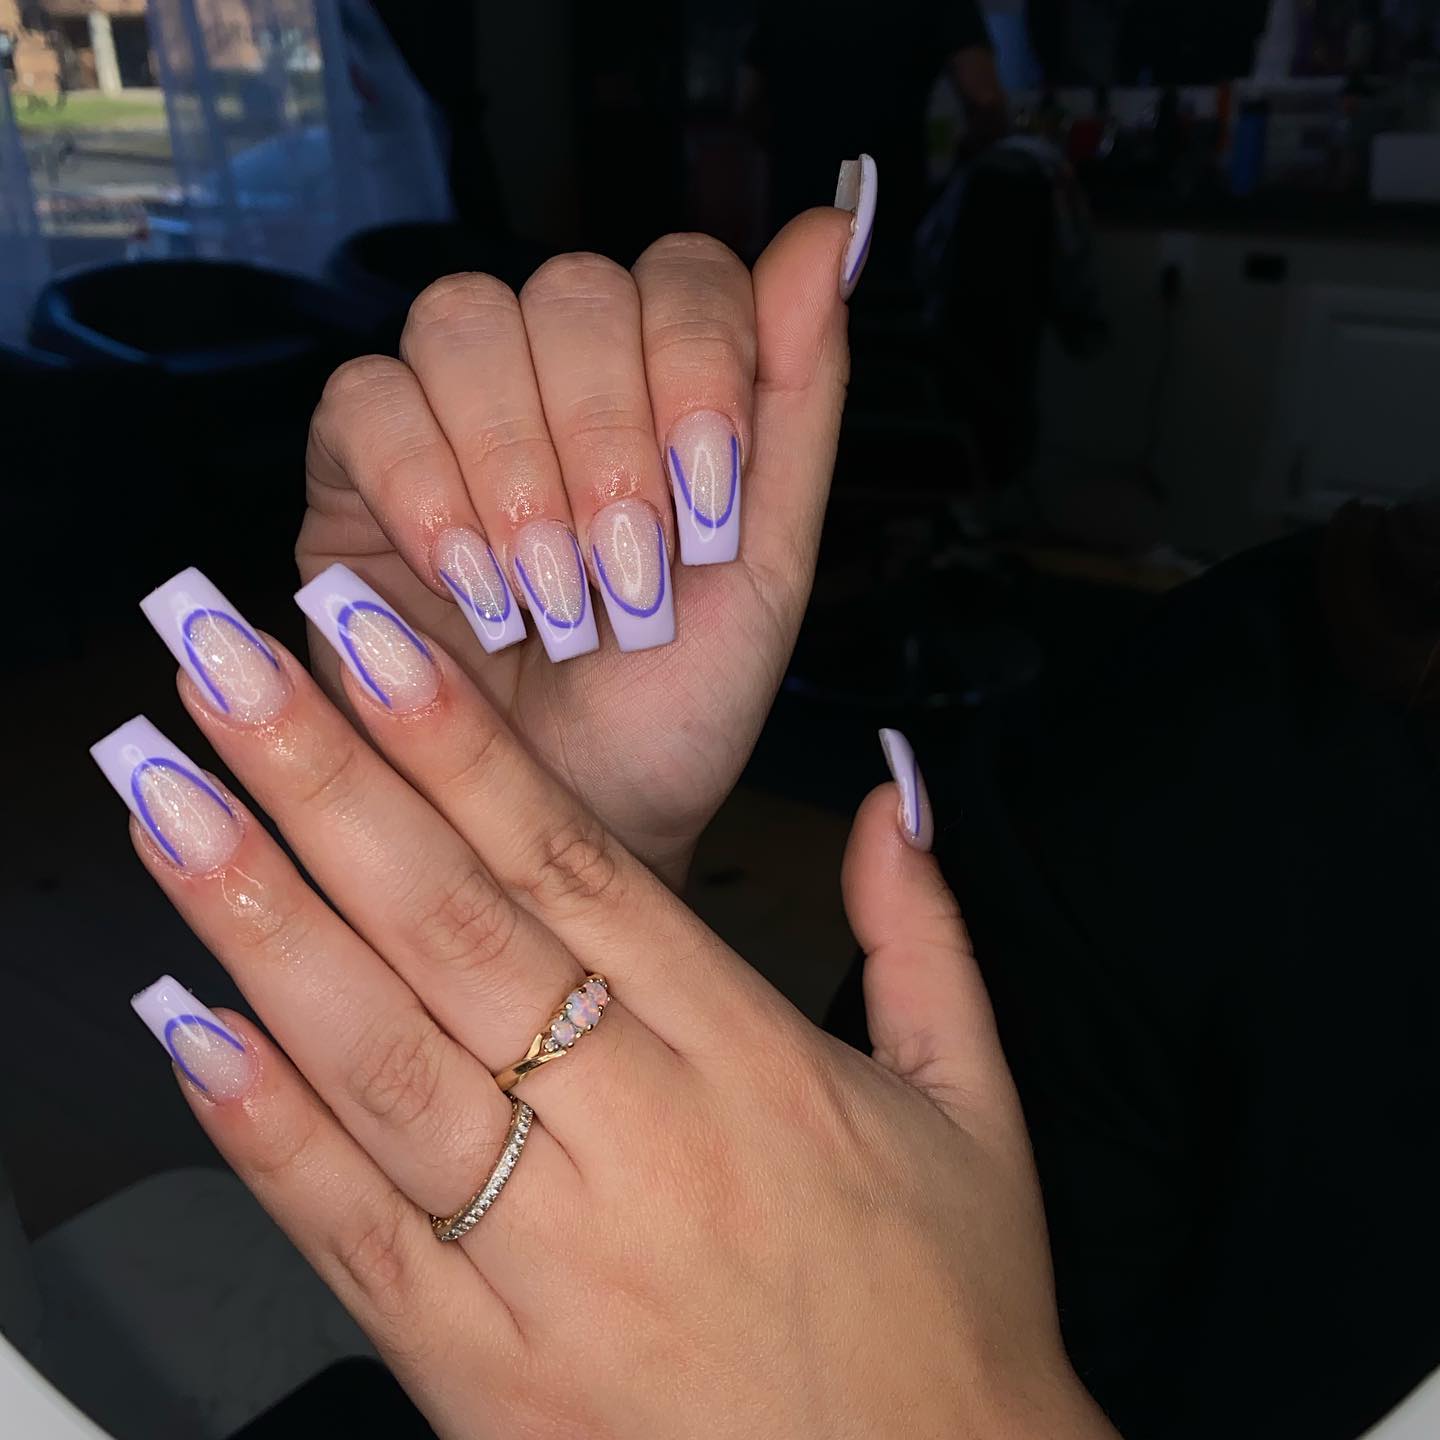
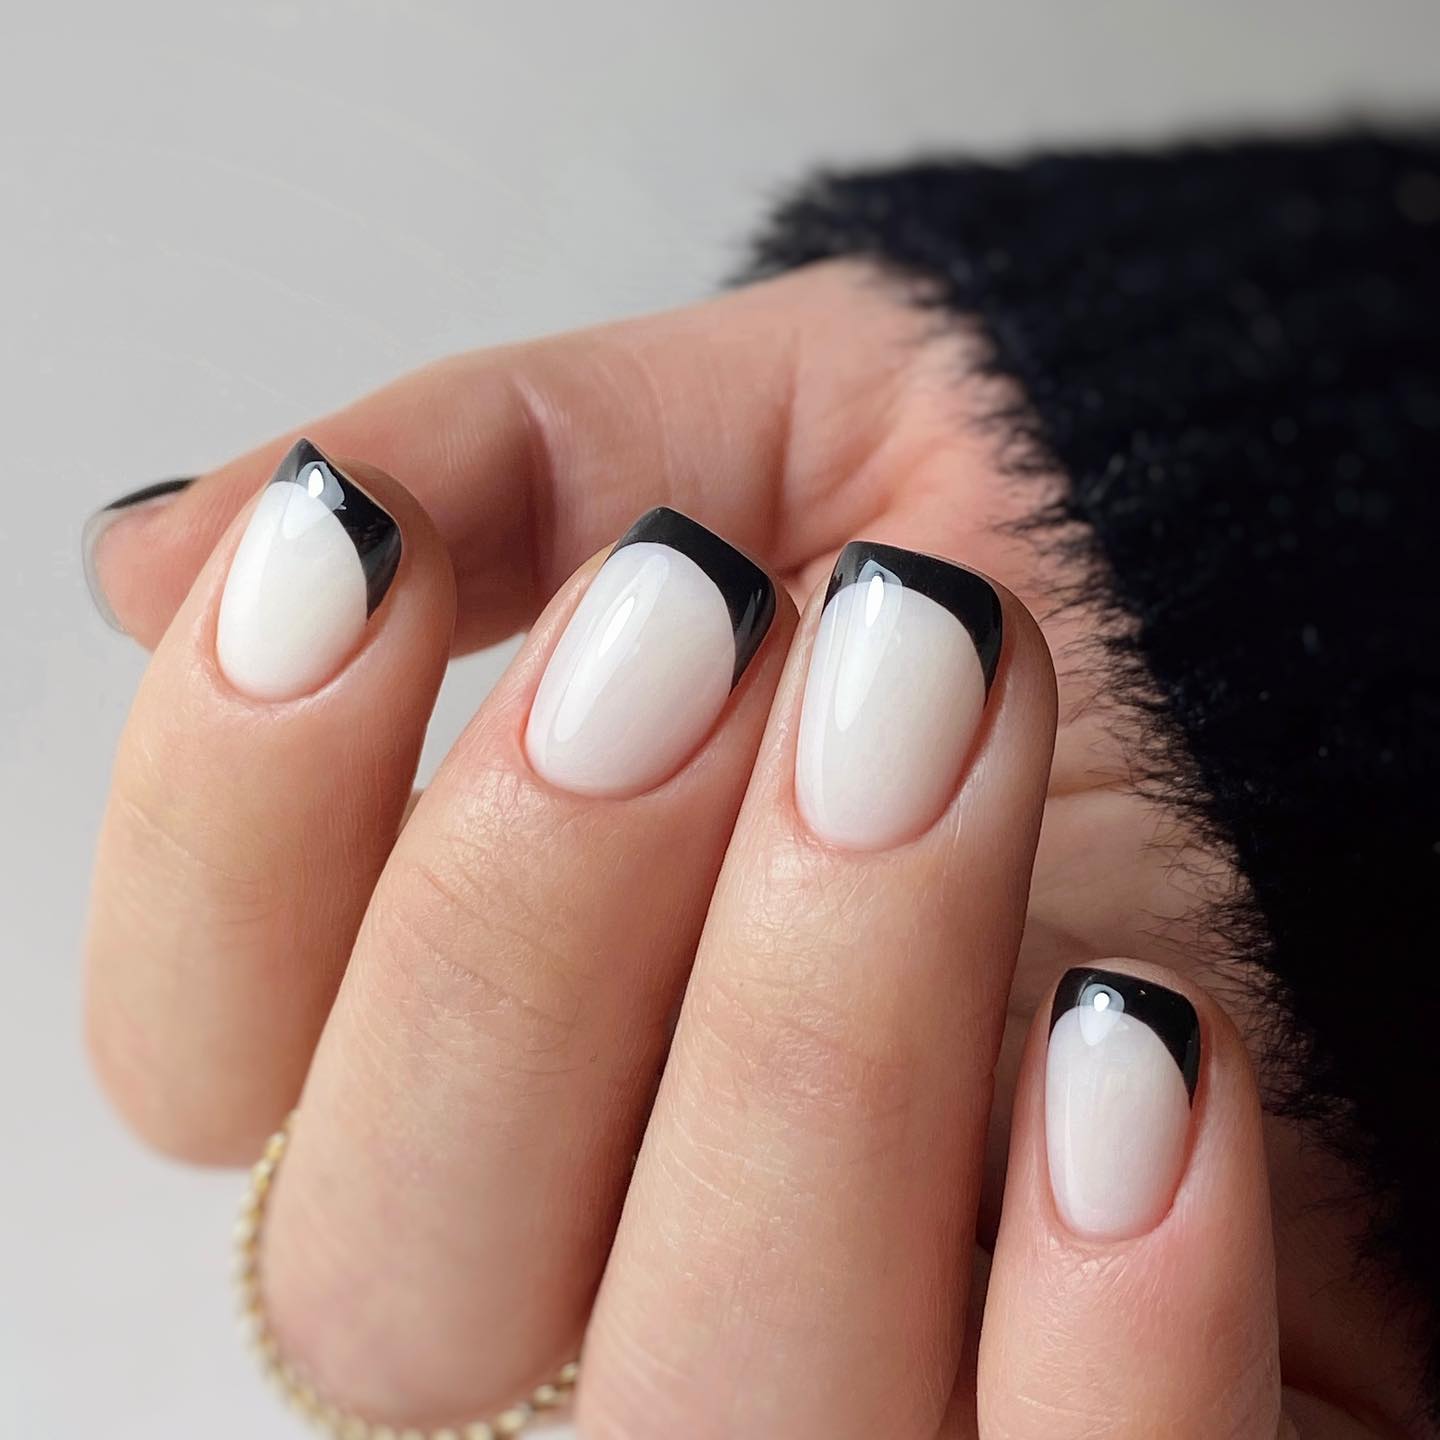
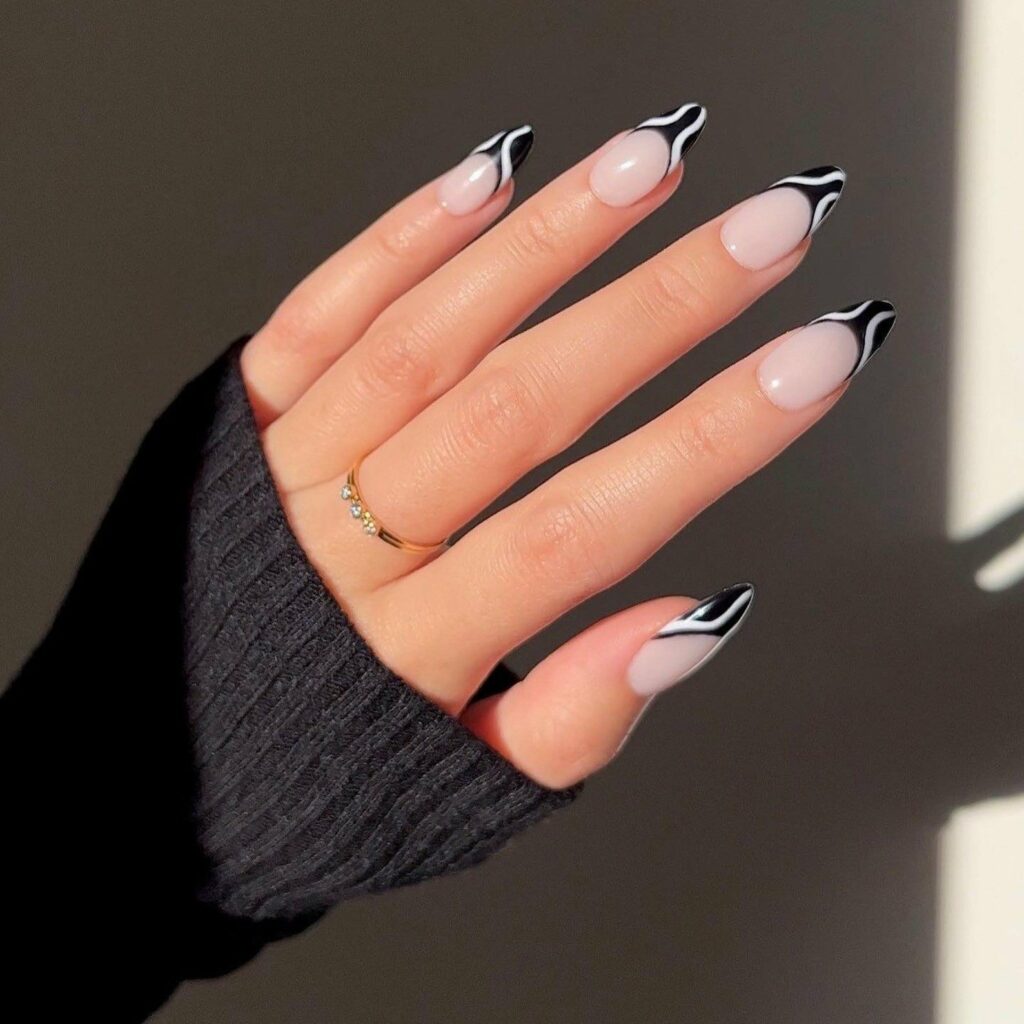
- Add some color: Instead of the traditional white tip, try using a different color. It could match your outfit or simply be your favorite shade.
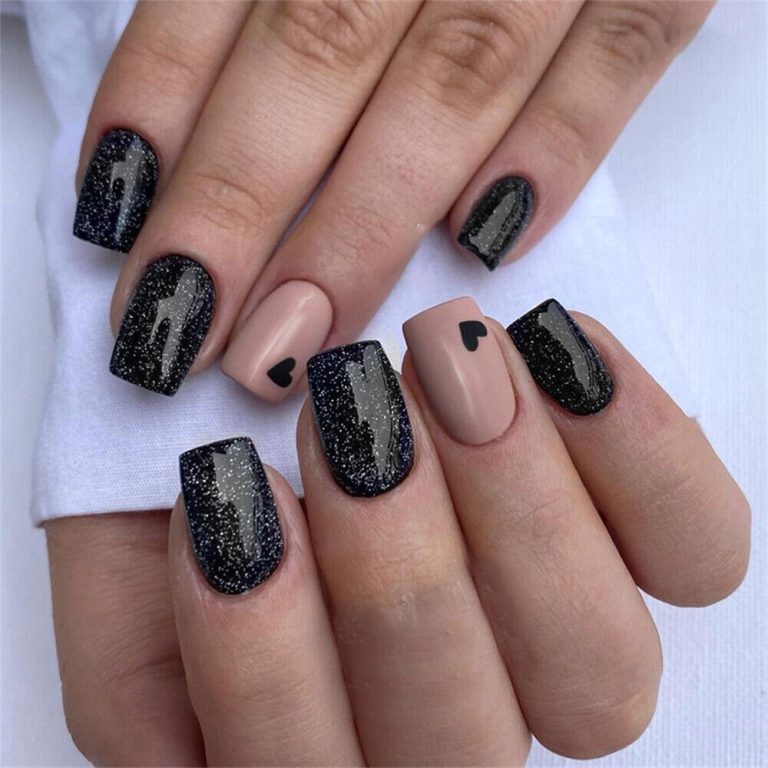
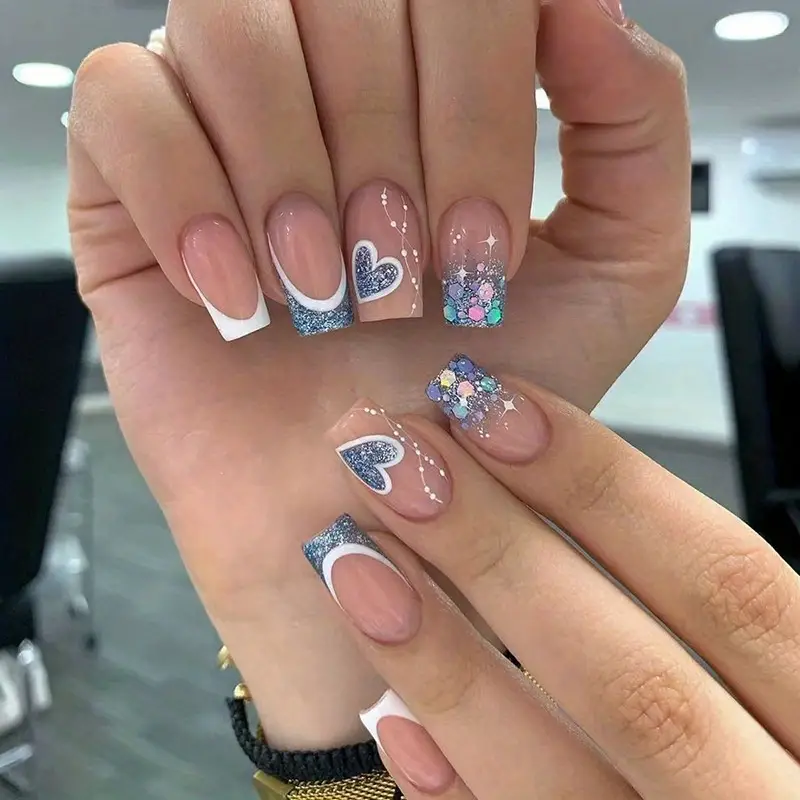
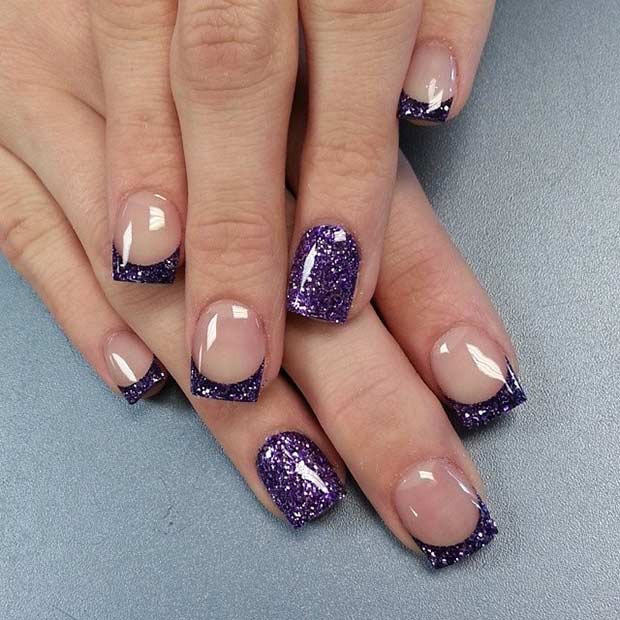
- Glitter tips: For a sparkly effect, apply a strip of glitter polish over the white tips. This is perfect for a night out or special occasion.
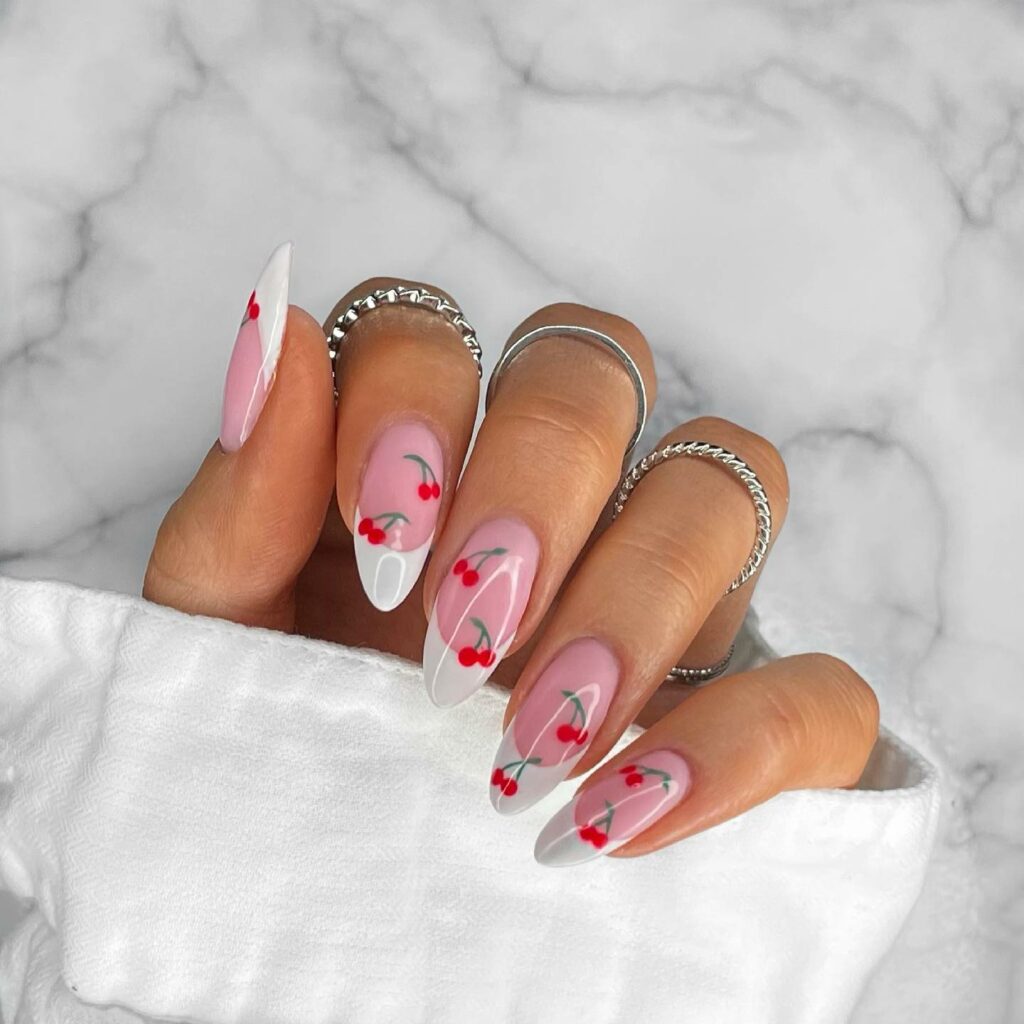
- Nail art: Incorporate simple designs, like tiny flowers or dots, on one or more nails. Use a toothpick or a dotting tool for precision.
- Mixed finishes: Combine matte and glossy finishes by applying a matte top coat over the base and a glossy one over the tips, or vice versa.
- Ombre effect: Create an ombre effect by gently blending white polish into the pink base for a seamless gradient look.
- Metallic touches: Add metallic stripes or use a metallic polish for the tips to give your manicure a modern edge.
Experimenting with these variations can freshen up the classic French tip and showcase your creativity. Get playful and try different combinations to find what suits you best.
Caring for Your French Tip Manicure
After mastering how to do French tip nails, it’s vital to care for them to ensure longevity. Here’s how you can maintain your chic manicure:
- Wear gloves for chores. Protect your nails when doing tasks that involve water or chemicals. This prevents polish from chipping.
- Keep nails hydrated. Use cuticle oil and moisturizer daily. Hydrated nails are less prone to breaking.
- Avoid using your nails as tools. Opening cans or peeling labels can damage your manicure.
- Be gentle with your nails. Treat your nails kindly. Rough handling can shorten your manicure’s life.
- Reapply top coat. Every two or three days, add a fresh top coat. This step retains the shine and extends wear.
- Fix chips quickly. If you notice a chip, touch it up and seal with top coat right away.
By following these simple tips, your French tips will stay fresh and flawless for longer. Regular upkeep is the key to a lasting manicure.
Common Mistakes to Avoid with French Tip Nails
Achieving the perfect French tip nails is about precision and patience, but common missteps can occur. Here’s what to look out for:
- Skipping base coat. Not using a base coat can lead to stains and weak polish adhesion.
- Uneven tip guides. Make sure guides are placed straight; crooked lines result in uneven tips.
- Applying thick layers. Thick polish layers smudge easily and take too long to dry.
- Not waiting for layers to dry. Impatience results in nicks and smears, ruining your hard work.
- Overlooking cleanup. Small mistakes can be fixed with a brush; don’t skip this step.
- Neglecting top coat applications. Without regular top-up, your manicure can quickly chip.
Avoid these pitfalls and your DIY French tip nails will look like they’re fresh from the salon. Practice makes perfect; learn from your mistakes and refine your technique with each attempt.