Ombre Nails Made Easy: Sponge-Free Techniques
Introduction to Ombre Nails
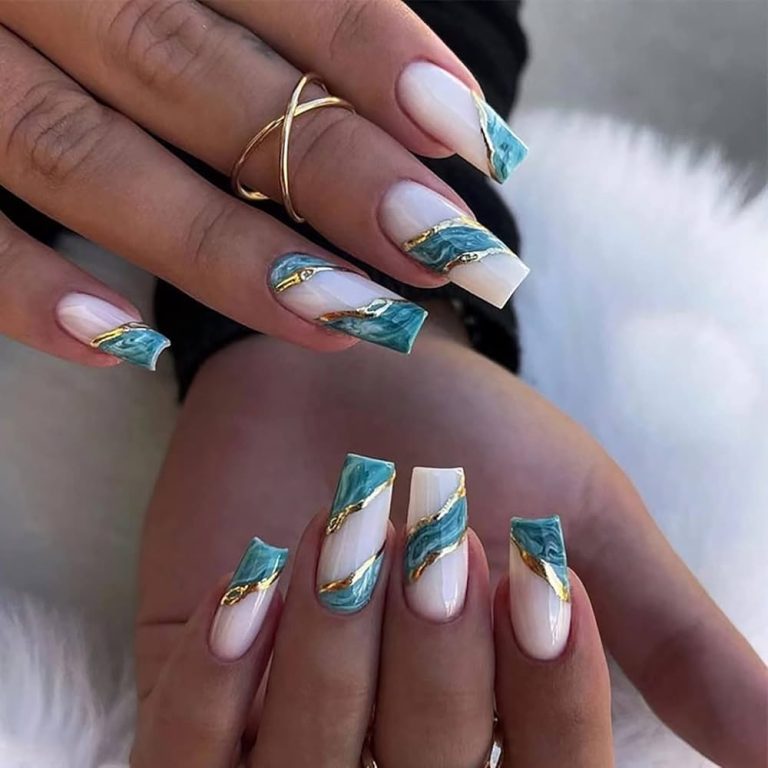
Ombre nails are a stylish, gradient nail art design. They blend two or more colors softly on the nails, creating a seamless transition from one hue to the next. The ombre effect can be horizontal, vertical, or even diagonal, depending on the look you desire. Traditionally, achieving this look required a sponge to dab and blend the colors. However, many people seek simpler methods. This is where the question arises: How to ombre nails without using a sponge?
In this blog post, we’ll explore why you might choose to forego the sponge and the benefits of using alternative methods. We will demonstrate sponge-free techniques that can deliver stunning ombre nails with ease. From brush blending to tape methods, and even a plastic bag trick, you’ll learn how to master the ombre effect with tools you likely have at home. Whether you’re a novice to nail art or an experienced manicurist, these methods can simplify the process and lend a unique touch to your nail designs.
Preparing Your Nails for the Ombre Effect
Learning how to ombre nails without sponge begins with proper preparation. The right preparation helps colors blend well and lasts longer. First, make sure your nails are clean and free from old polish. Trim your nails to a uniform length and shape for even application.
Choosing Your Colors
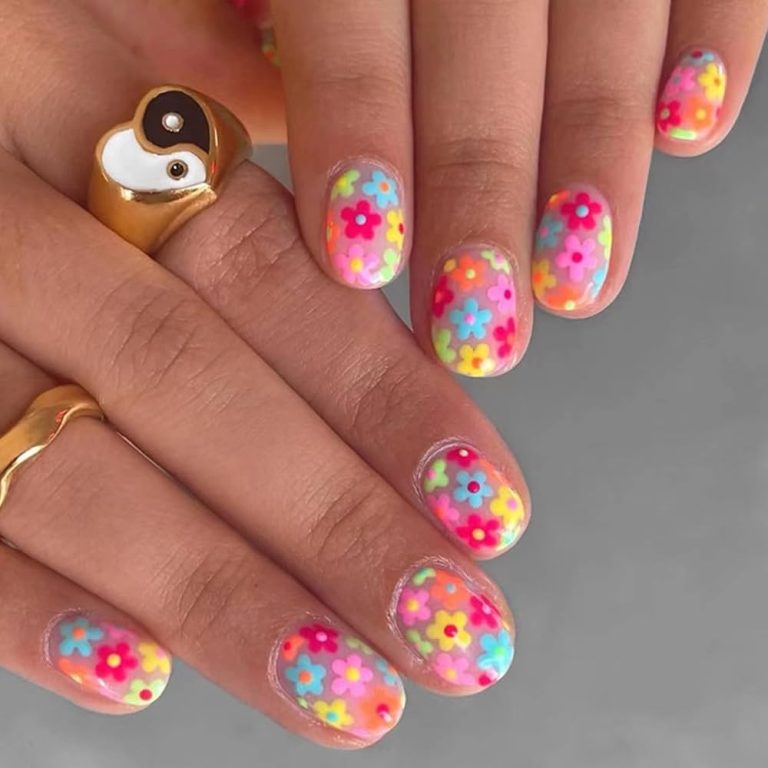
Color choice impacts the final look of your ombre nails. Choose colors that contrast yet complement each other. For a subtle effect, select colors close in shade. Think about the transition from one color to the next. Test color combinations on paper before applying to your nails. This will give you an idea of the finished look.
Nail Shaping and Buffing Tips
Nail shaping is key for a perfect ombre effect. File nails to an even shape, whether round, square, or oval. Smooth edges prevent color catching and ensure a cleaner ombre transition. Buff the nail surface lightly. This helps polish adhere better and prevents chipping. Remember, gentle buffing is enough. Too much can weaken nails.
Brush Blending Techniques for Ombre Nails
Achieving ombre nails without a sponge may seem tricky, but brush blending can make it simple. This technique uses brushes to softly diffuses colors together. You’ll need a flat brush or an angled one, depending on your comfort.
Gradient Effect with Nail Brushes
Start by applying your base color and letting it dry. Dip your brush lightly in the second color. Gently brush it onto the nail, starting from the tip. Work upwards, blending the color into the base. The gradient effect emerges as the second color fades into the first. Keep strokes light and even to avoid harsh lines.
Seamless Transitions between Colors
For smooth transitions, clean your brush between strokes. Use a little nail polish remover for this. After applying the second color, take a clean brush to blend where the two colors meet. This helps mix the shades effectively. By repeating the blending, you’ll create a seamless transition. Let each layer dry a bit before you reapply, to prevent the colors from mixing too much. To master how to ombre nails without sponge using brushes, patience and practice are key.
Using Tape for Sharp Ombre Lines
Another simple yet effective way to achieve sharp ombre lines without a sponge is using tape. Tape creates clear, defined lines that can make your ombre nail art pop with precision.
Step-by-Step Guide for Tape Method
To start, gather regular tape or painter’s tape, which is gentle on the skin. Follow these steps to get that perfect ombre effect:
- Apply your base nail color and let it fully dry. This prevents the tape from lifting the base layer off.
- Cut small pieces of tape. Place them on your nail to section off where you want the colors to change.
- Apply the second color above or below the tape line, depending on your design. Make sure to paint over the edge of the tape slightly.
- Carefully remove the tape while the polish is still wet. This helps avoid pulling up any of the colors and keeps lines sharp.
- Let the second color dry. Then, if desired, repeat the process with additional colors.
- After achieving the desired ombre effect, apply a top coat to seal in your design.
By using the tape method, you can learn how to ombre nails without sponge and still achieve those chic, sharp lines typically seen in sponge-applied ombre nails.
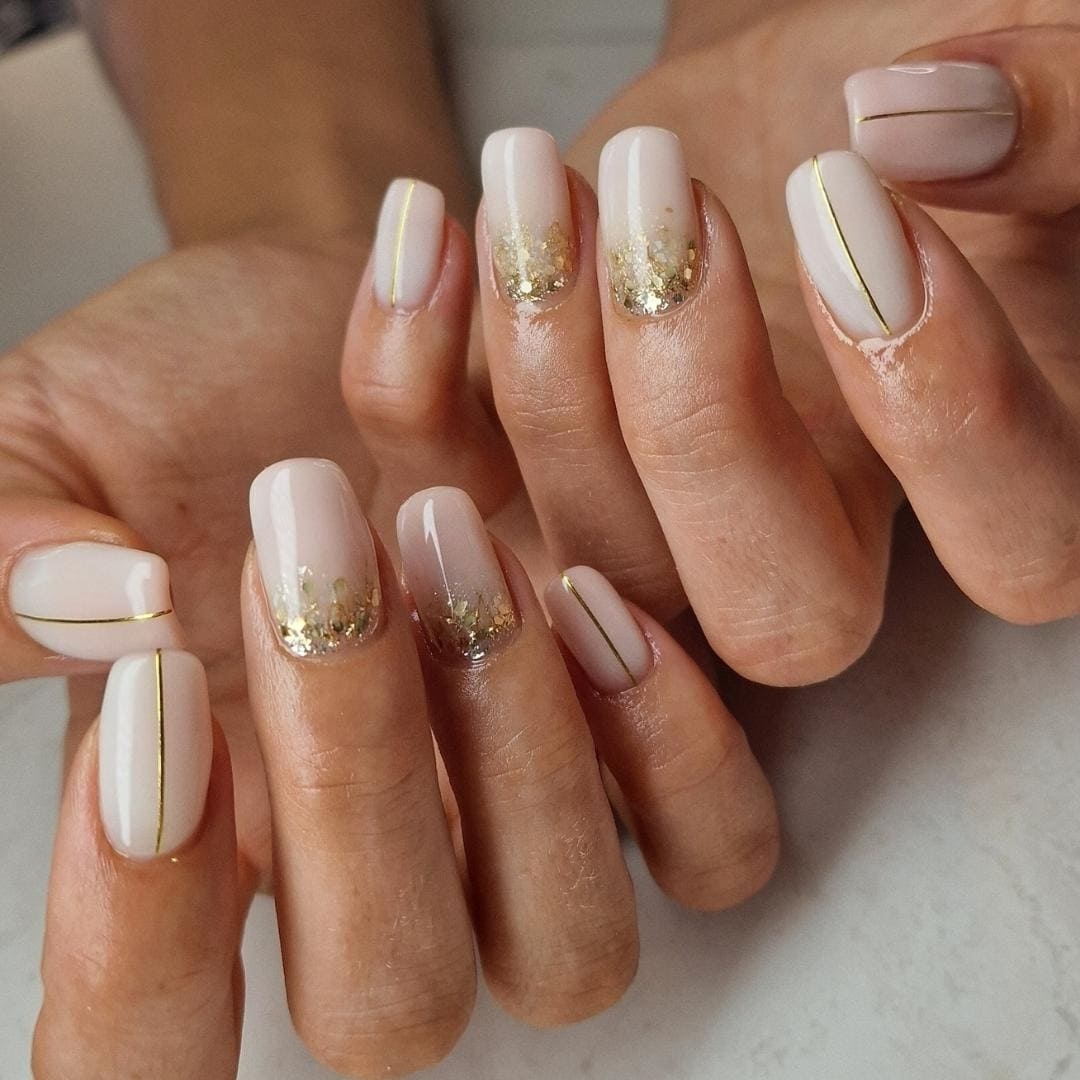
:max_bytes(150000):strip_icc()/ombrenails-d92aae9537764e049f203acefdb4a326.jpg)
Plastic Bag Method for a Sponge-Like Effect
If you’re looking for a sponge alternative, the plastic bag method is another excellent technique for creating ombre nails. This method mimics the sponge’s texture and is great for blending colors on the nail’s surface. It’s a budget-friendly and accessible option as plastic bags are commonly found in most homes.
Creating the Ombre Design on a Plastic Surface
For this method, you’ll need a small piece of a plastic bag and the colors you have chosen for your ombre effect. Begin by painting your base color on the nails and let it dry. Then, paint strips of your selected colors side by side on a flat surface of the plastic bag. Gently dab your finger into the colors to pick up the ombre pattern you’ve created. Press this onto your nail while the polish is still wet. Carefully adjust the angle and pressure to transfer the colors onto your nail, creating the ombre effect without using a sponge. Once happy with the design, allow the colors to dry before applying a top coat. This technique may require a bit of practice, but once mastered, it can produce stunning results similar to sponge-applied ombre designs.

Airbrushing as a Modern Ombre Nail Art Technique
Discover a new twist on ombre nails with airbrushing. This advanced method offers fine control over gradients. It requires an airbrushing kit, but the results are professional and striking.
The Basics of Nail Airbrushing
Nail airbrushing uses a small tool to spray nail polish onto your nails. You need a stencil or a steady hand to guide the spray. Begin with a base coat, then use the airbrush to apply the ombre effect. A light touch gives the best results. Practice your technique to learn the right pressure. With time, you’ll learn how to ombre nails without sponge, creating flawless transitions.
Top Coats and Finishing Touches
After creating your ombre effect using the sponge-free techniques mentioned, it’s vital to apply a top coat. A proper top coat serves as a protective layer, ensuring your nail art stays vibrant and chip-free for longer. It also gives your nails an exceptional shine, making your ombre design stand out even more. When selecting a top coat, look for one that offers both durability and gloss.
Protective Layers and Shine for Longevity
To maintain the beauty of your ombre nails, always use a high-quality top coat. Apply it as the final step in your nail art process. Make sure to cover the entire nail surface, including the tips, to seal in the color. A top coat not only adds a protective shield against daily wear and tear but also enhances the overall longevity of your manicure. For extra shine and defense, consider a second layer of top coat after the first one has completely dried. This added protection ensures that your ombre nails keep their flawless look for as long as possible.

Maintenance and Care for Ombre Nails
After mastering how to ombre nails without sponge, maintaining the look is crucial. Proper care will ensure your ombre manicure stays beautiful for longer. Follow these simple tips to take care of your ombre nails.
- Avoid harsh chemicals. Wear gloves when cleaning or using detergents. This can help protect your ombre nails from fading or chipping.
- Keep nails hydrated. Apply cuticle oil regularly. This prevents nails from drying out and maintains the manicure’s shine.
- Opt for gentle filing. If you need to shape your nails after the ombre application, file gently. Harsh filing can damage the ombre effect.
- Reduce water exposure. Too much water can cause nail polish to lift. Shorten your showers and wear gloves when washing dishes.
- Touch-ups are your friends. If you notice chips, apply a small amount of polish to the affected area. Then, seal with a top coat.
- Safe removal is key. When it’s time to change your nail art, use a non-acetone polish remover. It’s less damaging to the nails.
By keeping these tips in mind, you can extend the life of your sponge-free ombre nails and keep them looking salon-fresh.