How Do You Remove Gel Nails ? Step-by-Step Guide
Introduction to Gel Nail Removal
Gel nails offer a durable and long-lasting manicure option. Yet, there comes a time when they must come off. Knowing how to remove gel nails safely is crucial to maintain healthy nails. This step-by-step guide will show you the right way to remove them without causing damage to your natural nails. Whether you’re looking to switch up your style or simply give your nails a break, proper removal is key. How do you remove gel nails? In this blog, we’ll cover everything from the tools needed to aftercare tips. Follow these instructions to ensure a safe and effective gel nail removal process.
Tools and Materials Needed for Safe Removal
Before you start the gel nail removal process, gather all the necessary tools and materials. Here’s what you need for a safe removal:
- Nail file: A coarse-grit nail file is essential for breaking through the hard top coat of gel nails.
- Cuticle pusher: This will help gently scrape away the softened gel from the nails.
- Acetone: High-quality acetone is a must-have for dissolving gel polish. It’s more effective than regular nail polish remover.
- Cotton balls or pads: You’ll need these to soak and wrap your nails in acetone.
- Aluminum foil: To secure the cotton balls or pads, you’ll wrap small pieces around your fingertips.
- Petroleum jelly: Applying petroleum jelly around your cuticles and fingertips can protect your skin from acetone’s drying effects.
- Timer: Keep track of how long your nails are soaking to avoid overexposure to acetone.
- Nail buffer: After the gel is removed, a nail buffer will smooth out the surface of your nails.
- Moisturizer: Acetone can dry out your skin and nails, so use a good moisturizer afterwards to hydrate them.
Collect all these tools and materials before you begin. This will make the removal process smoother and help prevent any damage to your nails or skin. Remember, preparation is key to successful gel nail removal.
Preparing Your Nails for Removal
How do you remove gel nails? Proper preparation keeps your natural nails safe. Follow these tips to get ready for removal:
- Wash your hands. Start with clean hands and nails. This step prevents dirt from interfering with the removal process.
- Trim and file nails. If your nails are long, trim them to a manageable length. Use your nail file to shape the edges.
- Buff the nail surface. Lightly buffing your nails helps remove the shiny layer. It makes the soaking step more effective.
- Apply petroleum jelly. Put petroleum jelly around your cuticles and fingertips. It shields your skin from the drying acetone.
- Set up your workspace. Ensure you have a comfortable area to work in. Lay out all your tools within reach.
Making sure you complete these prep steps will make the gel nail removal process smoother. Keep your nails and skin safe to avoid damage during the removal. We’ll guide you through each removal step carefully. So, let’s move on to the actual removal steps, starting with filing the top coat.
Step 1: Filing the Top Coat
To start the gel nail removal, focus on the top coat first. Use a coarse-grit nail file to gently file down the surface. You aim to remove the shiny layer but not too much. This will help acetone penetrate the gel effectively. File in one direction to avoid nail damage. Stop when you see the color getting dull. Avoid filing too deep to prevent reaching your natural nails. Take your time with this step for a safer process.
File until you have mattified the nail surface. This exposes the actual gel polish beneath. Keep your movement steady and firm. Your goal is to break the seal of the top coat. Do this for each finger before moving to the next step. Remember, patience is key. Rushing can harm your nails, so take it slow. After you file all nails, you’re ready for the soaking. This process prepares your nails for a smooth gel removal.
Step 2: Soaking Nails in Acetone
Once you have filed the top coat, it’s time for soaking. Acetone is the go-to for loosening gel polish. Please follow these steps to soak your nails safely:
- Soak the cotton balls or pads: Drench each cotton ball with acetone. Ensure they are fully saturated.
- Wrap your fingertips: Place the soaked cotton on your nail. Wrap it securely with foil. The foil keeps the cotton in place and the heat in, increasing effectiveness.
- Wait patiently: Set your timer for about 10-15 minutes. During this time, the acetone works to break down the gel polish.
- Check progress: After the time is up, gently remove the foil from one nail. Peek to see if the gel is coming off.
If the gel isn’t lifting, rewrap the nail and give it a few more minutes. Sometimes, harder gels need longer soaking. Don’t rush this step. Allowing the acetone to work fully is key to safe removal.
- Avoid skin contact: Try not to get acetone on the skin. It can cause dryness or irritation. That’s why petroleum jelly around the cuticles is crucial.
Once all the gel looks like it’s lifting off, you’re ready for the next step. Always be gentle to prevent any damage to the nail bed. Taking care to soak properly will set the stage for an easier gel scraping process.
Step 3: Gently Scraping off the Gel
After soaking your nails in acetone, the gel should start to loosen. Now begins the careful task of scraping it off. Use a cuticle pusher for this. Make sure it’s the metal kind, as it’s more effective. Even with loosened gel, it’s vital to scrape gently to avoid damage. Follow these steps for best results:
- Start with one nail at a time. Remove the foil and cotton from your first nail.
- Hold the pusher at an angle. This helps to get under the gel without harming the nail bed.
- Use light pressure. Gently push the gel off the nail. If it resists, it may need more soaking.
- Take your time. Do not rush or force the gel off. It could harm your natural nails.
- Move to the next nail. Repeat the process on each finger, one by one.
- Check for any remaining gel. If bits of gel are still there, you may gently file them away.
Remember, patience is key. Rushing could set you back and cause damage. If scraping doesn’t remove the gel, reapply a soaked cotton ball and foil. Wait a few extra minutes. This will ensure that the gel comes off easily without putting stress on your natural nails. Complete this step with care and attention for a successful gel nail removal.
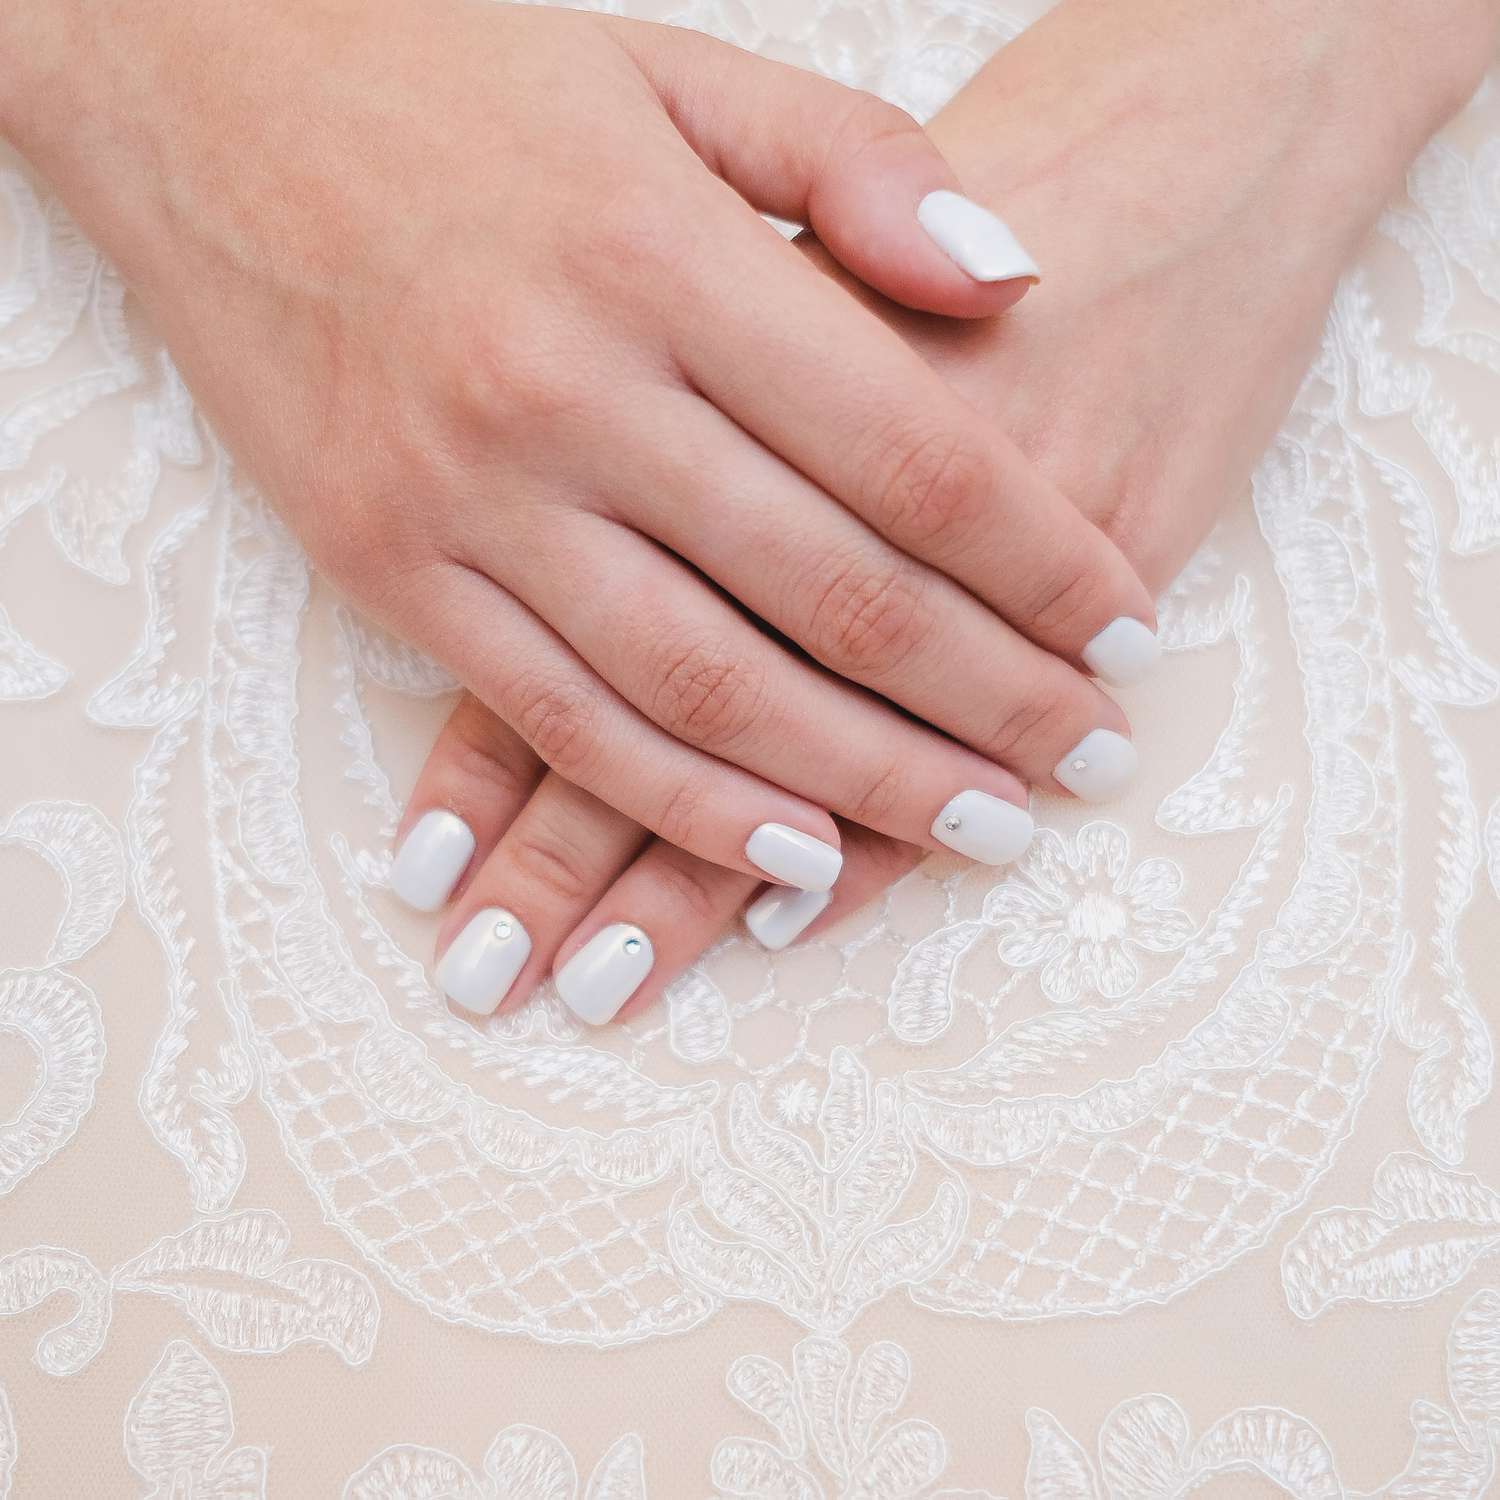
Step 4: Buffing the Nail Surface
Once the gel has been gently scraped off, your nails will likely have some residue remaining. This is where buffing comes in. Buffing smooths out the nail surface and prepares it for further care or a new manicure. How do you remove gel nails? Here’s how to buff your nails effectively:
- Use a gentle nail buffer. Choose a soft-grit buffer to avoid harming the natural nail.
- Buff in one direction. Move the buffer across your nail in one direction to smooth the surface.
- Go lightly. Apply minimal pressure. Your goal is just to remove residue, not to grind down the nail bed.
- Don’t overdo it. Too much buffing can thin out and weaken your natural nails. Keep it brief.
- Check for smoothness. After buffing, your nails should feel even and smooth to the touch.
Buffing not only cleans up any remaining bits of gel but also helps to restore a natural look to your nails. If you have followed the earlier instructions on ‘how do you remove gel nails,’ by now, your nails should be free of gel polish and ready for some much-needed aftercare to restore moisture and strength.
Aftercare: Tips for Nail Recovery Post Removal
Once you remove your gel nails, aftercare is vital. Your nails may feel weak or brittle. Follow these tips to help them recover:
- Hydrate your nails. Use a good nail oil or moisturizer. Apply it to your nails and cuticles.
- Avoid harsh chemicals. Give your nails a break from strong substances for a while.
- Wear gloves for chores. Protect your nails when cleaning or washing dishes.
- Eat a balanced diet. Foods rich in protein and vitamins support nail health.
- Keep nails short. Shorter nails are less likely to break or chip as they regain strength.
- Be gentle. Treat your nails with care. Avoid rough filing or cutting.
- Give nails a rest. Wait a week or more before applying any new nail polish or gel.
- Use cuticle oil daily. This keeps the cuticles soft and supports nail growth.
With the right aftercare, your natural nails will regain their strength and shine. Stick to these tips, and be patient; nail recovery can take time!
Alternatives to Acetone for Gel Nail Removal
While acetone is effective for removing gel nails, some prefer alternatives. Non-acetone removers are gentler. How do you remove gel nails? These alternatives can be better for those with sensitive skin or allergies. There are several methods you can try.
- Non-acetone polish removers: These are less harsh but take longer to work.
- Soaking in warm, soapy water: This can help loosen the gel polish. Combine it with a bit of oil to help lift the gel.
- Commercial gel removal products: Some products don’t use acetone but can still help remove gel nails.
- Filing method: If you’re patient, you can file the gel off gradually.
Remember that alternatives may be less effective and take more time. Also, they might not work for all types of gel nails. If you use these methods, be ready to soak or file for longer. Take care not to damage your natural nails during the process. After removal, hydrate your nails well.
Common Mistakes to Avoid When Removing Gel Nails
Removing gel nails requires care to avoid mistakes that can damage your nails. How do you remove gel nails? Here are some common errors to watch for:
- Skipping the filing step. Filing breaks the seal of the top coat. Not doing so can make removal tougher.
- Not using enough acetone. Acetone must saturate the cotton fully to work well.
- Leaving nails wrapped too long. Over-soaking can dehydrate your nails and skin.
- Scraping nails too hard. Gentle scraping prevents damage to the nail bed.
- Buffing nails excessively. Too much buffing can thin and weaken your nails.
- Neglecting aftercare. Skipping nail hydration and protection can delay recovery.
- Immediately applying new polish. Give your nails a break to regain their strength.
Avoid these mistakes for a safer and healthier gel nail removal experience.
