Get the Perfect Jelly Nails with These Easy Steps
Introduction to Jelly Nails
Jelly nails are a fashionable trend that re-emerged from the 90s, gaining massive popularity via platforms like TikTok. This style is renowned for its sheer, glossy finish which resembles a shiny lip gloss over the nails. The appeal of jelly nails lies in their simplicity and versatility, making them an excellent match for any outfit or activity, from beach days to formal gatherings.
What Are Jelly Nails?
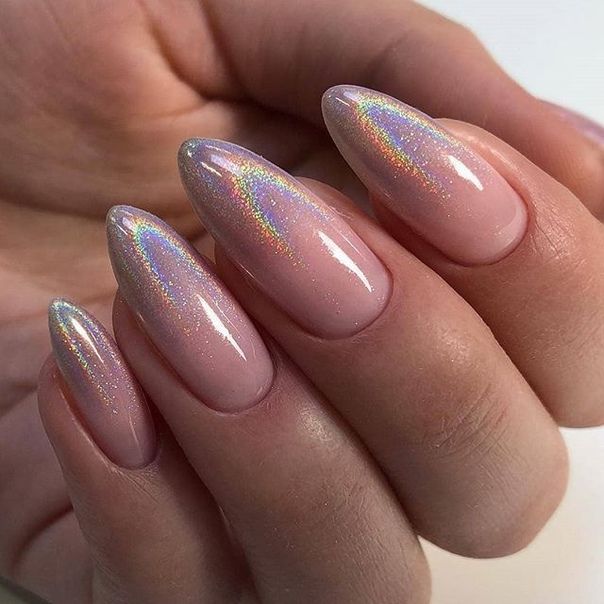
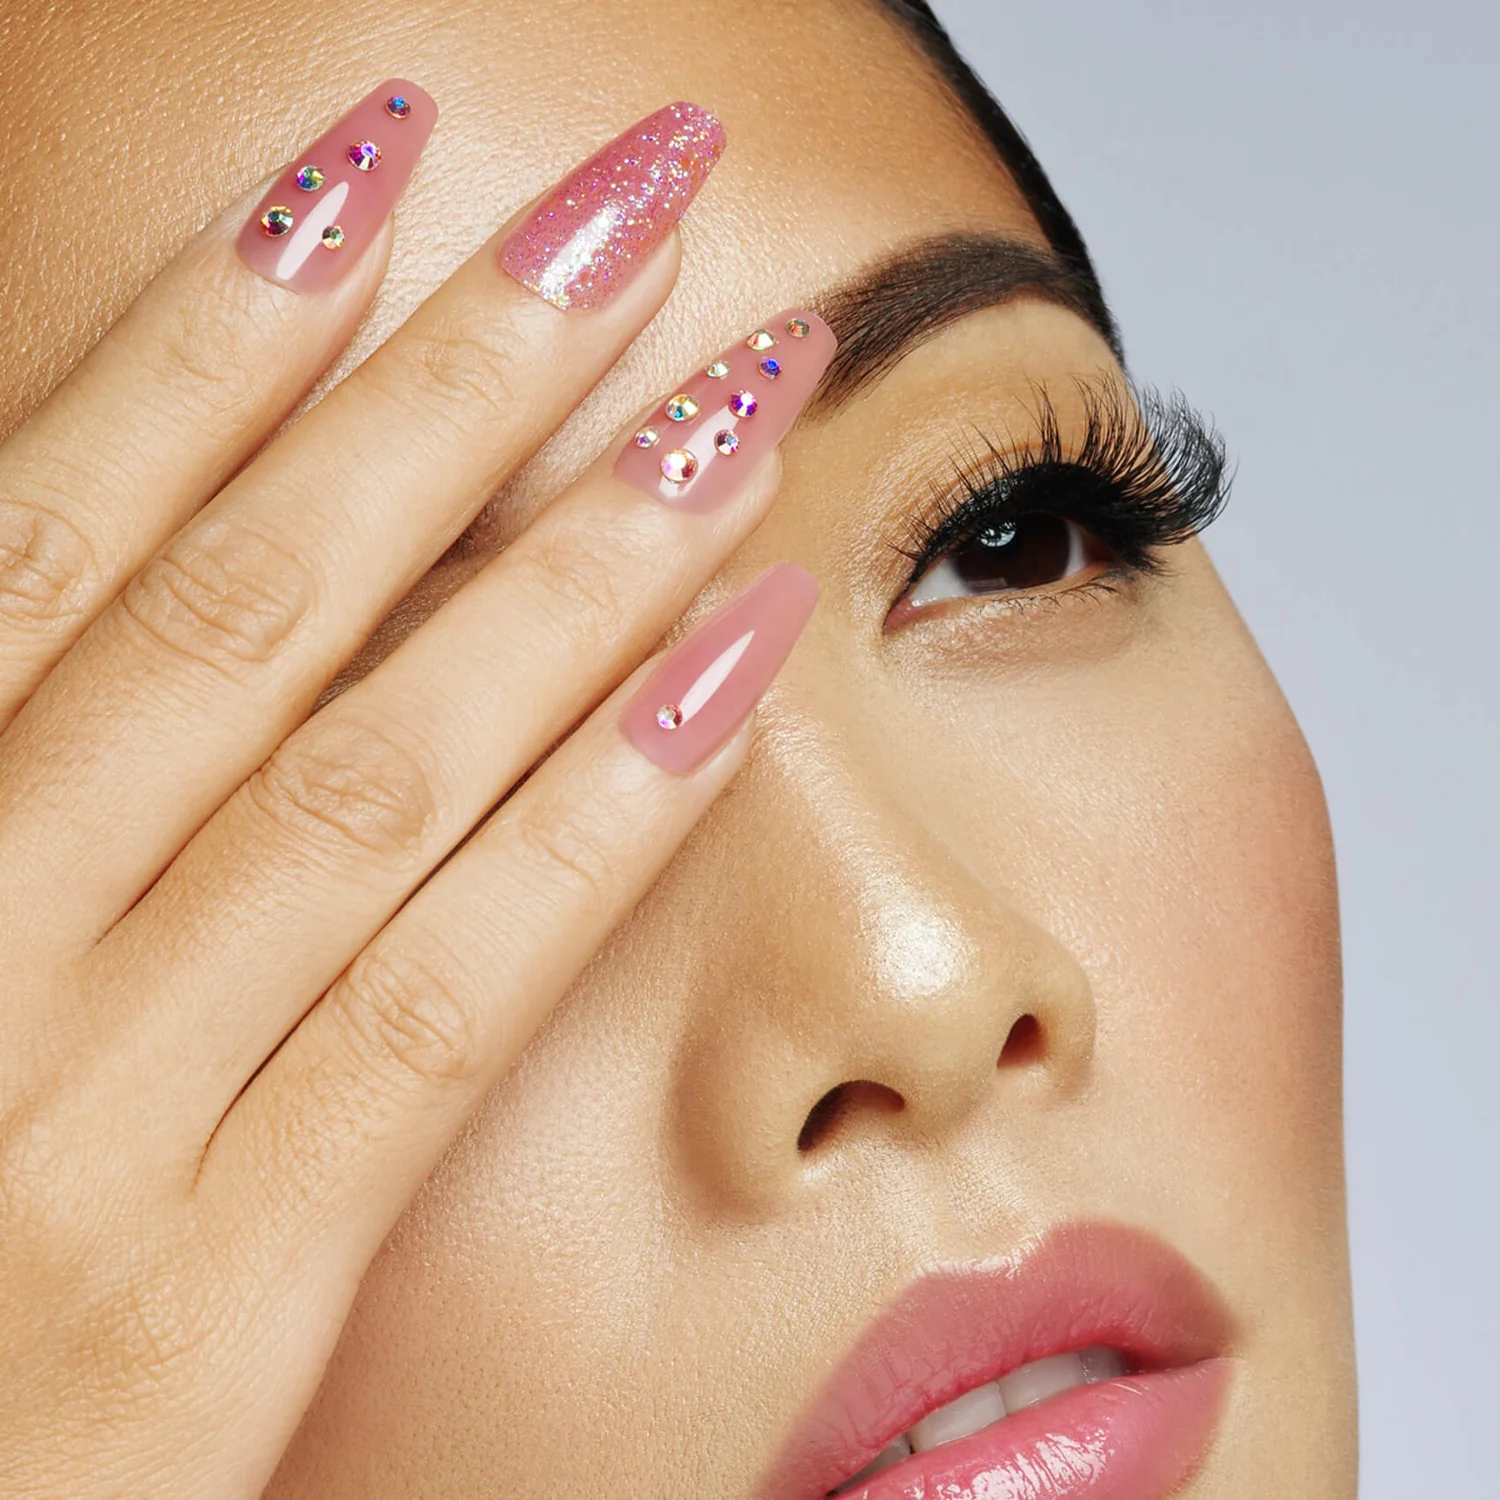
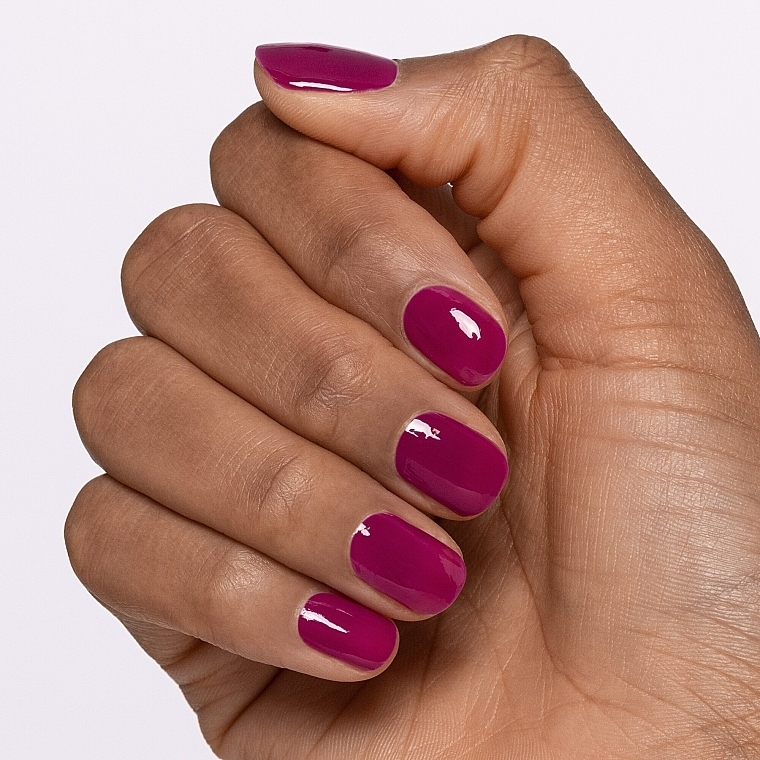
Jelly nails are crafted using a translucent polish, giving a stained-glass effect to the nails. The technique involves a base coat followed by layers of sheer colored polish, often finished with a shiny top coat. This method results in a semi-transparent, glossy nail surface that can incorporate various colors or even combine multiple shades.
Why Choose Jelly Nails?
Opting for jelly nails presents several advantages:
- Versatile Style: They suit numerous occasions and outfits.
- Fresh Aesthetic: Despite their nostalgic origin, jelly nails provide a modern and clean look.
- Easy Application: Compared to other intricate nail styles, jelly nails are relatively simple to achieve.
Furthermore, jelly nails allow for creativity in color choices and designs, enhancing their overall allure and making them a preferred choice for fashion enthusiasts looking to spice up their nail game.
Materials Needed for Jelly Nails
To begin your journey into the world of jelly nail, you’ll need some specific materials.
Choosing the Right Polish
Selecting the appropriate polish is crucial for creating the perfect jelly nail look. Look for polishes labeled as ‘jelly’ or those known to have a sheer finish. Brands like Cirque Colors and Butter London offer specialized jelly collections that provide that sought-after stained-glass appearance. Remember to choose colors that appeal to your style and complement your wardrobe.
Necessary Tools and Accessories
Aside from the polish, here are the basic tools and accessories you will need:
- Nail File: To shape your nails prior to polish application.
- Cuticle Pusher: To gently prepare the nail bed.
- Base Coat: To protect your natural nails and help the jelly polish adhere better.
- Top Coat: To seal in the jelly polish and add extra gloss.
- UV or LED Lamp (optional): If you’re using a gel version of jelly polish, this will be needed for curing.
Make sure you have these items on hand before starting the application process to ensure a smooth and successful jelly nail experience.
Step-by-Step Guide to Creating Jelly Nails
Preparing Your Nails
Before diving into the vibrant world of jelly nails, preparing your nails is crucial for a flawless finish. Start by cleaning your nails to remove any oils or old polish. This ensures that the jelly polish adheres well. Use a gentle nail file to shape your nails into your desired form, be it rounded or square. Push back your cuticles with a cuticle pusher but be gentle to avoid any damage. This prepping stage is vital for creating the perfect canvas for jelly nail.
Applying Base and Jelly Polish
Begin your jelly nail journey by applying a clear base coat to protect your natural nails and enhance polish adherence. Allow the base coat to dry completely. Then, select your jelly polish and apply a thin first layer. The beauty of jelly nails shines through with their sheer appearance, so ensure this first coat is even and smooth. Allow the polish some time to dry before moving on to the next layers.
Adding Additional Layers and Designs
For deeper color and a more pronounced jelly effect, apply additional thin layers of the jelly polish. Each layer should be allowed to dry before adding the next. This builds the ‘stained glass’ look that is characteristic of jelly nails. For those wanting to add a creative twist, consider layering different jelly colors or incorporate simple nail stickers for an artistic flair. Seal your design with a top coat to ensure longevity and a glorious, glossy finish that jelly nails are known for.
Tips for Perfecting the Jelly Nail Look
Achieving the perfect jelly nail look revolves around mastering sheer levels and maintaining the nail’s integrity. Here, we’ll explore essential tips to elevate your jelly nail outcomes.
Achieving the Right Sheer Level
To nail the jelly look, controlling the sheerness of your polish is key. Start with a very thin layer of your chosen jelly polish after applying a clear base coat. This ensures a smooth, clean canvas. Evaluate the transparency after the first layer, and decide if you need more coverage. Remember, jelly nails are all about that stained-glass, semi-transparent finish, so keep layers thin and even. Avoid the temptation to apply thick coats; patience is vital as each layer needs to dry thoroughly before the next is applied.
Experimenting with different colors can modify the sheer effect. Lighter colors often require more layers for the desired opacity, whereas darker colors might only need one or two. It’s all about finding the right balance that suits your style and achieves the characteristic jelly nail look.
Maintaining Jelly Nail
Maintaining jelly nail to ensure they stay gorgeous for longer involves a few key practices. First and foremost, always seal your design with a high-quality top coat. This protects the sheer layers of polish underneath and adds an extra level of glossiness.
Regular touch-ups are essential, especially if you notice any chips or wear. Applying an additional top coat every few days can significantly extend the life of your jelly nails.
Avoid harsh chemicals and rough activities that could compromise your nail polish. Wear gloves when cleaning or doing dishes. Remember, the longevity of your jelly nail depends significantly on how well you care for them after application.
Implementing these tips will not only perfect the sheer levels of your jelly nails but also ensure they stay flawless and stunning for longer. With the right techniques and maintenance, you can enjoy your stylish jelly nails without frequent salon visits.
Jelly Nail Inspiration
Drawing inspiration for your jelly nail can transform your regular mani into a standout piece of art. Below, explore some exciting color combinations and designs that you can try at home to elevate your jelly nails game.
Trendy Jelly Nail Color Combinations
Experimenting with different color combinations can give your jelly nails a unique and mesmerizing look. Here are a few trendy options:
- Pastel Paradise: Combine soft shades like peach, lavender, and baby blue for a sweet, airy feel.
- Sunset Glow: Merge warm tones such as coral, pink, and a touch of gold to mimic a beautiful sunset.
- Ocean Depths: Use variations of blue, from turquoise to deep sea blue, to create an ocean-inspired look.
- Berry Bliss: Mix shades of berry, such as strawberry red and blueberry, for a vibrant, juicy appearance.
These combinations can be adjusted in transparency to create the desired jelly effect, using methods covered in previous sections of this blog.
Creative Jelly Nail Designs to Try
Once you have selected your colors, here are some designs to further personalize your look:
- Gradient Magic: Blend two colors on the same nail to create a stunning gradient effect.
- Sticker Play: Apply clear nail stickers over a base of faintly tinted jelly nails for subtle embellishment.
- Dot Delights: Use the tip of a hairpin to dot an alternate color on your nails for simple, chic art.
- Fruity Fun: For a playful look, paint different fruits using vibrant jelly colors across each nail.
Each design can be enhanced with a glossy top coat, ensuring your creative jelly nails shine and last longer. These ideas not only add flair to your jelly nails but also make them a conversation starter at any event!
Advanced Jelly Nail Techniques
Embracing advanced techniques can elevate your jelly nail to professional levels. Explore these methods to add dimension and flair.
Incorporating Nail Art
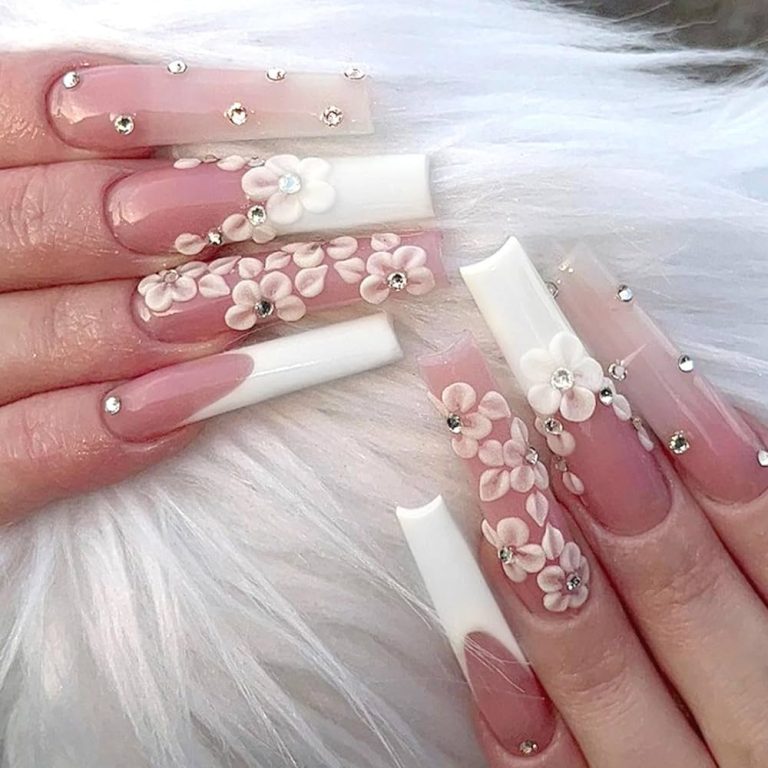
Nail art adds a creative twist to your jelly mani. Use simple embellishments to enhance the transparent look:
- Stickers: They stick well to jelly polish and add a fun detail.
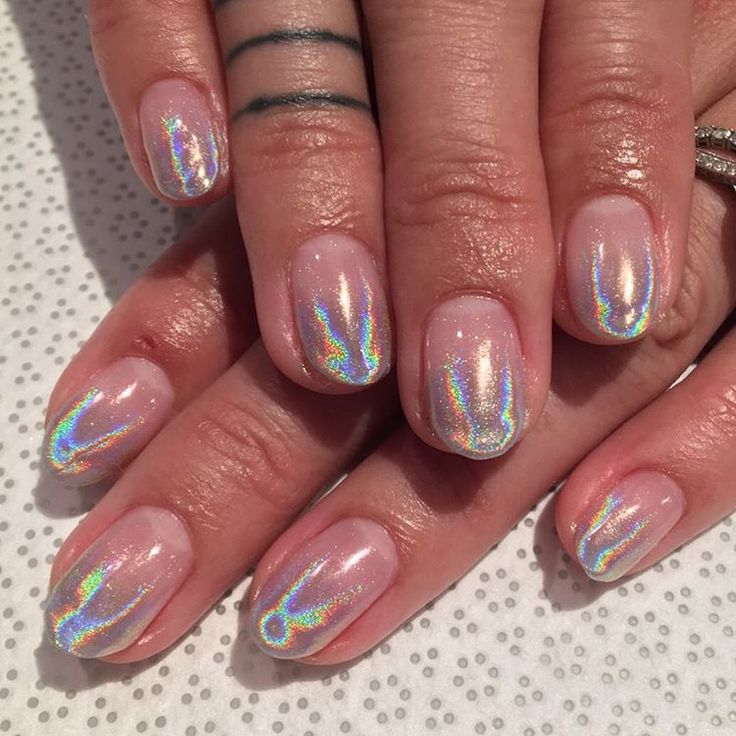
- Glitter: A sprinkle of glitter between layers creates depth.
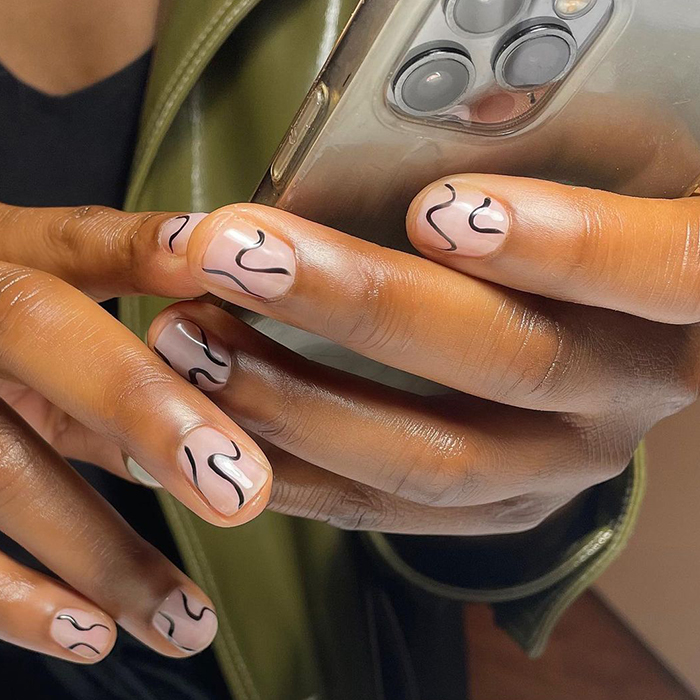
- Drawings: Use a thin brush to add delicate patterns over the base.
Start with minimal designs to keep the jelly effect in focus. Mix and match art on different nails for variety.
Creating Custom Jelly Polish Mixes
For a unique shade, mix your own jelly polish:
- Choose a clear base polish.
- Add a drop of a colored polish to it.
- Mix well and test the transparency.
- Adjust the color by adding more drops if needed.
Creating custom mixes allows you to control the sheer level. Always add color gradually to avoid making it too opaque.

Final Thoughts
In conclusion, jelly nails are not just a nod to the past but a trendy, easy-to-achieve style for anyone. Crafting the perfect jelly nails requires specific materials, a few easy steps, and a pinch of creativity. Whether you’re aiming for a simple sheer look or an elaborate piece of art on your nails, jelly nails offer a versatile canvas for your personal expression.
Recap of Key Steps
To get your jelly nail right, follow these steps:
- Prepare Your Nails: Clean and shape them, and push back the cuticles.
- Apply Base Coat: This is vital for protection and better polish adherence.
- Layer Jelly Polish: Apply thin layers of your chosen jelly polish, letting each one dry.
- Get Creative: Try different colors, designs, or nail art to personalize your look.
- Apply Top Coat: Always finish with a top coat for lasting shine and protection.
Remember, the secret to stunning jelly nail lies in the art of layering sheer polish for that signature stained-glass effect.
Additional Resources and Recommendations
For those eager to delve deeper, consider tutorials on TikTok, where the jelly nail trend has greatly evolved. Explore nail art blogs and YouTube channels for variety and technique. Lastly, don’t hesitate to ask a professional nail technician for advanced tips and tricks. They can provide valuable insights into achieving salon-quality results at home. Keep practicing, and soon, your jelly nails will be the envy of many!
