How to Do Gel Nails at Home
How to Do Gel Nails at Home
Gel nails are a popular choice for those seeking long-lasting, beautiful manicured nails. Many people prefer to do their gel nails at home to save time and money. With the right tools and techniques, anyone can achieve stunning results without visiting a nail salon. This guide will walk through the process step-by-step, ensuring a perfect gel nail application at home.
Gathering Your Supplies
Before starting, it’s essential to gather all necessary supplies. The right tools can make a significant difference in the outcome of your gel nails. Begin by purchasing a UV or LED lamp specifically designed for curing gel polish. This lamp is crucial as it hardens the gel, providing that coveted long-lasting finish.
Next, acquire the gel nail polish of your choice. Various colors and brands are available, so select a few favorites. Additionally, obtaining a base coat and top coat is necessary for the best results. The base coat ensures proper adhesion while the top coat adds shine and protects the color.
Don’t forget about prep supplies. Nail files, buffers, and cuticle pushers are essential for preparing the natural nails. A lint-free wipe and some isopropyl alcohol will help cleanse the nails of any remaining oils. Finally, having a cuticle oil will hydrate the cuticles after finishing the manicure. These supplies will contribute to a successful gel nail application.
Preparing Your Nails
Now that all necessary supplies are ready, it’s time to prepare the natural nails. This step is vital for achieving an even and long-lasting finish. Start by removing any old nail polish. Acetone-based removers work best here to ensure complete removal.
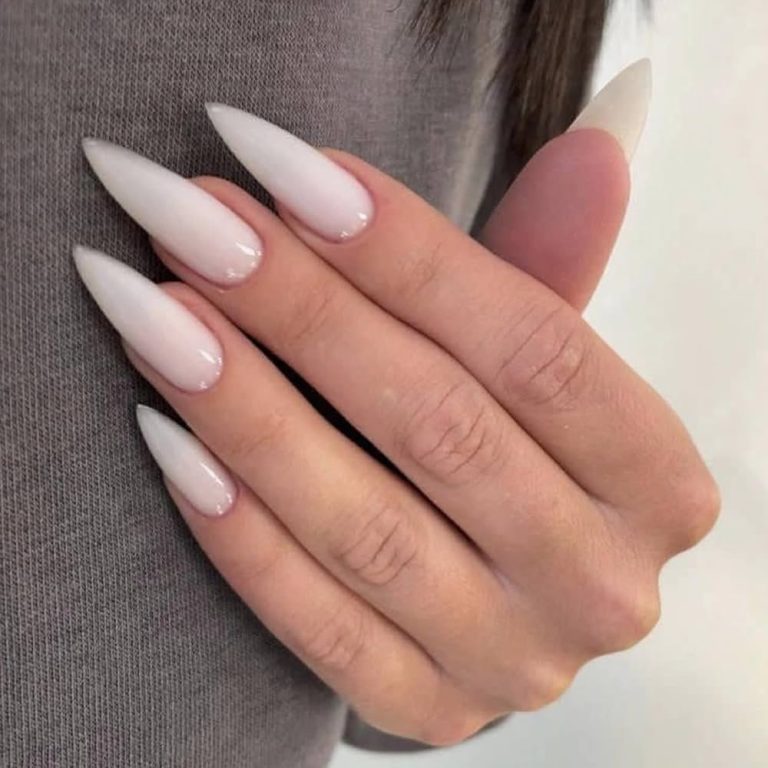
Next, trim and shape the nails to your desired length. Use a nail file to smooth the edges and create the preferred shape. Popular shapes include square, oval, and almond. Take care during this process to avoid damaging the nails.
After shaping, gently push back the cuticles. This action creates a clean canvas for application. Use a gentle hand here to avoid pain or damage. Buff the natural nail surface lightly to create a better surface for the gel to adhere to. This step also eliminates any ridges and smooths the nail.
Once finished, clean the nails using a lint-free wipe with some isopropyl alcohol. This step removes all dust and oils, ensuring optimal adhesion of the gel polish. Following these preparation steps diligently sets the stage for a flawless gel manicure.
Applying the Base Coat
With the nails prepared, it’s time to apply the base coat. This product serves as the foundation for the gel polish, ensuring longevity and preventing chipping. Start with a thin layer of base coat. Apply it evenly from the cuticle to the free edge of the nail.
When applying the base coat, avoid touching the skin or cuticles. This will prevent lifting and ensure a longer-lasting manicure. If any base coat accidentally touches the skin, gently clean it up before curing.
Once the base coat is applied to all nails, cure it under the UV or LED lamp. Follow the manufacturer’s instructions for curing time, typically around 30 seconds to 2 minutes for a complete cure. After curing, the base coat will feel slightly tacky; this is normal and necessary for the subsequent layers to adhere properly.
Once cured, check for any uneven areas. If any imperfections are visible, lightly buff them to ensure a smooth finish. The next step involves applying the color gel polish. This part typically excites many, as it allows for creativity in selecting colors and designs.

Applying Gel Nail Color
After curing the base coat, it’s time to apply the gel nail color. Select a gel polish that suits your style. Offering a range of colors, brands allow for endless combinations and creativity.
Begin by applying a thin layer of the gel color to each nail. Use a gentle stroke, starting from the cuticle and moving towards the tip of the nail. Take care to avoid the cuticles to prevent lifting. Flat, even strokes create a beautiful finish, allowing for a smooth application.
Cure the first layer under the UV or LED lamp for the recommended time. After curing, inspect the nails for coverage. Some colors may require a second layer for opacity, while others may not. If a second coat is needed, repeat the application process.
Once the desired opacity is achieved, cure the color layer again. This ensures the polish hardens properly, creating a long-lasting finish. After curing, the nails may feel slightly sticky. This tackiness is normal and will be removed in the next step.
Seal With the Top Coat
Once all color layers are cured, the final step involves applying the top coat. The top coat provides essential protection, adds shine, and prolongs the wear of gel nails. Start by applying a thin layer of top coat over each nail, just as done with the color.
Avoid the skin and cuticle area again. This practice ensures that the top coat adheres correctly without lifting. After all nails are covered, place them under the UV or LED lamp for the recommended curing time.
After curing the top coat, the nails may feel sticky. This residue, known as the inhibition layer, can be removed easily. Use a lint-free wipe sprayed with isopropyl alcohol to gently wipe the nails. This action will leave the nails with a beautiful, glossy finish.
Finally, apply cuticle oil to nourish the cuticles and surrounding skin. This step helps maintain healthy nails and skin, enhancing the overall appearance of the manicure.
Aftercare and Maintenance
Caring for gel nails extends their lifespan and keeps them looking fabulous. After the manicure, it’s essential to follow a proper care routine. Avoid extreme exposure to water for the first few hours after application. This practice allows the gel to fully harden and bond to the natural nail.
Regular maintenance includes moisturizing the hands and cuticles daily. Use cuticle oil or hand cream to keep the nails hydrated. Healthy skin aids in preventing hangnails and peeling, ensuring beautiful hands all the time.
If any chips or cracks appear, fix them immediately. It is essential to avoid letting damage worsen, which could lead to more significant issues. Repairing chips requires removing the gel polish from the affected area and reapplying.
To prolong the life of gel nails, wear gloves when doing household chores. Cleaning agents can weaken the gel finish. Routine visits to a nail professional for fresh applications may also be beneficial, especially if the nails grow out significantly.
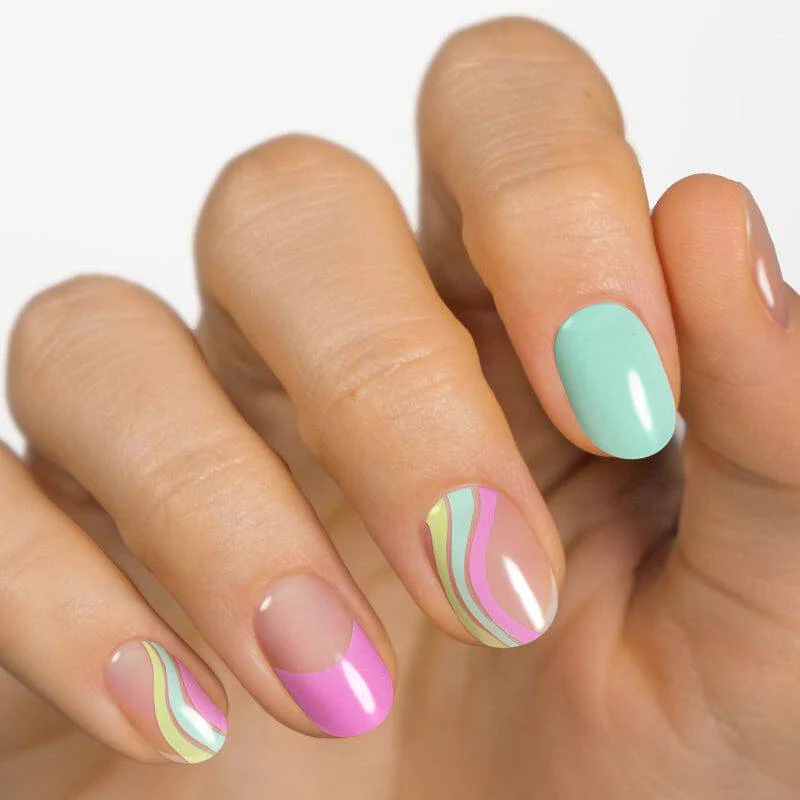
Overall, following these aftercare steps enhances durability and appearance, contributing to long-lasting gel nails. Taking time for maintenance shows attention to detail, ensuring stunning nails that last for weeks.
Troubleshooting Common Issues
While applying gel nails at home, problems may arise. Awareness of common issues allows for prompt solutions. One frequent issue is chipping or peeling. If gel polish chips, reevaluate the preparation steps. Ensure that nails are clean and dry before application, as any oils can impact adhesion.
Another issue is unevenness in the gel polish. This can happen when too much product is applied at once. Thus, opt for thin layers during application. Thin layers cure better and result in a more even finish. If unevenness occurs, gently buff the nail and apply another layer for smoothness after curing.
Issues with sticky residue after curing can often be resolved with proper cleaning techniques. Use a lint-free wipe and isopropyl alcohol to remove any tacky layers. If the top coat does not shine, this may indicate inadequate curing under the lamp. Confirm that the lamp is functioning correctly and the gel polish is compatible.
Additionally, an all-too-common problem is lifting around the cuticle area. This issue can be prevented by ensuring that the base coat does not touch the skin. Properly preparing the nail and cuticles will also aid in preventing lifting.
Lastly, if allergic reactions occur, stop using the products immediately. Consult with a healthcare professional to assess the situation. Discussing product ingredients may also help identify potential allergens. Address any concerns to ensure safe and enjoyable gel nail experiences at home.
Enjoying Your Beautiful Gel Nails
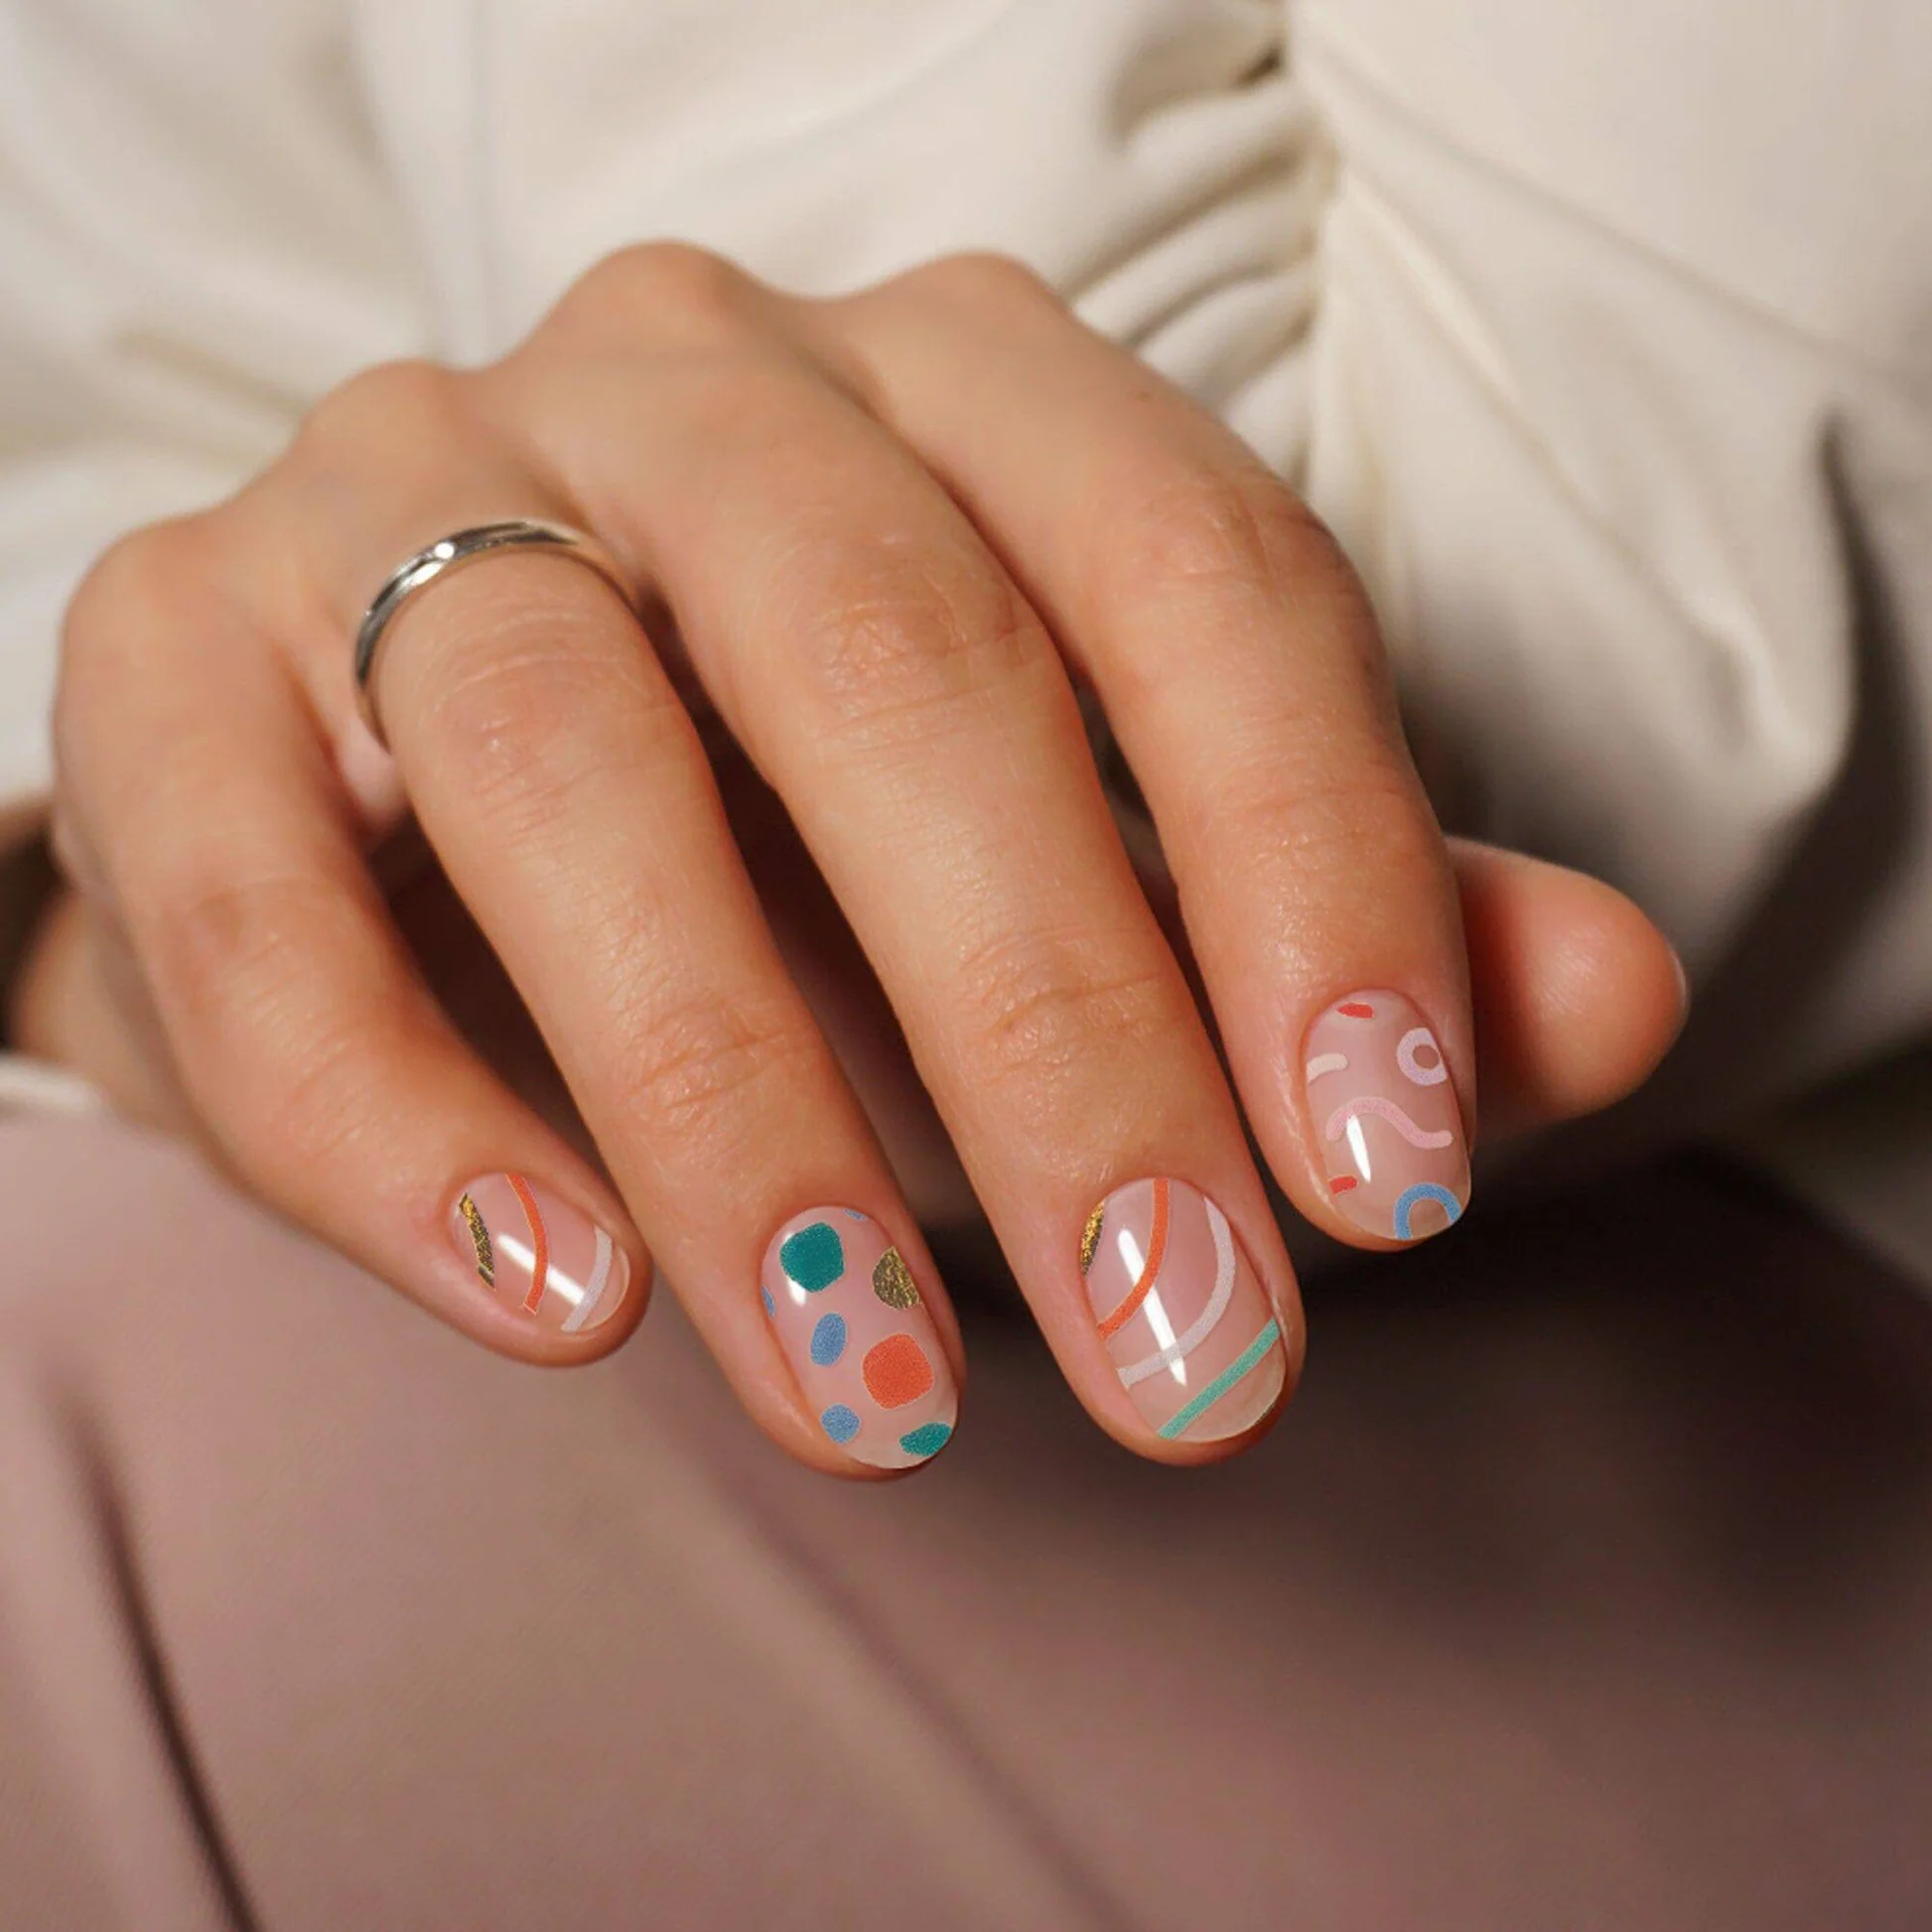
With gel nails successfully applied at home, it’s essential to enjoy the results. Admiring the finished look can bring satisfaction after a job well done. Explore new colors and designs for a fresh aesthetic each time. Gel nails offer the flexibility of creativity, so experiment with ombre effects or nail art if desired.
Sharing the experience with friends may inspire others to try doing their gel nails at home too. Hosting a nail night allows everyone to bond while perfecting their manicures. Together, friends can share tips, techniques, and ideas for enhancing their nail skills.
In conclusion, gel nails are a wonderful way to express individuality while maintaining beautiful nails. This process at home saves time and promotes personal creativity. Following the steps outlined ensures a professional-looking finish without the added expense of a salon visit.
Enjoy the confidence that comes with having gorgeous, long-lasting nails. Regular practice will help improve efficiency and ensure success in gel nail applications. So, embrace the process, explore styles, and have fun while creating stunning gel nails at home.
