DIY Nail Salon: Perfect Manicures at Home
Getting Started with Home Manicures
Embarking on the journey of home manicures begins with gathering the right tools and knowledge. Doing your nails at home can offer not only a fun experience but also significant savings compared to regular salon visits. If you’re new to this, don’t worry. Here’s a step-by-step guide to help you get started with confidence.
Choosing the Right Starter Kit
The market is brimming with options for nail starter kits. Start by looking for a kit that includes a UV LED curing lamp, as well as base and top coats. Quality matters—a good starter kit can mean the difference between a salon-quality finish and a frustrating DIY experience. Consider kits that offer a variety of gel polish colors along with essential tools for nail prep. TikTok and Pinterest can be surprising sources of inspiration, showcasing how effective certain kits can be.
Preparing Your Natural Nails
Before you dive into extensions or gel application, proper nail prep is crucial. You’ll need to clean, file, and buff your natural nails first. Use a primer to ensure better adhesion of the products to follow. Take your time with this step; careful prep leads to a better foundation, which is essential for long-lasting manicures. Keep in mind that this stage sets the tone for your entire manicure process.
Essential Products for DIY Nail Extensions
Tackling DIY nail extensions calls for the right gear. An array of products exists, but quality is king. Start with full-coverage tips, nail glue, and a primer. Your choice can shape the final look and durability of your manicure. Here’s a rundown of essential items to consider for your DIY toolkit.
Selecting the Best Full-Coverage Tips
Full-coverage tips are foundational for nail extensions. They come in various shapes and sizes, offering a tailored fit for your nail beds. Seek brands with good reviews for sticking power and flexibility. The goal is to find tips that mimic the natural curve of your nails, ensuring a seamless appearance.
Adhering Extensions with Nail Glue and Primer
Nail glue and primer are vital for a firm bond. Look for a primer that preps the nails, enhancing glue adhesion. The glue should dry quickly and hold tight. Precision in application will prevent messy overlaps and air bubbles, which can weaken the bond.
Curing the Extensions: Tips and Tricks
After applying the tips, curing is the next step. Use a UV LED lamp for an enduring set. Hold the tips in place and cure each nail. It may feel tricky, but practice makes perfect. A thorough cure secures the tips and prepares them for shaping and polish. Remember, patience during curing pays off with long-lasting results.
Shaping and Painting Your Nails
Now that your extensions are in place, it’s time to shape and paint your nails. This part of the process brings your personal style front and center and allows for endless creativity.
Tools and Techniques for Perfect Shaping
To start shaping your nails, you’ll need a few key tools: a good file, a nail buffer, and a bit of patience. Begin by deciding the nail shape that suits you best. Common shapes include round, square, or the popular almond. Use the file to adjust the length and start contouring the sides of the nail to achieve your desired shape. Next, use the buffer to smooth out the surface of your nails, this ensures an even application of polish later. Take your time with shaping. The more precise you are, the better the final look.
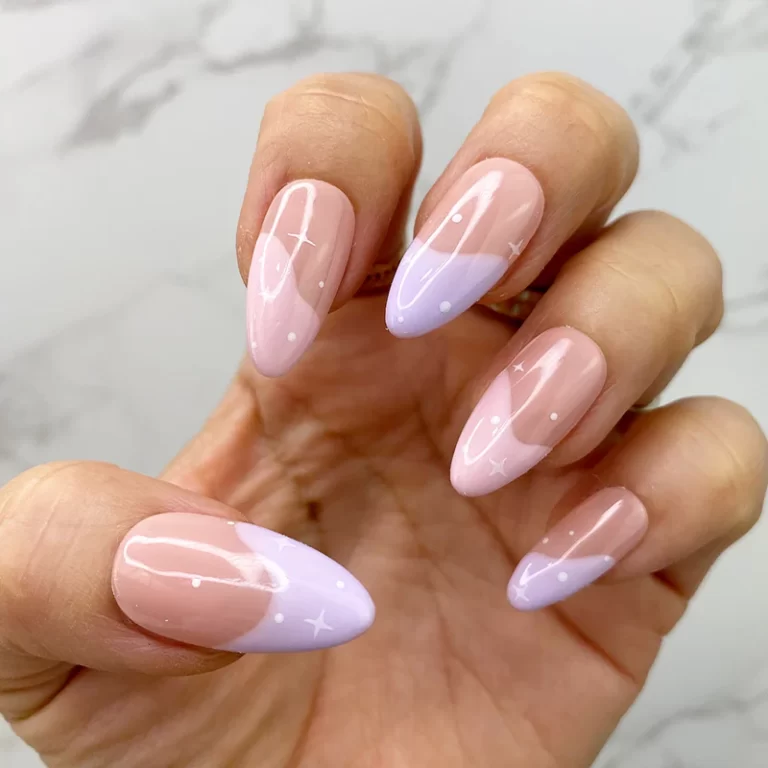
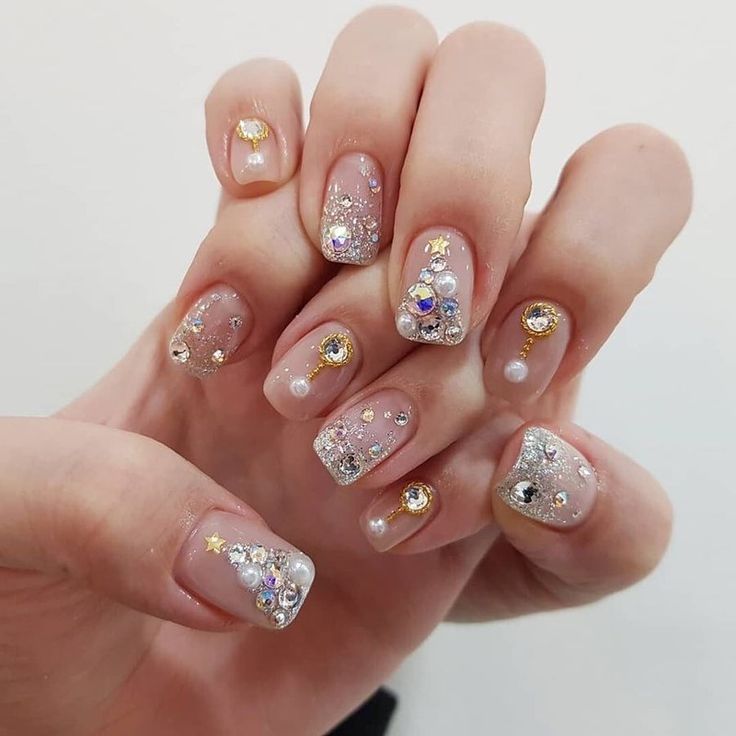
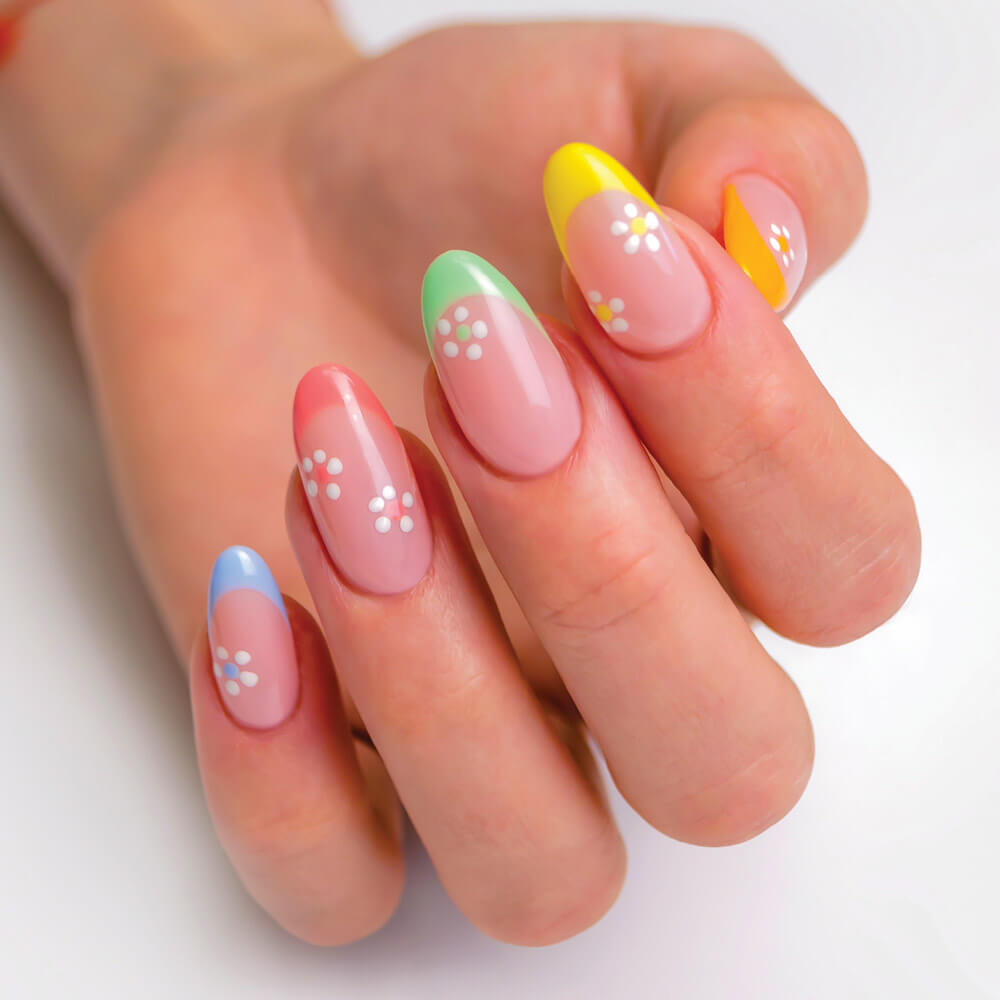
Nail Art and Decoration Ideas
The rise of nail art has taken at-home manicures to new heights. Simple polishes are just the start. You can add sparkle with glitter or create patterns with nail art tape. Stickers offer quick and intricate designs, while gemstones or studs provide a 3D effect. If you’re skilled with a brush, hand-painted designs can truly be one-of-a-kind. Pinterest is a treasure trove for inspiration, and with practice, you can replicate even salon-grade art. Remember to seal your masterpiece with a topcoat. This protects your nails and gives a lasting shine.
Doing nails at home allows for customization at every turn. With these techniques, you can achieve salon-worthy results while unleashing your creativity.
Money-Saving Tips for DIY Nail Enthusiasts
Cutting costs is a big plus for doing nails at home. Salon trips quickly become pricey. A fresh set of acrylic nails can set you back $50 or more. Then, monthly fills add at least another $30. Home manicures can save you a bundle over time.
Comparing Costs: Salon Visits vs. Home Manicure
Think about it: the cost of a starter kit equates to just a few salon visits. But, it lasts much longer. A UV lamp, gels, and tools seem expensive upfront. Yet, they pay off fast. Investing in these essentials helps avoid repeated salon bills. And, you gain the freedom to touch up your nails anytime.
A home manicure also cuts down on travel time and expenses. Plus, you get to skip the salon wait. With your own setup, you trim costs without sacrificing nail health or style. The key is to invest wisely in quality products. They make home manis look pro and endure just as long. Repeat this: doing nails at home equals big savings.
How to Minimize Expenses on Nail Art
Nail art at a salon? That can add up to $5 extra per nail. At home, get creative for less. Start with basic colors and tools. Grow your collection over time. Hunt for deals on polish and decor. Online tutorials guide you to DIY stunning designs. Practice boosts your skills, no costly salon art needed.
Keep track of your spending. Set a budget for nail supplies. Then, stick to it. Share costs with friends. Swap polishes and tools to expand your options. Remember, patience and creativity are free. With them, you can create masterpieces on a dime. Doing your own nails? It’s a smart move for your wallet.
Advanced Nail Techniques for Home
Mastering advanced nail techniques at home can elevate your manicure game to professional levels. It’s not just about saving money, but also about achieving that high-end salon look on your own terms. In the following sections, we’ll explore how to ensure your manicures have a long-lasting finish and delve into working with transparent designs using a reliable UV lamp.
Achieving Long-Lasting Results
To maximize the lifespan of your home manicure, start with nail prep. Healthy, clean nails hold polish longer. Use a dehydrator and a primer for better adhesion. High-quality base and top coats are next; they seal your color and protect your nails. Cure each coat properly under a UV lamp. This step is critical. Between polishes, be sure to protect your nails from harsh chemicals and wear gloves when necessary. Finally, moisturize your hands and cuticles daily to keep them as strong and resilient as your polish.
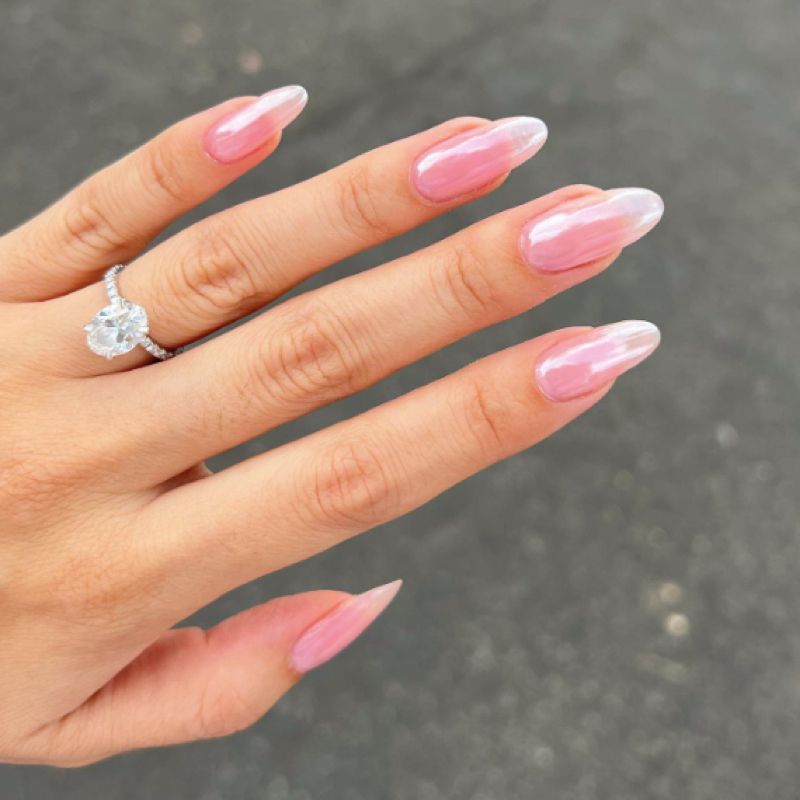
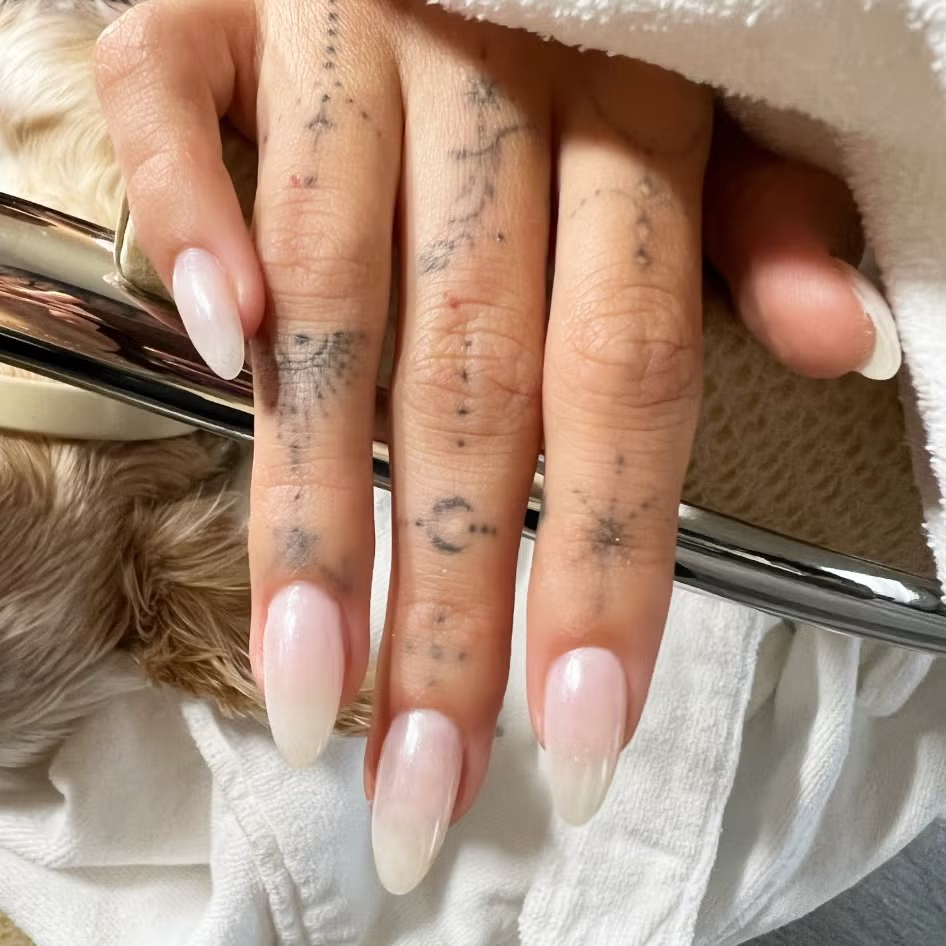
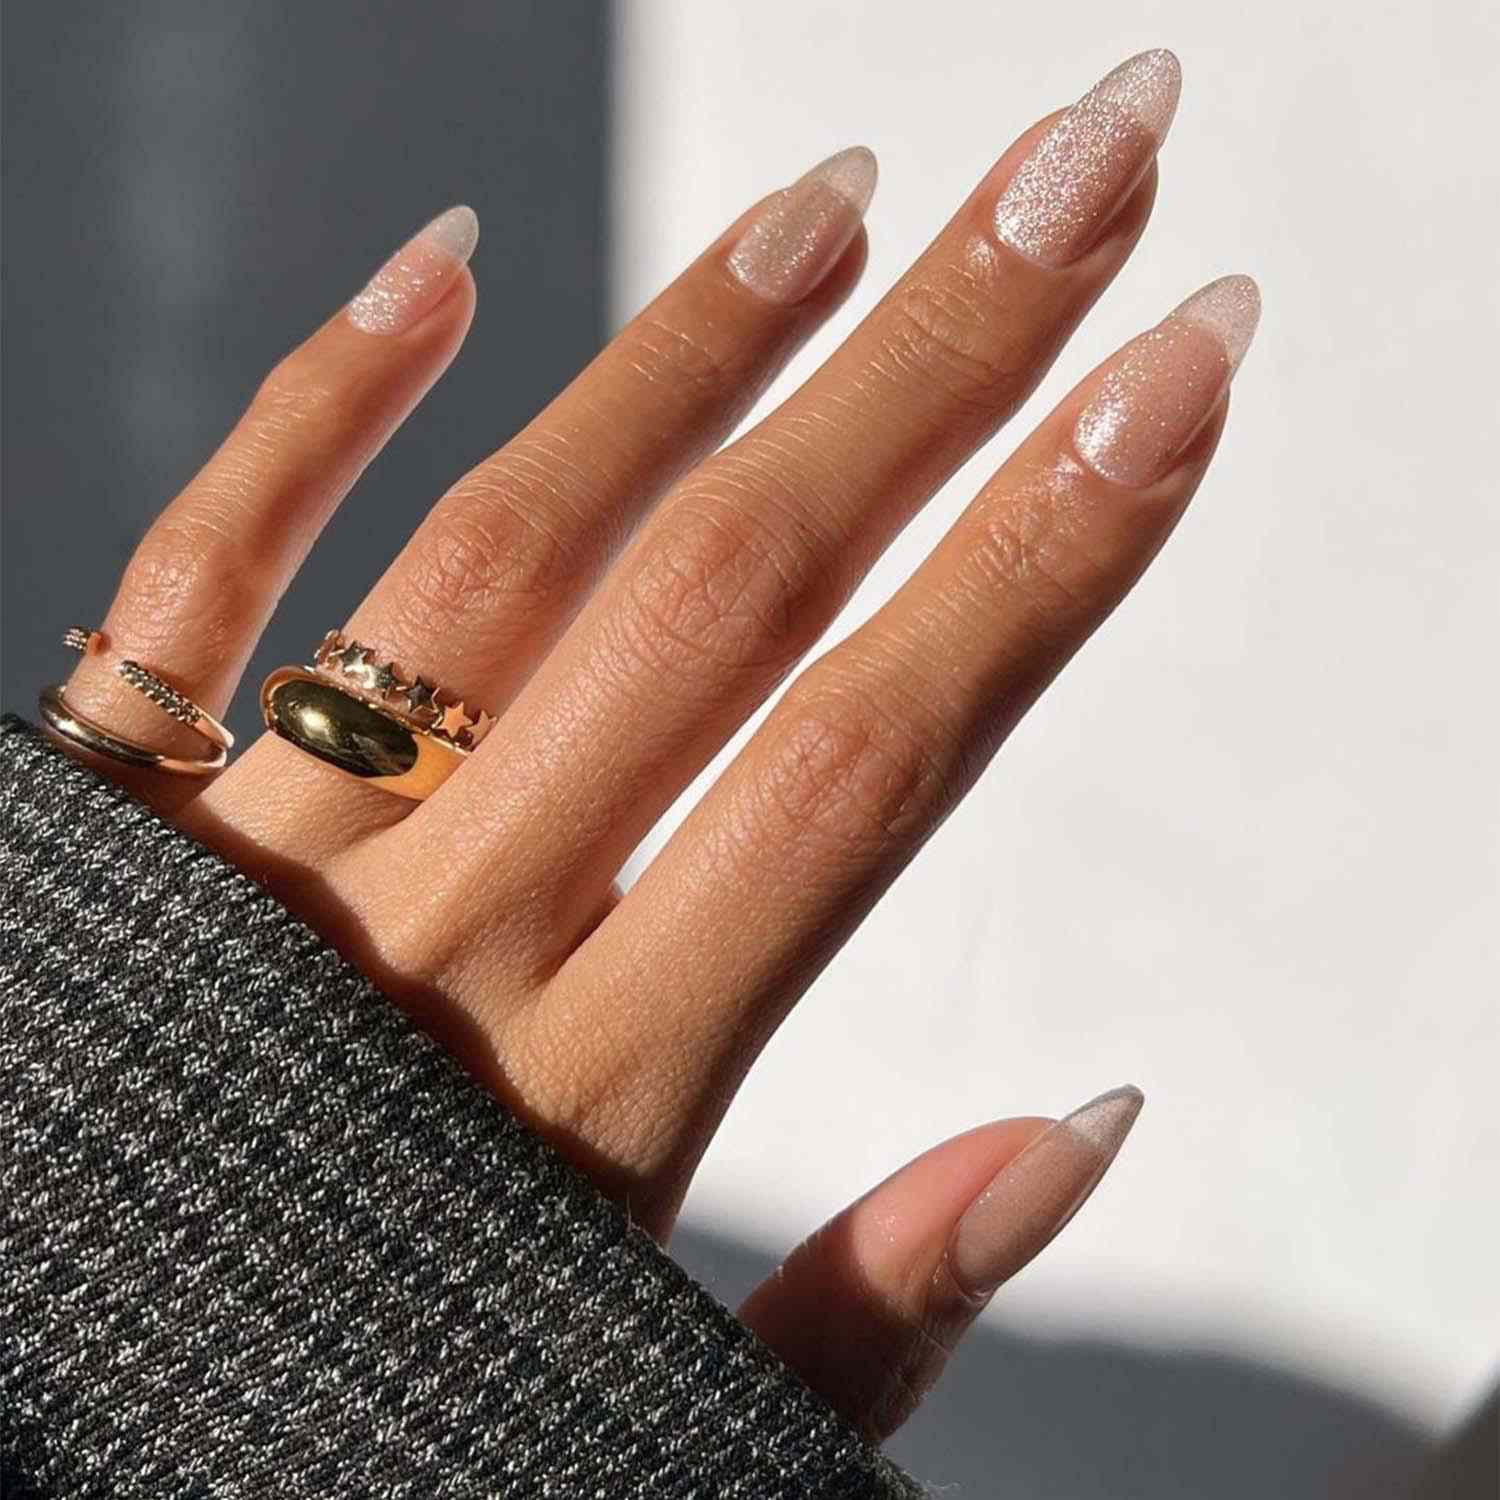
Working with Transparent Designs and UV Lamps
Transparent designs, like French tips, require a unique approach. Paint your tips or designs before attaching them to your nails when using transparent designs. This technique demands a clear adhesive that cures under a UV lamp. It ensures a clean, sharp look. UV lamps are essential for setting gel polish and transparent designs alike. Ensure your lamp is strong enough to cure quickly and evenly. This avoids smudging and incomplete curing. Remember, patience is crucial. Take your time with each step to get that glossy, fresh-from-the-salon finish at home.
Must-Have Tools for Enhanced Home Manicures
To make your at-home manicure sessions smoother and better, some tools are just essentials. Here are must-haves for any DIY nail enthusiast:
- UV LED Curing Lamp: This is a game changer. It sets the polish and helps it last.
- Nail Files and Buffers: Keep nails in shape and prep them for polish.
- Quality Nail Glue: For extensions, you want a strong, quick-drying glue.
- Primer: It improves the bond between your nails and the polish.
- Top and Base Coats: Protect your nails and keep the polish from chipping.
- Nail Art Tools: Brushes, dotting tools, and tapes help with precise designs.
Recommended Products for Easier Manicures
- Beetles Starter Kit: Comes with polishes, lamp and tools for beginners.
- Full-Coverage Tips: Choose a variety for size and shape matching.
- Good Quality Tweezers: Place and adjust nail art pieces with ease.
- Cuticle Oil: Keep your cuticles healthy for a better looking manicure.
With these in hand, anyone can start doing nails at home with confidence.
Upgrading Your DIY Manicure Kit
As you get the hang of home manicures, consider upgrading your kit:
- Electronic Nail Drill: For shaping and removing polish quickly.
- Better Quality Brushes: For intricate nail art details.
- Nail Dust Collector: It keeps your space clean during filing and buffing.
- Modelones Primer: A primer choice that ensures a long-lasting bond.
Invest in these for enhanced quality and experience, and take your DIY nails to the next level.
Step-by-Step Guide for Beginners
Embarking on the DIY nail journey should start with simple steps. Here’s a beginner-friendly guide.
Maintaining Your Home Manicured Nails
To keep your home manicured nails looking great, follow these tips:
- Apply Cuticle Oil: Nourish your cuticles daily to avoid hangnails.
- Wear Gloves for Chores: Protect your nails when cleaning or gardening.
- Touch-Up As Needed: Fix chips promptly to prevent further damage.
- Use Quality Top Coat: Apply a fresh top coat every few days for shine.
- Avoid Harsh Chemicals: Chemicals can weaken polish; limit exposure.
Consistent care extends your manicure’s life and keeps nails healthy.
Troubleshooting Common DIY Nail Issues
Even the most careful DIY nail enthusiasts can encounter problems. Here’s how to fix them:
- Bubbles in Polish: Apply thin layers and let them dry fully.
- Lifting Tips: Use more glue and cure under the UV lamp again.
- Smudges: Cure each coat completely before the next application.
- Weak Nails: Use a nail strengthener weekly for added protection.
Address issues as they come up, and your skills will sharpen over time. For those new to how to do nails at home, patience and practice are key.