Mastering Gel Nails at Home: A Step-by-Step Guide
Preparing Your Nails for Gel Polish
Before diving into the world of gel nail manicures, preparation is key. Properly prepped nails make the difference between an amateur and a professional-looking manicure. This means starting off with a clean slate, shaping nails properly, and understanding the tools needed to create the perfect foundation for gel polish.
The Importance of Clean, Dehydrated Nails
Clean and dehydrated nails are the first step in the gel manicure process. It’s essential to remove natural oils and moisture for the gel to adhere. Wash your hands thoroughly, then swipe nails with 100% pure acetone. This will give you a solid base to work with.
Shaping Nails and Selecting the Right File Grit
Shaping your nails comes next. Choose a soft square or your preferred shape and use a 180 grit nail file. This grit is gentle yet effective, avoiding too much roughness while ensuring good gel polish adhesion. File evenly for a consistent look.
Why a Soft Buffer Isn’t Always Best
Contrary to some beliefs, using a soft buffer may not be the best approach. A nail too smooth won’t hold the gel well. Use the right grit nail file instead to prep the surface, so it’s ready to bond with the gel. This step aids in prolonging your manicure’s life.
Cuticle Care for Long-Lasting Gel Nails
Proper cuticle care is a must for durable gel nails. Well-prepped cuticles mean less lifting and a manicure that stands the test of time.
Using Cuticle Softener Effectively
Begin by applying a generous amount of cuticle softener around the nail base. This product helps to soften and loosen the skin. Wait for 1-2 minutes to let it work its magic. A softened cuticle is easier to manage and prepares the nail bed for a smooth polish application.
The Critical Step of Removing Dead Skin
After softening, use a cuticle pusher to gently peel away any loose, dead skin from the nail plate. Be thorough but gentle to avoid any damage to the live skin. Removing this layer is essential; any leftover skin can cause the gel to lift and decrease the lifespan of your manicure.
Why Cuticle Nipping is Essential
The final step is to carefully clip the dead cuticle tissue. Use sharp, precise cuticle nippers for this. Nip only the dead skin turned white by the softener. Be patient and careful to not cut live skin as this can lead to infections and impact nail growth. Clean and trimmed cuticles help secure the gel polish in place, ensuring a long-lasting, professional look for your at-home manicure.
Priming and Base Coat Application
Proper application of primer and base coat is crucial for a stellar gel nail finish. These layers serve as the foundation for your gel manicure and play a pivotal role in the longevity and appearance of the final result. Let’s delve into the steps that will help you achieve the best possible outcome.
Importance of a Non-Acid Nail Primer
Before you swipe on any color, it’s essential to understand why a non-acid nail primer is a must. This type of primer is gentler on your nails, reducing the risk of irritation and damage. It prepares the nail surface for gel application by creating an adhesive layer, which increases the staying power of your manicure.
Applying the Base Coat for Strength and Adhesion
Next comes the base coat, a critical step in your at-home manicure. A good base coat not only enhances adhesion but also adds strength to your nails. It acts as a protective barrier between the natural nail and the gel color, and helps prevent chipping and peeling.
The Proper Technique for Base Coat Application
Applying the base coat with the right technique can make a significant difference. Begin with a thin layer, ‘scrubbing’ it gently onto the nail plate. Ensure even coverage and avoid the cuticle line to prevent lifting. Then, apply a second, slightly thicker layer to reinforce strength. Cure each layer under an LED lamp following the recommended time, usually around 60 seconds. This method maximizes adhesion and sets the stage for a smooth and vibrant color application.
By taking the time to prime and base your nails correctly, you’re laying the groundwork for how to do gel nails that not only look fabulous but also endure the demands of daily life.
Choosing and Applying Gel Nail Color
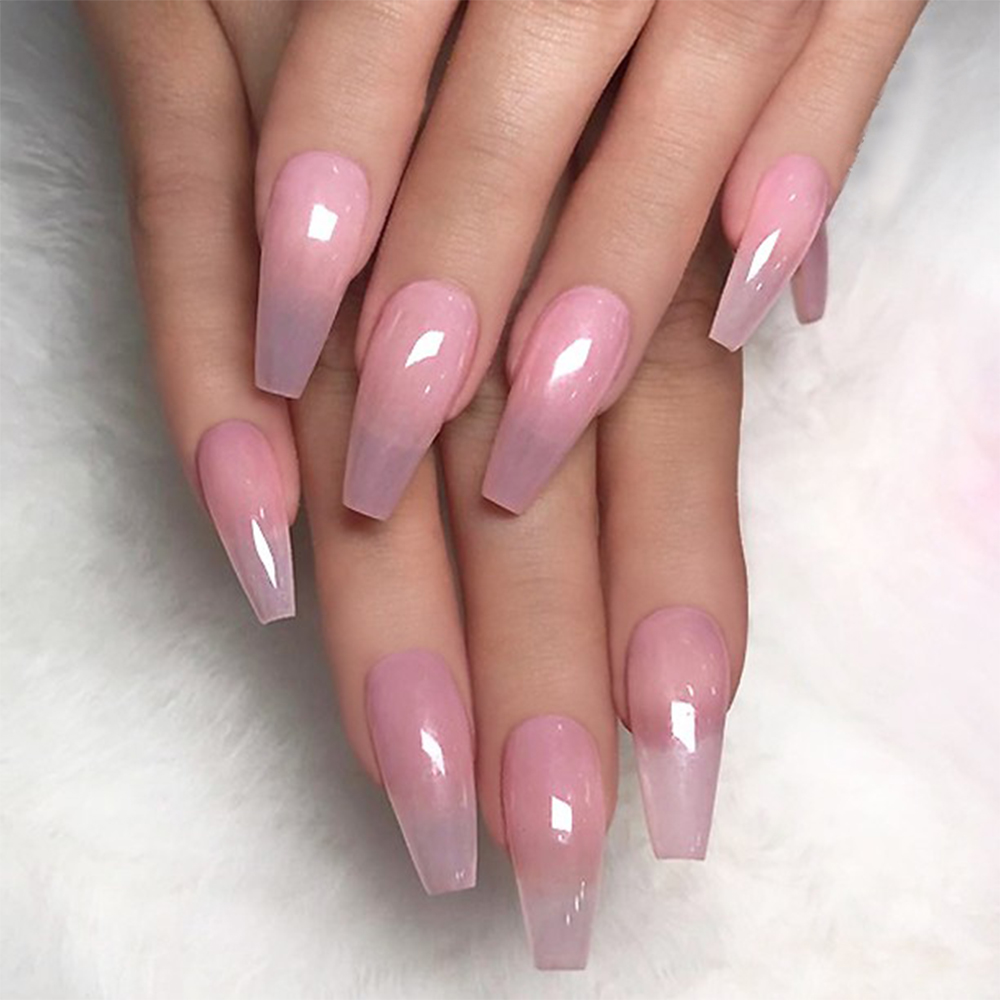
Selecting the perfect gel nail color and brand can significantly elevate your at-home manicure experience. When deciding which gel polish to use, keep in mind factors such as the opacity, curing requirements, and the reputation of the brand for durability and ease of application.
How to Pick the Right Gel Color and Brand
To choose the right gel color:
- Consider your skin tone and the occasions for which you’re doing your manicure.
- Opt for brands known for their high-quality formulas that provide a smooth application and longevity.
- Look for gel polishes that have a wide range of colors, so you can experiment with different looks.
Selecting the brand may require some research:
- Read reviews and recommendations online to gauge user satisfaction.
- Favor brands that offer good customer support and clear instructions for application.
- Ensure that the brand’s curing times are compatible with your LED lamp.
Tips for Achieving Even Color Application
For even color application:
- Apply thin layers to prevent the polish from bubbling or wrinkling.
- Start from the base of your nail and work towards the tip with steady strokes.
- Cap the free edge of the nail to avoid shrinkage and chipping.
- Allow the gel to settle for a few seconds before curing to eliminate any streaks.
Avoiding common mistakes is key:
- Do not flood the cuticles with polish, as this can cause lifting.
- Keep each layer even and do not over-cure, as it can make the polish brittle.
The Role of LED Lamps in Curing Gel Polish
LED lamps are essential for curing gel polish correctly:
- Ensure that your lamp is of the appropriate wattage for the gel polish you’re using.
- Follow the curing times recommended by the gel polish brand for the best results.
- Cure base and color coats according to specified times, usually between 30 to 60 seconds.
Remember to maintain your LED lamp:
- Keep the lamp clean and free of gel residue.
- Replace the bulbs as needed to ensure it cures efficiently.
By focusing on these color selection and application strategies, as well as the correct use of LED lamps, you can create professional-quality gel nails right at home.
Topcoat and Finishing Touches
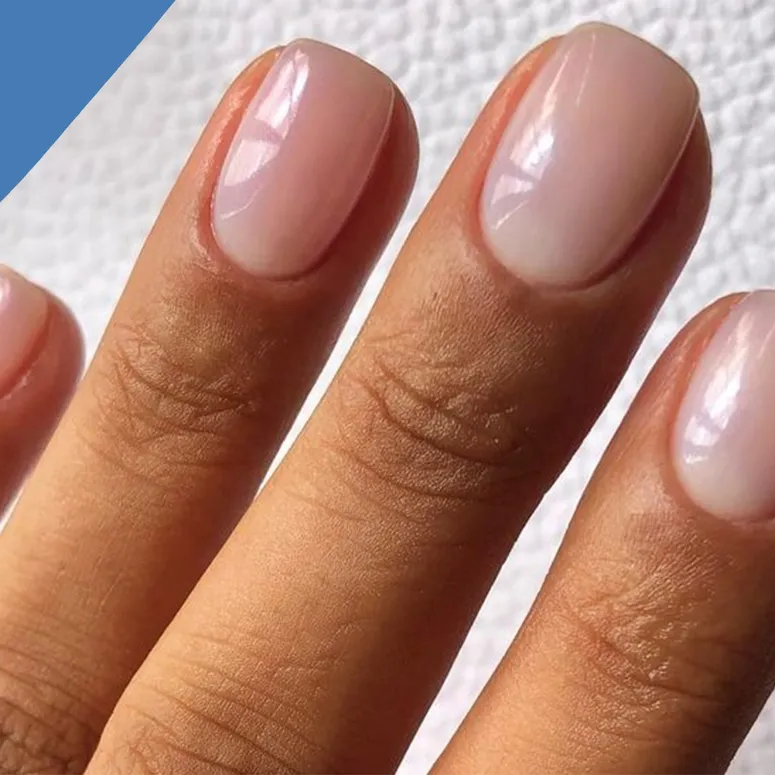
A stunning topcoat is the crown of any gel nail manicure. Its role goes beyond aesthetics, providing a protective seal and preventing chips and scratches. This guide will show you how to achieve that coveted high gloss, manage any tackiness, and maintain hydration and flexibility of your nails.
The Significance of a High Shine No-Wipe Topcoat
A high shine no-wipe topcoat gives your gel nails a glossy finish without extra steps. It does not leave a sticky residue, which means less work and more shine. A quality topcoat also shields the color from fading and damage. Choose a reputable brand to ensure lasting brilliance and protection.
How to Avoid and Handle the Tacky Layer
Some topcoats have a tacky layer after curing. To handle this, lightly wipe the nails with a lint-free cloth moistened with alcohol after curing. Be gentle to avoid dulling the shine. If using a no-wipe topcoat, you can skip this step altogether.
Importance of Cuticle Oil for Flexibility and Hydration
Cuticle oil is key for healthy and flexible nails. Apply it around your nails after the topcoat and continue to use it daily. It prevents your gel nails from becoming brittle. This means less chipping, and it helps your manicure to last longer. It’s also a great way to pamper your nails and keep your cuticles soft.
By mastering these finishing touches, you’ll ensure your at-home gel manicure remains as fresh and vibrant as the day you applied it.
Maintenance and Aftercare
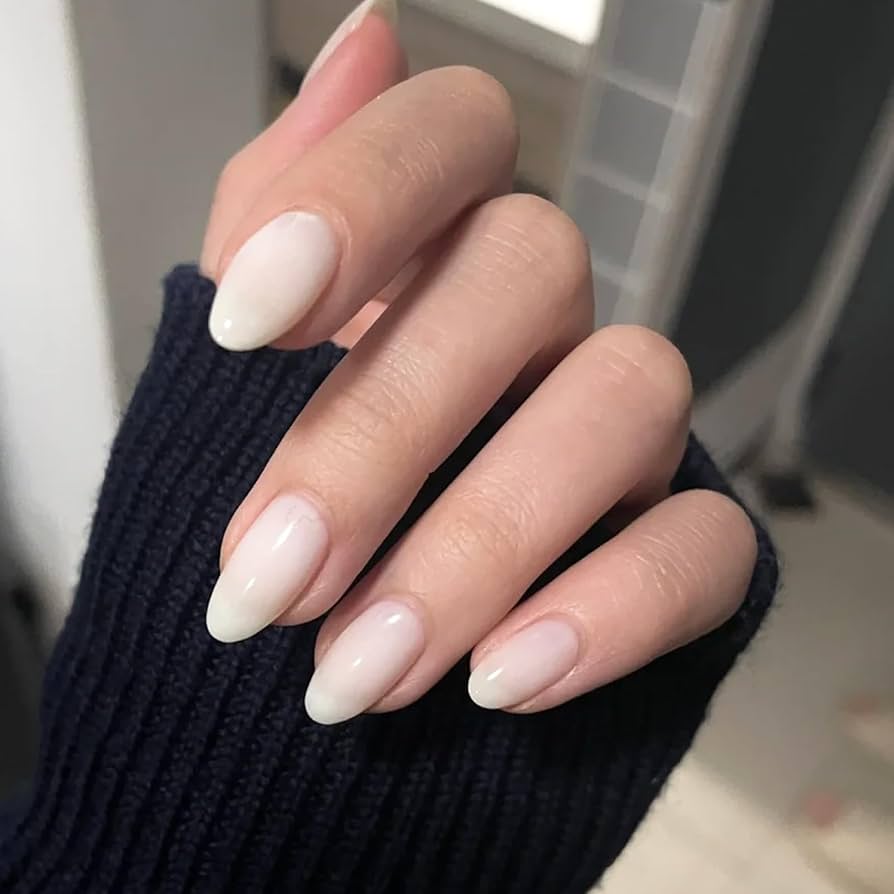
Maintaining your gel nails is key for a lasting, professional look. To keep your nails looking great, simple aftercare steps are necessary.
Keeping Your Gel Nails Looking Great
To keep your gel nails looking their best, follow these tips:
- Avoid harsh chemicals that can damage the gel coat.
- Wear gloves for chores like dishwashing or cleaning.
- Avoid using your nails as tools to prevent chips.
- File any snags with a fine-grit file to avoid tears.
Following these tips will help protect your gel nails from premature wear and tear.
How Often to Apply Cuticle Oil
Cuticle oil is not just for post-manicure care. Here’s how often to apply it:
- Use cuticle oil at least twice a day to maintain nail health.
- Apply more frequently if your hands are often in water.
- Massage it into the cuticle area to improve absorption.
Regular use of cuticle oil keeps nails flexible and prevents dryness.
When to Refresh or Remove Gel Polish
Knowing when to refresh or remove gel polish is important:
- Refresh the topcoat every week to maintain shine.
- If you notice lifting or chipping, it may be time for a new manicure.
- Avoid peeling off the polish, as this damages the nail.
Proper removal involves soaking in acetone and gently pushing off the polish. Refreshing or removing your gel polish at the right time ensures your nails stay healthy and attractive.
