Mastering Ombre Nails: Gel Polish Techniques
Contents
hide
Introduction to Ombre Nails
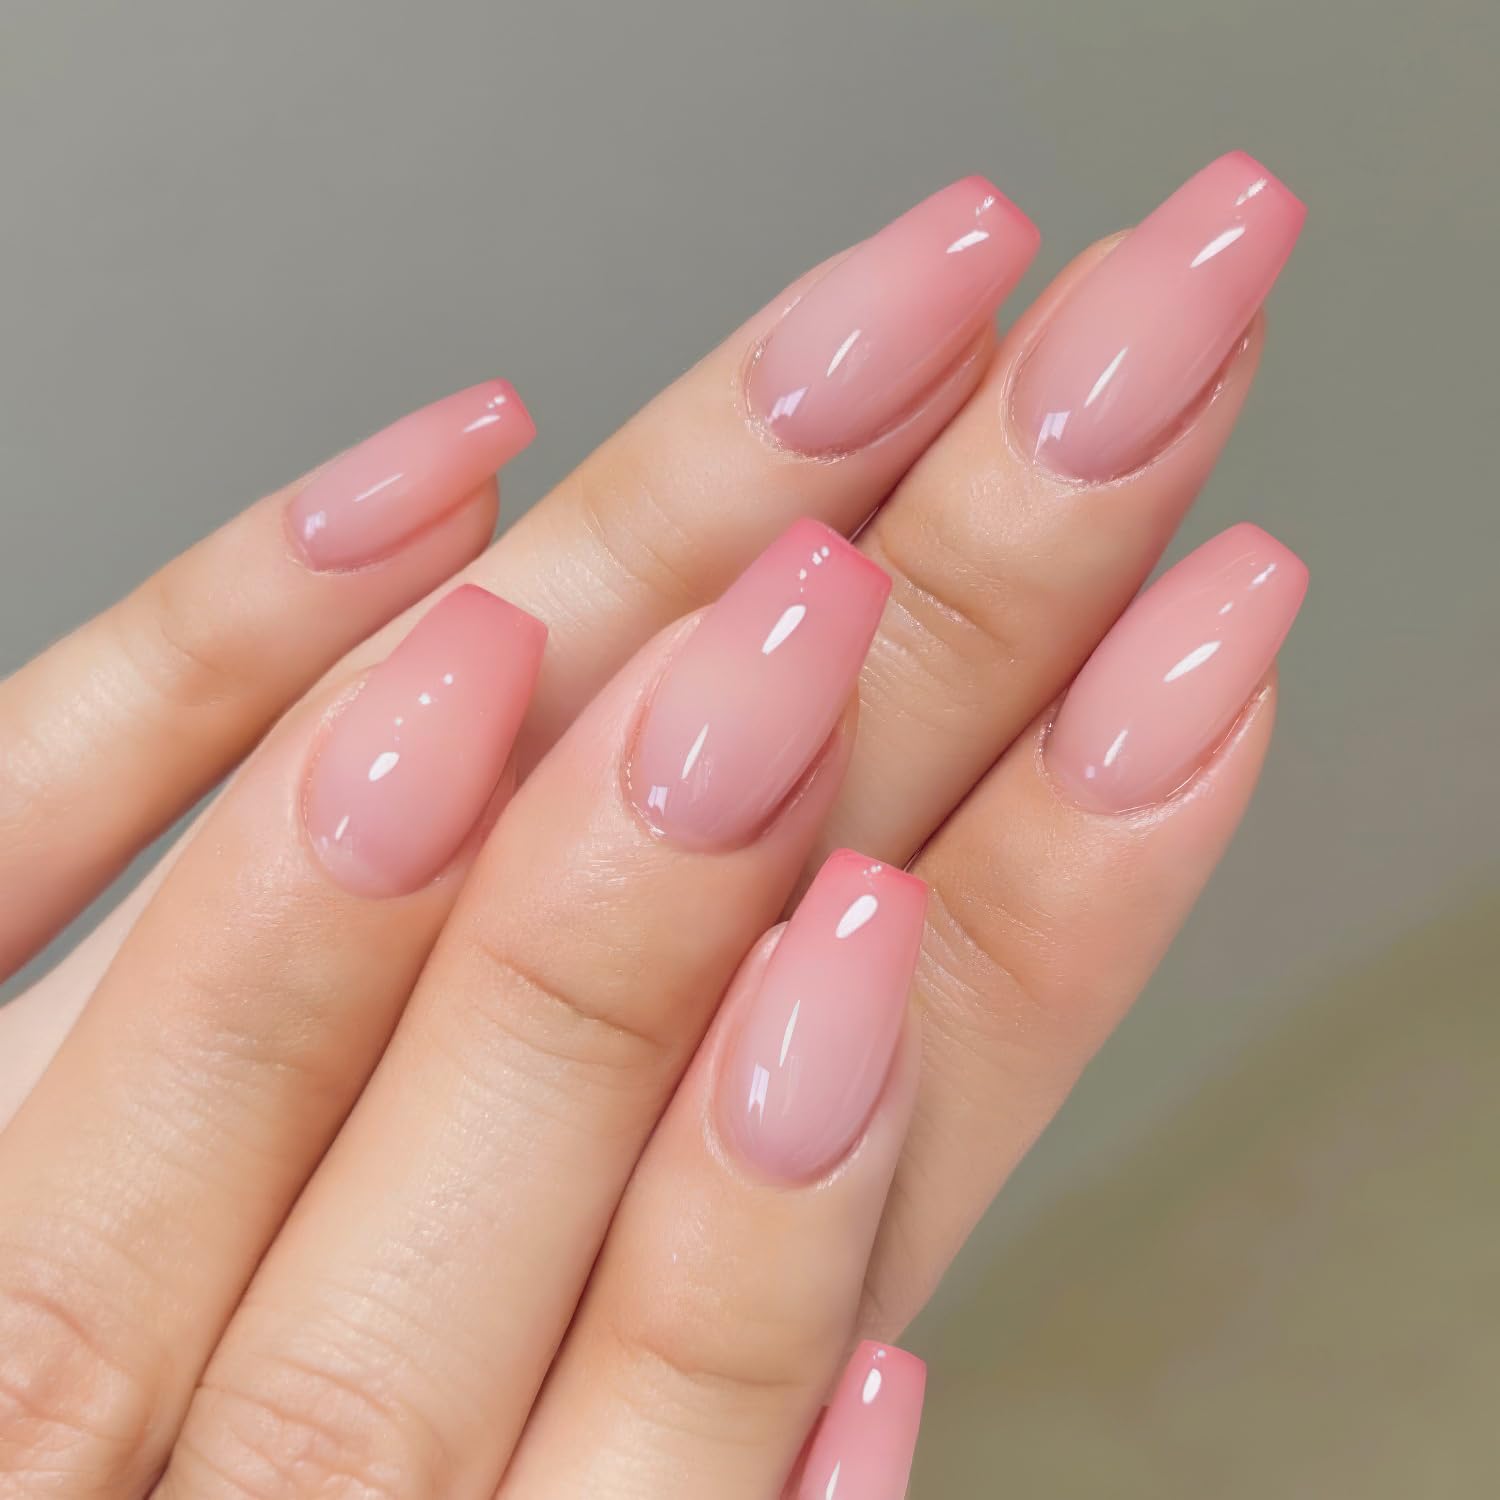
Ombre nails are a stunning nail art design. They feature a seamless color transition from one shade to another. This popular look can be subtle or bold, depending on your choice of colors. It’s a technique that lets you express your style and creativity through your nail art. Ombre nails have become a staple in fashion trends for both everyday wear and special occasions.
The beauty of ombre nails lies in their versatility. You can use any color palette you like. Bright shades are perfect for summer, while darker tones work well in winter. Gel polish makes achieving this look at home easier than traditional polishes. With the right tools and a bit of practice, you can master this technique. Starting with ombre nails is simple. You’ll need some essential tools, a steady hand, and patience. By following structured steps, you can create an ombre effect on your nails.
In this blog, we’ll guide you through the entire ombre nail process. From the necessary tools to the finishing touches, we cover it all. We’ll share tips to help you choose the right gel polish colors. We’ll also show you how to apply them for the best results. By the end, you’ll be equipped to create your own beautiful ombre designs. Let’s dive in and start the journey to achieving professional-looking ombre nails at home.
Essential Tools for Ombre Nail Art
To get started with ombre nail art, the right tools are essential. Having quality materials makes the technique easier and results better. You’ll need gel polish colors suited for ombre, quality brushes, and sponges. In the next sections, we’ll cover the best choices for gel polish shades and application tools.
Choosing the Right Gel Polish Colors
Selecting the perfect gel polish colors is key. For smooth transitions, opt for colors that blend well together. Pastels and sheer shades are often a good choice. They allow for subtle shifts in color that enhance the ombre effect. When choosing your colors, consider the final look you want. Are you aiming for a bold transition or a gentle fade? Remember, the right sheer tones will make blending easier and the ombre effect more natural.
Selecting Quality Brushes and Sponges
Quality brushes and sponges are vital for a smooth ombre effect. Pick brushes that are firm yet flexible, such as those with goat hair bristles. They’ll help you control where the polish goes and how it blends. For sponges, make sure they are dense enough to dab and blend the polish without absorbing too much product. A makeup sponge works well, but remember to use the softer side. It creates a more uniform ombre without harsh lines or texture struggles.
Preparing Your Nails for Ombre Design
Proper nail prep sets the stage for flawless ombre nails. Here’s how to start.
Basics of Nail Preparation
Begin by cleaning your nails. Use a nail polish remover to ensure there’s no old polish left. Push back your cuticles gently. Next, trim and file your nails to your desired shape. Smooth the nail surface with a buffer to even out any ridges. Once clean and shaped, clean your nails again to remove dust and oils. This helps the gel polish stick better and last longer.
Applying the Base Coat Correctly
A good base coat is crucial for gel ombre nails. It protects your natural nails and improves polish adhesion. Apply a thin, even layer of base coat to each nail. Be sure to cover the entire nail surface, including the edges. Avoid the skin and cuticle to prevent lifting. Cure under a LED lamp following the manufacturer’s instructions. The correct curing of the base coat sets a solid foundation for your ombre nail art.
Step-by-Step Ombre Nail Technique
Creating the perfect ombre nail effect involves a few key steps.
Applying the Base Color
Start by applying a smooth layer of your chosen base color. Use just enough to cover the nail. Avoid thick layers that can wrinkle during curing. Ensure the polish reaches the edges but not the skin. Cure it under an LED lamp as the polish brand suggests.
Blending with a Brush or Sponge
After the base layer, it’s time to add your second color. Apply a stripe of the second gel polish color at the tip or base of the nail. While it’s still wet, take a brush or sponge to dab and blend. Move gently for a seamless fade. Focus on areas where colors meet for a smooth transition. Use swift, soft strokes to avoid harsh lines or lifting.
Curing and Repeating Layers
Cure the blended layer under your LED lamp. If needed, repeat with another thin layer for depth. Blend each new layer as before. Cure every layer to prevent smudging. Be patient – a stunning ombre takes time. Once satisfied with the gradient effect, prepare for the finishing touches.
Advanced Ombre Nail Tips
Exploring advanced techniques can enhance your ombre nail art skills. Now that you’re comfortable with the basics, let’s move on to more creative variations and details that can really make your nails pop.
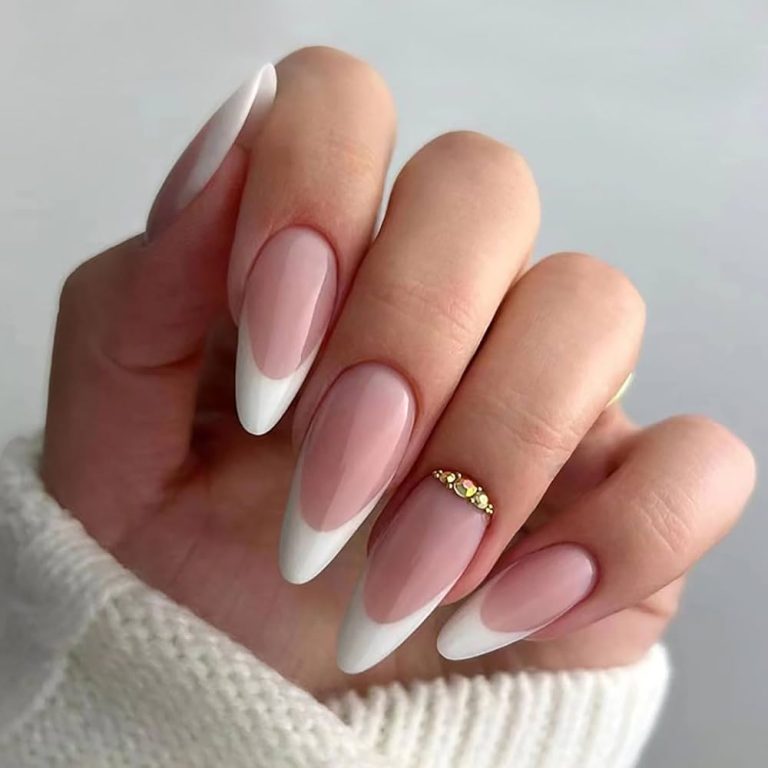
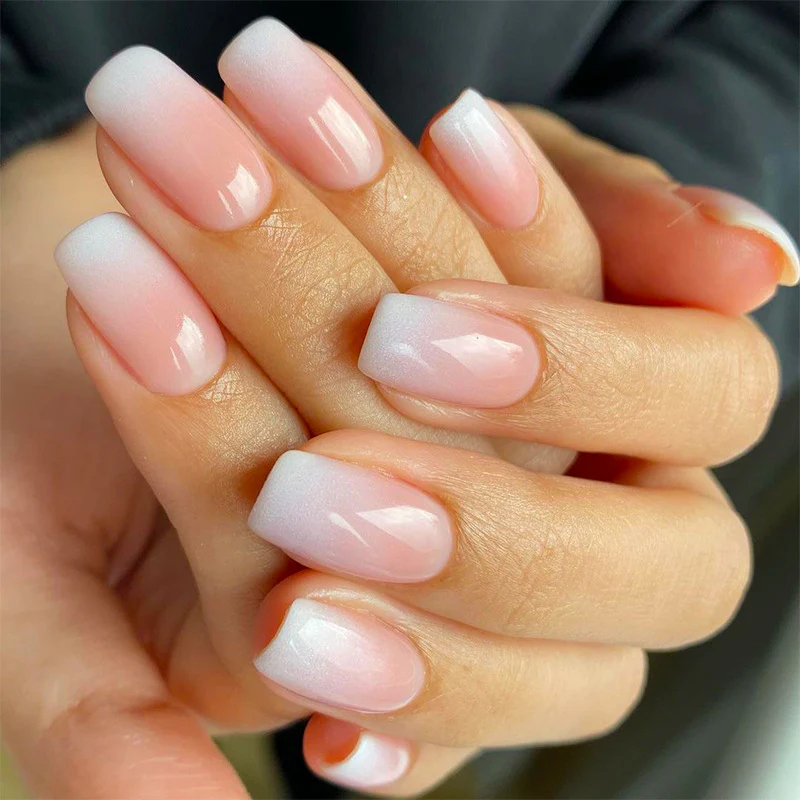
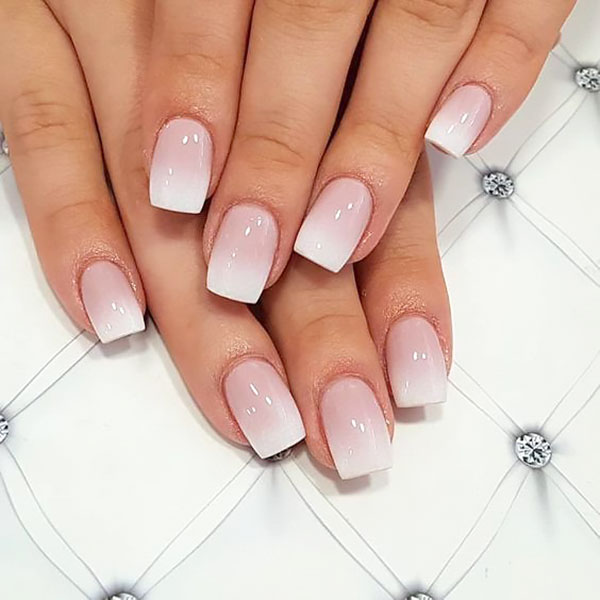
Creating a French Ombre Manicure
French ombre, or baby boomer nails, combines the classic French manicure with an elegant ombre effect. To achieve this, start with a nude base color, usually a soft pink or beige. Gradually blend white gel polish from the tips, fading into the base shade. Use a sponge or a brush for blending to create a smooth gradient. The key is to use gentle taps and avoid harsh lines for a natural transition. Cure between layers and apply as many coats as needed. Always finish with a thick, high-gloss topcoat to smooth out any imperfections and achieve a polished look.
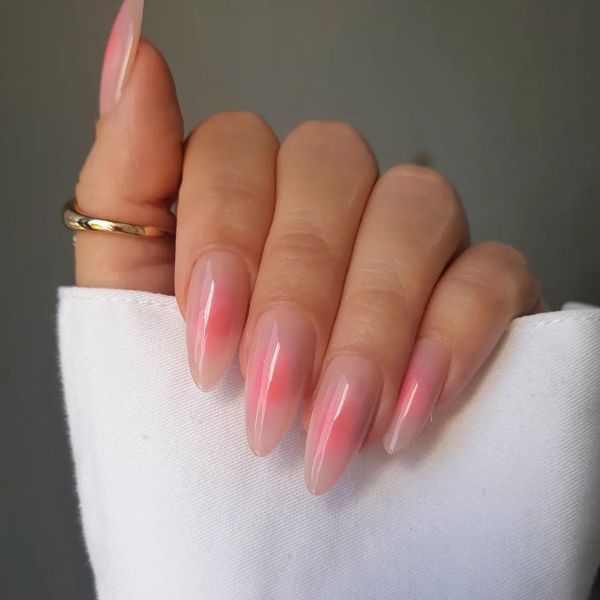
Achieving Gradient Effects with Gel Polish
For a bolder gradient effect, you can play with more diverse color choices. Start with a base coat of your preferred gel polish. Once cured, apply your secondary color at the nail’s edge or halfway up, depending on the desired intensity. Using a clean brush, blend the colors with light horizontal strokes. For a softer look, apply a thinner layer of the secondary color with each pass, creating a gradual fade. Cure after each layer and repeat the process until satisfied. The aim is to blur the line between the colors, making the transition seamless.
Troubleshooting Common Ombre Nail Issues
Achieving the perfect ombre nail design is sometimes fraught with challenges. However, with a few troubleshooting tips, you can overcome common issues and achieve flawless results. Let’s explore some of the issues and their solutions.
Blending Challenges
Blending is key to a smooth ombre effect. If you find harsh lines between colors, don’t worry. Practice softly dabbing and wiping your brush or sponge at the color meeting points. Use more polish if blending is too faint, or less if too stark. Experiment with the pressure of your brush to get it just right. If all fails, try another color combination. Colors too far apart in shade may not blend well.
Removing Excess Polish and Touch-ups
Sometimes, polish can get onto your skin or cuticles during application. If this happens, quickly swipe away the excess with a small brush dipped in nail polish remover. This will create crisp lines and a clean look. For touch-ups, use a precise brush and a bit of the base color. Carefully paint over any spots that need extra attention. Allow for extra curing time if applying additional layers.
Finishing Touches for Perfect Ombre Nails
Selecting the Right Topcoat
The topcoat is not just a protector, it’s the final shine that showcases your work. Here’s what to consider:
- Thickness: A thick topcoat smooths out uneven spots for a flawless finish.
- No-wipe versus regular: No-wipe topcoats are thin and may not hide imperfections well. Regular, wipe-off topcoats can offer a more refined look.
- Glossy or matte: Decide based on the style you seek. Glossy adds shine, while matte provides a trendy, satin look.
Do not rush this step, as the right topcoat impacts both the nail’s appearance and durability.
Ensuring Longevity of Ombre Gel Nails
To keep your ombre nails lasting long and looking their best, follow these tips:
- Cure thoroughly: Don’t skimp on lamp time. Ensure each topcoat layer is fully cured.
- Cap the edges: Always swipe the brush along the nail tip to seal the edges.
- Oil the cuticles: Keep nails and skin moisturized to prevent chips and peeling.
With attention to detail and care, your ombre nails can maintain their beauty for weeks.
Inspiration and Ideas for Ombre Nail Designs
Ombre nails offer endless possibilities for creativity. Your choice of colors and patterns can truly elevate your nail art. Whether you’re seeking a seasonal vibe or something unique, here are some inspirations to get you started.
Seasonal Color Combinations for Ombre Nails
Every season brings its own set of popular colors. In spring, think of soft pastels like baby blue and pale pink. Summer calls for bright, vibrant shades such as neon green or sunlit coral. For fall, transition to warm tones like burnt orange or deep red. Then, winter welcomes cool shades like icy blue or rich plum. Mix and match these to create perfect seasonal ombre nails.
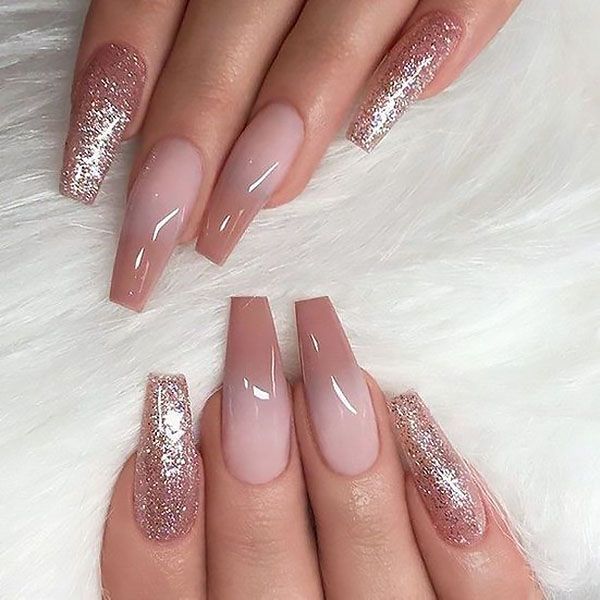
Choosing colors that reflect the season gives your nails a timely and trendy appearance. Plus, they pair well with your wardrobe choices for that time of year. For example, ombre nails with a base of dark green blending into a glittery gold tip can mimic the festive feel of the holidays.
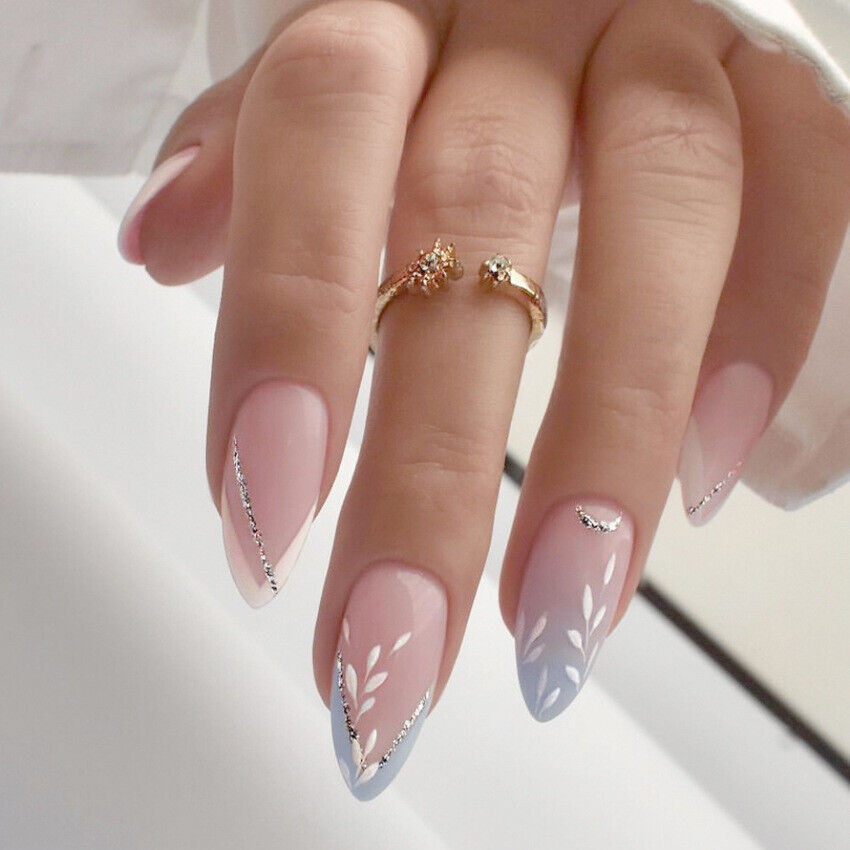
Incorporating Patterns and Textures
Ombre nails don’t just have to be about color transitions. You can add patterns and textures to make them stand out even more. With a subtle ombre background, try adding delicate lace patterns or bold geometric shapes for added interest. If you’re feeling adventurous, incorporate gradient glitter or matte finishes to contrast the glossy ombre beneath.
For a more textured look, apply a sparkle or metallic polish over the ombre base. This creates a sophisticated effect that catches the light beautifully. Another trend is using nail stamps or stickers on top of your ombre nails for a unique design that’s easy to achieve.
With these ideas, your ombre nails will impress and express your personal style. Remember, practice makes perfect. So, keep experimenting with different colors, patterns, and textures to find what works best for you.