The Ultimate Guide to How to Apply Cream Blush
Contents
hide
Understanding Cream Blush Basics
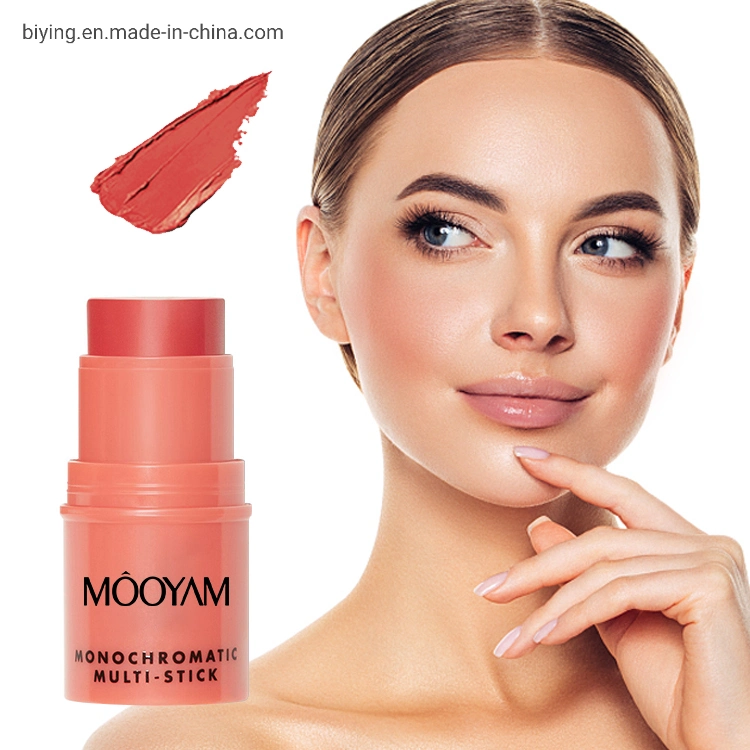
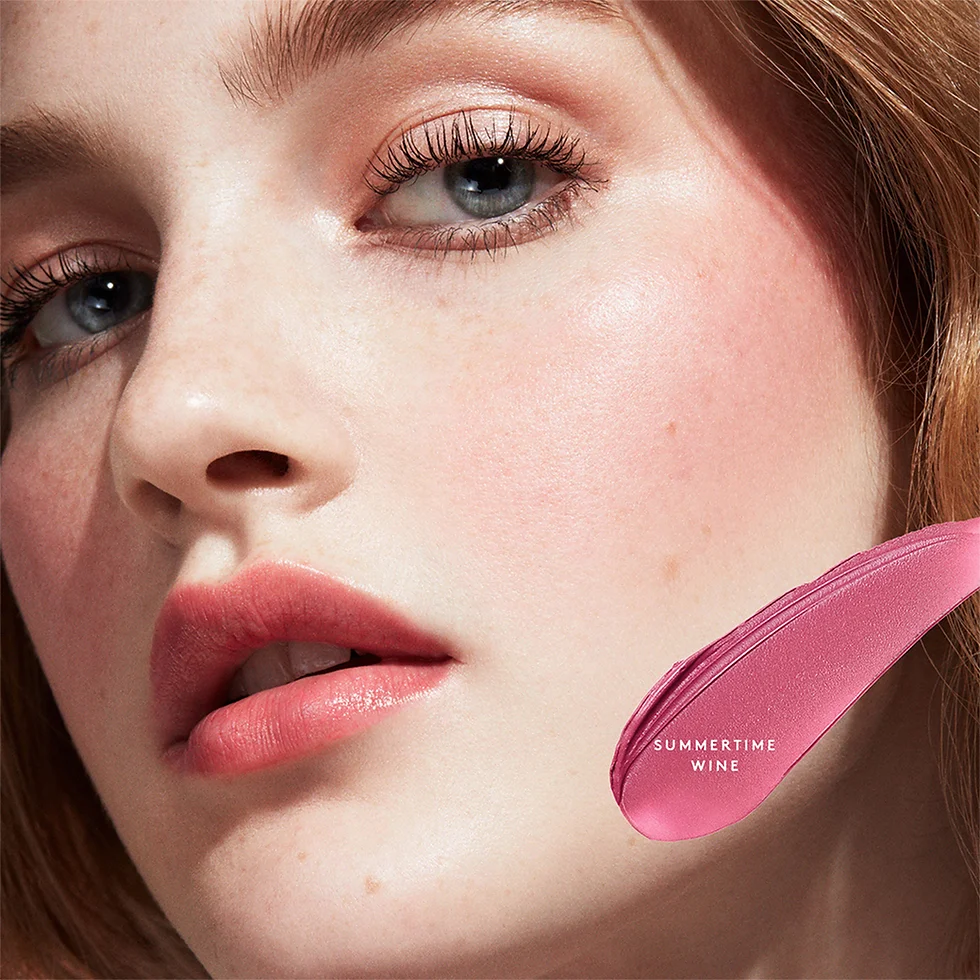
Cream blush offers a natural, dewy finish that enhances any makeup look. This versatile product blends seamlessly into the skin, creating a youthful and radiant appearance. How to apply cream blush?Unlike powder blushes, cream formulas provide a more buildable and long-lasting color. They work particularly well for those with dry or mature skin, as they don’t settle into fine lines or accentuate texture. However, people with all skin types can benefit from the luminous finish of cream blush.
With proper application techniques, anyone can achieve a stunning, flushed-from-within glow. Cream blush comes in various formulations, including sticks, pots, and tubes. Each type has its own unique advantages, but all offer the same creamy consistency that allows for easy blending. Moreover, cream blush often contains nourishing ingredients that can benefit the skin while providing color. This dual-purpose nature makes cream blush a favorite among makeup artists and beauty enthusiasts alike. As a result, mastering the application of cream blush can elevate any makeup routine, providing a fresh, youthful look that lasts throughout the day.
Selecting the Perfect Shade
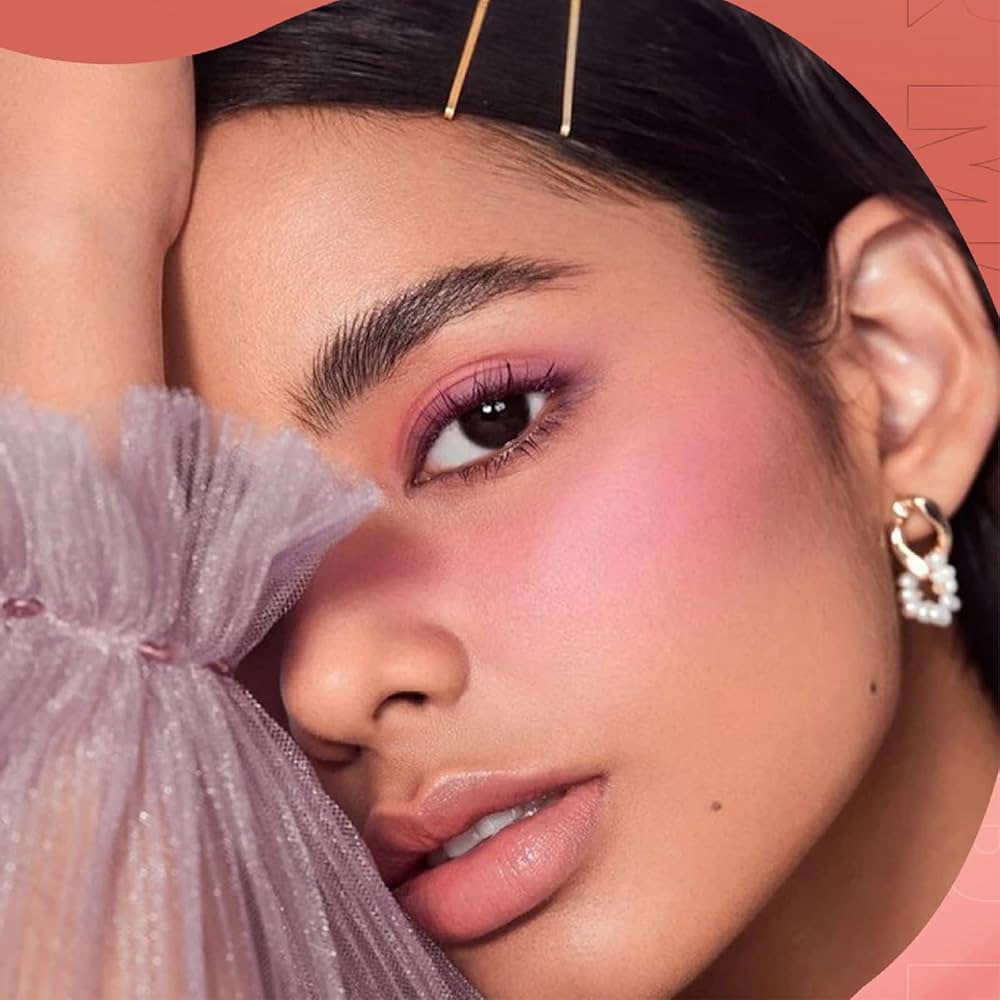
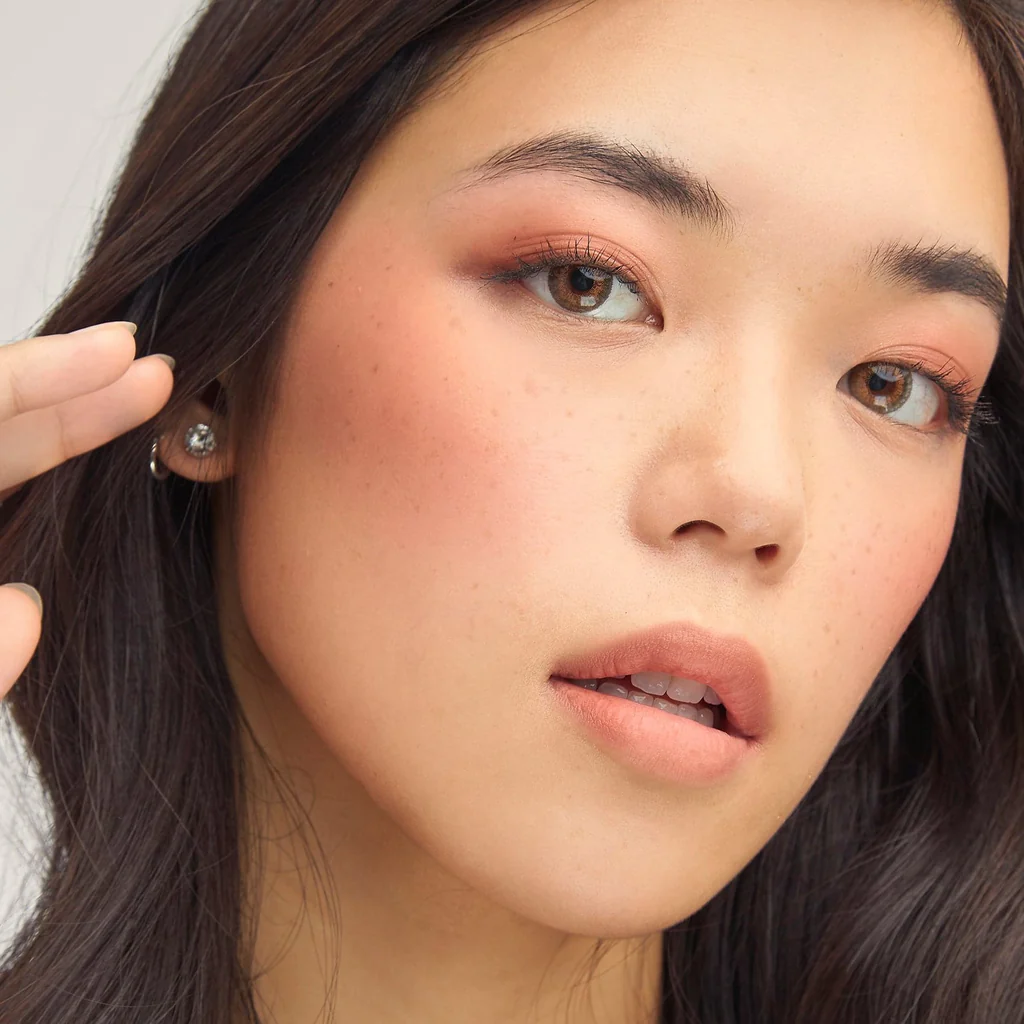
How to apply cream blush?Choosing the right cream blush shade is crucial for achieving a natural-looking result. Consider your skin tone and undertones when making a selection. For fair skin, opt for soft pinks or peach hues that mimic a natural flush. Medium skin tones look beautiful with coral or mauve shades, which add warmth and dimension. Deeper skin tones can rock bold berries or rich terracotta colors for a stunning effect. Additionally, think about the overall makeup look you’re going for. A subtle nude-pink works well for everyday wear, while a brighter shade can add a pop of color for special occasions.
Don’t be afraid to experiment with different shades to find what flatters your complexion best. Remember, the key is to enhance your natural beauty, not overpower it. Furthermore, consider the season and your personal style when selecting a shade. Lighter, fresher colors often work well in spring and summer, while deeper, richer hues can be perfect for fall and winter. Ultimately, the best shade is one that makes you feel confident and complements your skin tone beautifully.
Prepping Your Skin for Application
Proper skin preparation is essential before applying cream blush. Start by cleansing your face thoroughly to remove any dirt, oil, or previous makeup. This clean canvas ensures that the cream blush will apply smoothly and evenly. Follow up with a moisturizer suitable for your skin type. This step helps create a smooth surface and ensures the cream blush blends seamlessly. If you use foundation, apply it next. For a more natural look, skip foundation and use a tinted moisturizer or BB cream instead.
Allow your base makeup to set for a few minutes before moving on to blush application. This waiting period prevents the cream blush from disturbing your foundation or mixing with it excessively. Additionally, consider using a primer specifically designed for cream products. Such primers can help extend the wear time of your blush and prevent it from settling into fine lines or pores. For those with oily skin, a mattifying primer can be particularly beneficial, as it helps control excess shine and allows the cream blush to adhere better to the skin.
Tools and Techniques for Application
While fingers work well for applying cream blush, various tools can help achieve different effects. A synthetic brush with dense, short bristles offers precise application and seamless blending. Stippling brushes create an airbrushed finish, perfect for a soft, diffused look. Beauty sponges work wonders for blending out harsh edges and creating a natural-looking flush. For those who prefer finger application, make sure your hands are clean to avoid transferring oils or bacteria to your face.
Experiment with different tools to find what works best for you. Each method has its advantages, and you might find that a combination of techniques yields the best results. When using brushes, opt for synthetic bristles as they don’t absorb cream products the way natural bristles do. This ensures that more product ends up on your cheeks rather than getting lost in the brush. For a truly seamless application, consider investing in a high-quality beauty sponge. These tools can be used damp or dry, offering versatility in application and finish.
Step-by-Step Application Process
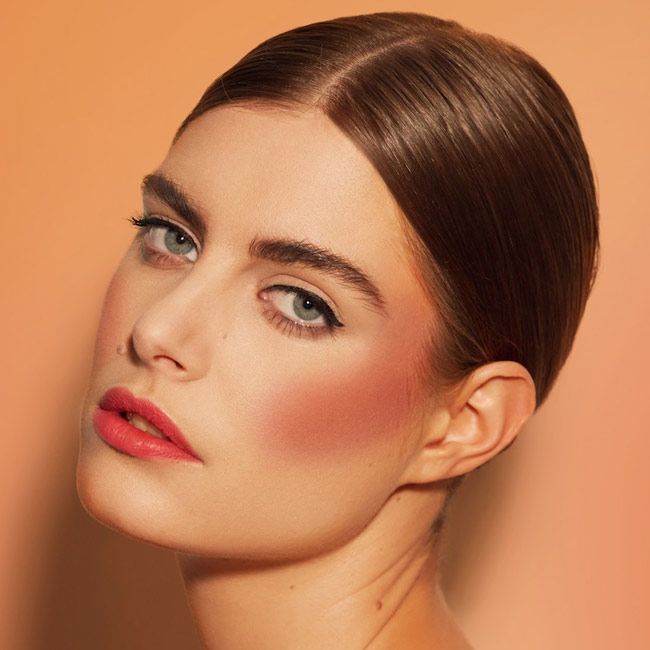
Now, let’s dive into the actual application process. Start by warming up the product on the back of your hand or fingertips. This step makes the cream blush more pliable and easier to blend. Smile gently to locate the apples of your cheeks. Using your chosen tool, apply a small amount of product to the center of the apple. Then, blend the color outward and upward towards your temples. Use light, tapping motions rather than dragging or pulling the skin.
Build up the color gradually, as it’s easier to add more than to remove excess. Remember to blend the edges thoroughly to avoid any harsh lines or patches. For a natural look, focus on the areas of your face that naturally flush when you exercise or feel warm. This typically includes the apples of the cheeks and a bit along the cheekbones. If you’re going for a more sculpted look, place the blush slightly higher on the cheekbones and blend upwards. This technique can help lift the face and create the illusion of higher cheekbones.
Mastering Blending Techniques
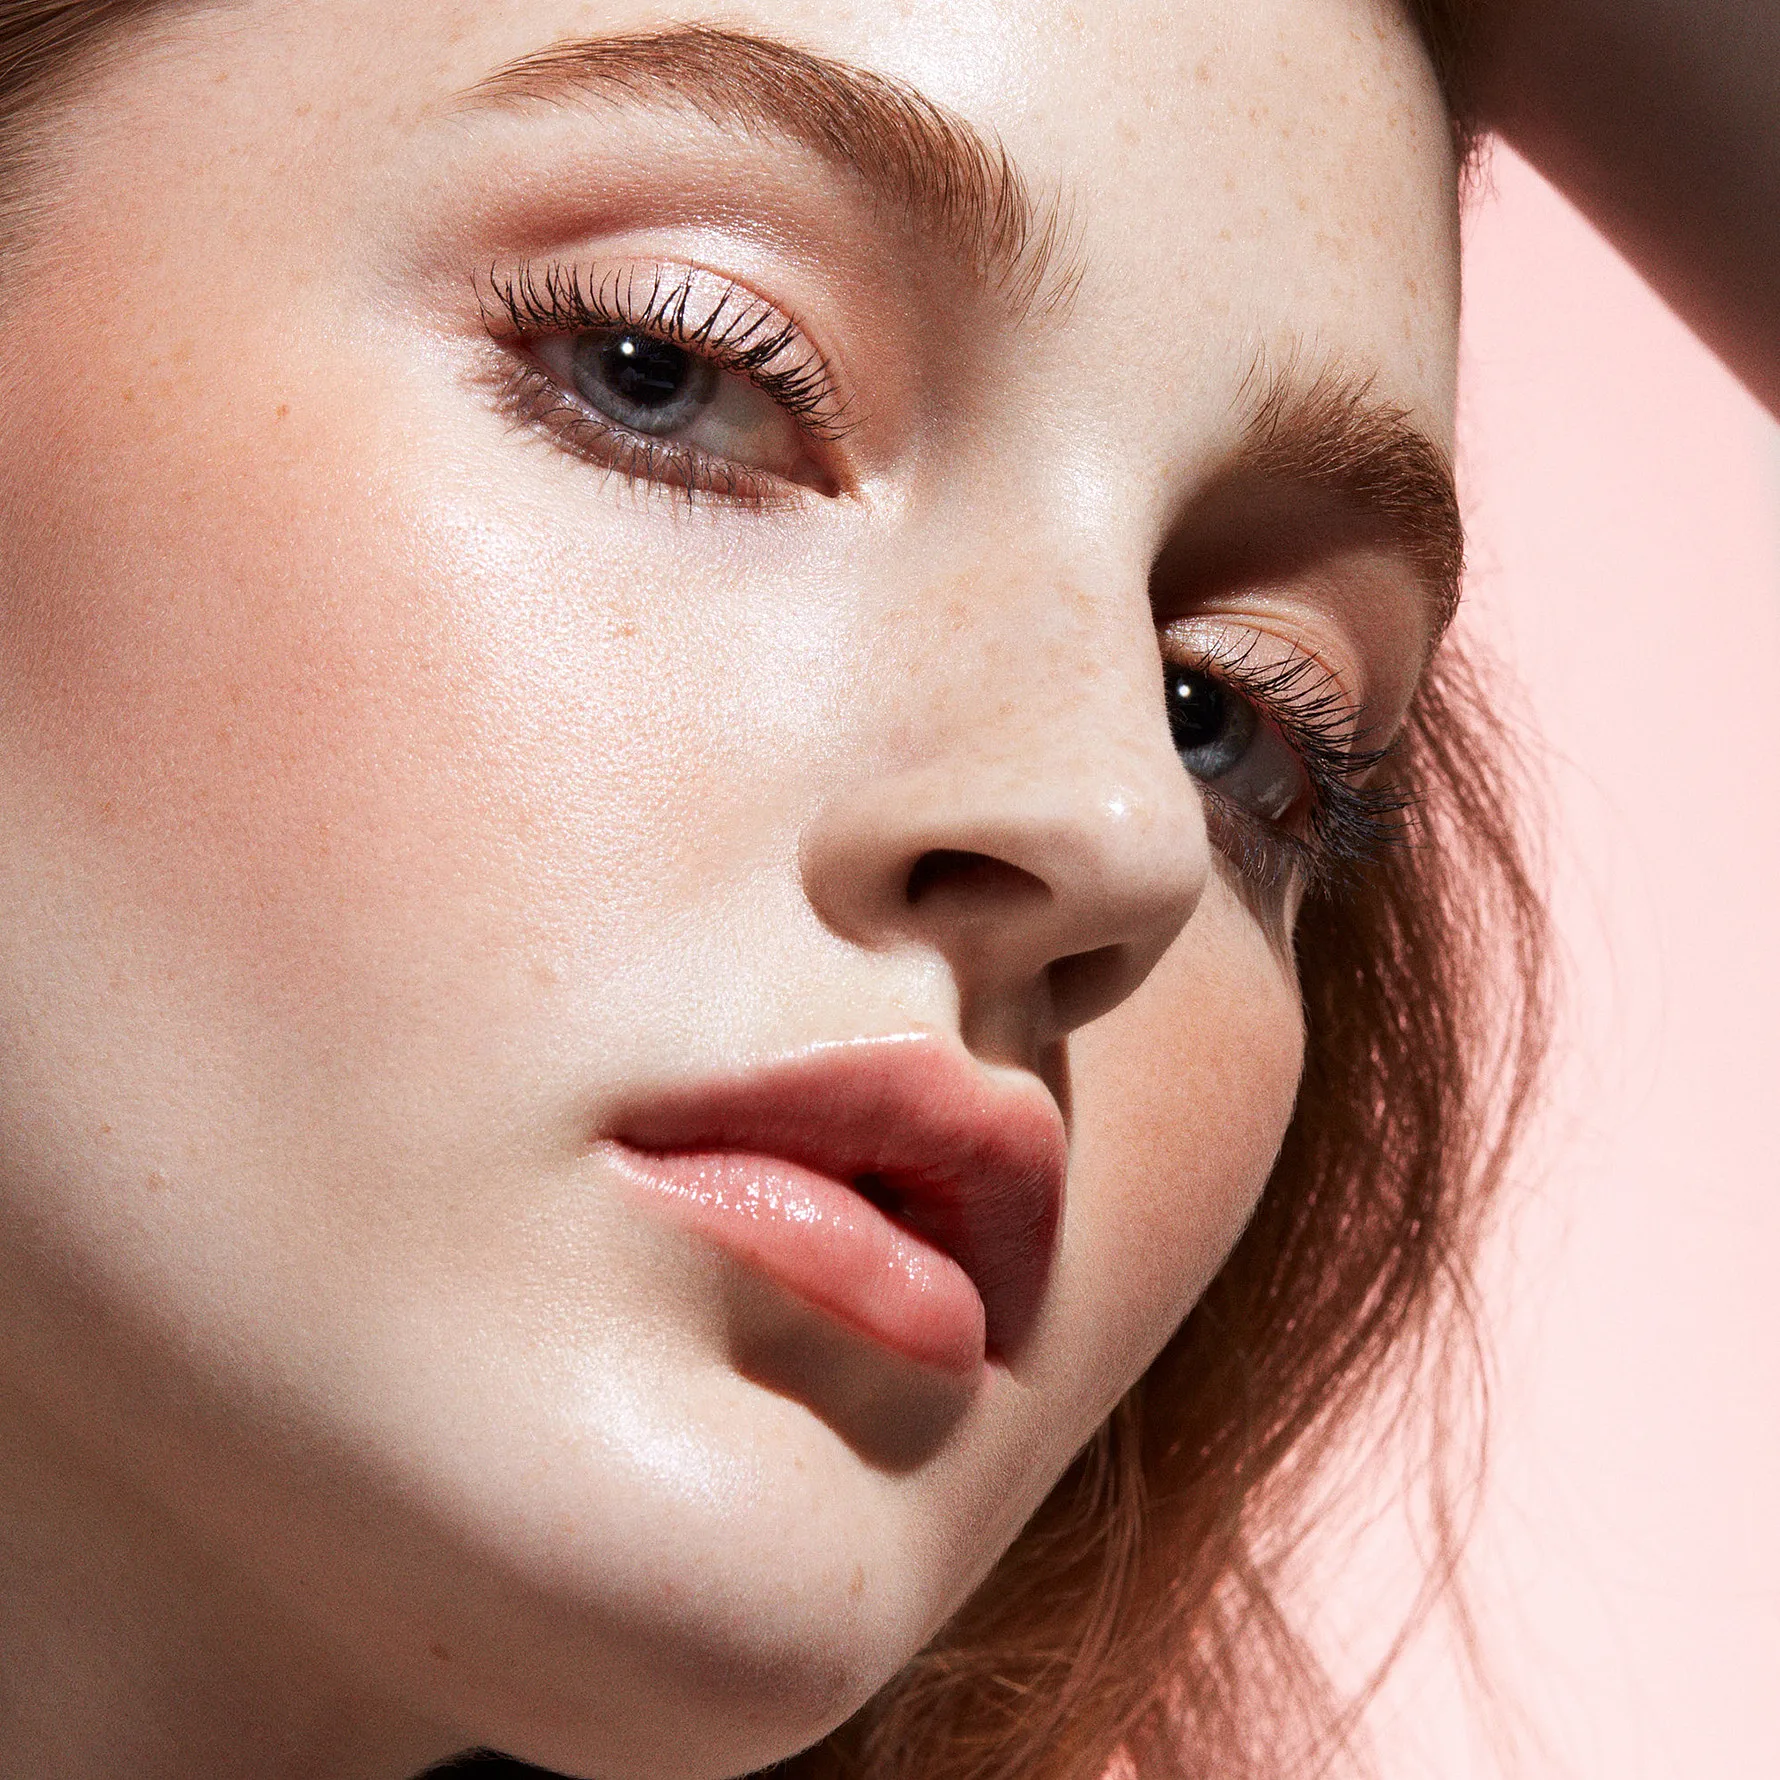
Proper blending is key to achieving a natural-looking flush with cream blush. After initial application, use circular motions to diffuse the color into your skin. How to apply cream blush?A clean brush or beauty sponge works well for this step. Pay extra attention to the edges of the blush, ensuring they seamlessly melt into your skin. If you’ve applied too much product, don’t panic. Simply tap a clean finger or sponge over the area to pick up excess color and soften the look.
For an ultra-natural finish, try the “pat and roll” technique. Gently pat the blush into your skin, then use a rolling motion to blend it out. This method helps the product become one with your skin rather than sitting on top of it. Another effective blending technique is the “buffing” method. Use a dense, round brush to buff the product into the skin using small circular motions. This technique works particularly well for cream-to-powder formulas or when you want a more airbrushed finish.
Layering for Longevity and Intensity
To make your cream blush last all day, consider layering it with other products. After applying and blending your cream blush, set it with a light dusting of translucent powder. This step helps prevent creasing and extends wear time. For an extra pop of color, layer a powder blush in a similar shade over the cream. This technique not only intensifies the color but also helps it stay put for hours. If you have oily skin, try applying a powder blush first, then layering a small amount of cream blush on top.
This method combines the longevity of powder with the dewy finish of cream. For special occasions or when you want your blush to really stand out, try the “sandwich” method. Start with a light layer of cream blush, set it with powder, then add another thin layer of cream blush on top. This creates a multi-dimensional effect that looks incredibly natural and lasts all day. Remember to blend each layer thoroughly for a seamless finish.
Adapting Application for Different Face Shapes
While the basic application technique remains the same, slight adjustments can enhance different face shapes. For round faces, focus the blush slightly higher on the cheekbones and blend towards the temples to create the illusion of length. Those with square faces should concentrate the color on the apples of the cheeks, blending in circular motions to soften angular features. Heart-shaped faces benefit from blush applied lower on the cheeks, blended outward to balance wider foreheads.
Oval faces can follow the standard application, as this versatile shape suits most blush placements. For long faces, apply the blush in a more horizontal pattern across the cheeks to create the illusion of width. Those with diamond-shaped faces should focus on the outer apples of the cheeks, blending slightly towards the temples. Remember, these are just guidelines – feel free to experiment and find what looks best on you. The goal is to enhance your natural features and create balance in your face shape.
Coordinating with Your Overall Makeup Look
How to apply cream blush?Cream blush should harmonize with the rest of your makeup. For a natural daytime look, pair it with tinted lip balm and mascara. Evening looks can feature a bolder blush color balanced with neutral eye makeup or a statement lip. Consider the undertones of your other makeup products to ensure cohesiveness. Cool-toned blushes pair well with taupe or gray eyeshadows, while warm-toned blushes complement bronze or golden eye looks. Don’t forget to coordinate your blush with your lipstick for a put-together appearance.
A monochromatic look using the same shade family for lips and cheeks creates a stylish, cohesive effect. For a trendy look, try using your cream blush as a multitasking product. Apply it to your cheeks, then dab a small amount on your eyelids and lips for a cohesive, monochromatic look. This technique not only saves time but also creates a harmonious, pulled-together appearance. When wearing bold eye makeup, opt for a softer blush shade to balance the look. Conversely, when sporting a bold lip color, choose a blush that complements but doesn’t compete with your lip shade.
Troubleshooting Common Application Issues
How to apply cream blush?Even with proper technique, issues may arise when applying cream blush. If the color appears too intense, blend it out with a clean sponge or your foundation brush. For patchiness, try warming the product more before application or use a damp beauty sponge to smooth it out. If the blush seems to disappear quickly, make sure you’re not over-powdering your face beforehand. Oily skin types might benefit from using a mattifying primer before foundation to help the blush adhere better.
If you notice your cream blush settling into fine lines, try using a smaller amount and focus on blending thoroughly. For those with very dry skin, mixing a tiny drop of facial oil with your cream blush can help it glide on more smoothly. If you find that your cream blush is causing your foundation to lift or move, try patting the product on instead of rubbing or swiping. This gentle application method helps preserve your base makeup while still allowing the blush to blend seamlessly. With practice and these troubleshooting tips, you’ll master the art of cream blush application in no time.